Advent Of App 2023: Breathing Exercise For Swimmers
TLDR: I created a breathing exercise app for swimmers from idea to the App Store publication in 19 days.
Warning: This article is very long and written as a journal.

Table of content
- Day 1: Introduction
- Day 2: Saturday Break
- Day 3: Planning ahead
- Day 4: Proof Of Concept
- Day 5: Fixing Chart
- Day 6: First TextFlight Link
- Day 7: Fixing Bugs
- Day 8: Focus Dashboard
- Day 9: Miscellaneous changes
- Day 10: Not Ready for App Store
- Day 11: Almost Ready for App Store
- Day 12: Still Not Ready for App Store
- Day 13: New Name and Onboarding
- Day 14: Onboarding brainstorming
- Day 15: Just Onboarding
- Day 16: What is left?
- Day 17: Screenshots
- Day 18: App Store Submission
- Day 19: InExhale in the App Store!
- Day 20+: Thank You
Day 1: Introduction
Introduction
AdventOfCode is a known challenge among developers. Each day, you solve a coding exercise. Instead of doing a puzzle every day, I challenged myself to publish a SaaS (Software as a Service) project within 25 days. The goal is to work every day for a few hours on a single project.
Two year ago I attempted a modified version of the challenge. The final result was FlashDictation.com, which is still online and actively used. Last year I worked on OGTester.com and wrote a daily wor klog as well. This year I will change the initial idea slightly.
Instead of working on a web-project, I will create an app. Why? I got started learning Swift a few months ago and published two mini-games (this and that) on the App Store. Working on a web-project is fun, but I want to see if I can publish an App within 25 days. Apart from that, working with Swift would keep the context switch manageable for me.
What are the rules?
In the last two editions, I set some self-imposed rules. Towards the end of last year, I got too stressed while working on OGTester. It was not much fun, but I forced myself to write a daily log online and finish the project.
This year, I’ll do a more free-style version. This year, the goal is to be focused to working for a month and writing a worklog. Not more specific goals.
What is this years project?
In the last few months I started to learn swimming properly, mainly freestyle. The main issue for me is getting the breathing rhythm correct. I searched for an app and could not find one which is targeted at swimmers.
What I want is a simple app, which allows tracking my breathing exercise progress and give me a daily reminder. For this project, I want to focus mainly on the feasibility of the app.
Day 2: Saturday Break
I wrote this actually on Day 3. I already mentioned this year’s edition is going to be more relaxed, so I took the day off. That was not planned, but yesterday was Friday and weekend just came.
Day 3: Planning ahead
Planning
Today’s main goal is to properly plan and set some milestones, so I feel some pressure. Here are some self-imposed deadlines and a basic timeline to keep me accountable.
By Day 5:
Have a PoC (Proof of Concept) version to log “breathing exercise sessions”.
For example, show 10s breathing out timer and 3s to breathing in timer.
By Day 6 (Wednesday):
Publish the first TestFlight-version (TestFlight is how you distribute a beta version with AppStore) and the publish the link to download online.
By Day 10 (Sunday):
- The first MVP (Minimal Viable Product) version.
- I expect a basic app, where I can track a breathing-exercise-session
- I want to see my progress over time
- I want to be able to configure the in-/exhale durations
Day 10-20:
- Focus on marketing the project
- Create a separate App section on Kiru.io with a dedicated page
Day 21+:
- Most likely taking the days off towards the end
Tech Stack
Since it is going to be an iOS App, I will use CloudKit to store the data and try out SwiftData. I already used CloudKit and expect SwiftData to make it even easier. For the beginning, I tried to create some kind of BreathLog structure with SwiftData:
@Model
final class BreathStep {
  var startTime: Date
  var endTime: Date
  var isBreathingIn:Bool
}
import Foundation
import SwiftData

@Model
final class Session {
  @Relationship(deleteRule: .nullify, inverse: \BreathStep.session)
  var steps: [BreathStep]?
}
I managed to get a BreathStep data-record inserted in CloudKit (it was easier than I thought). That was actually everything for today. Tomorrow the plan is to add a UI which should show the resting timer and create the BreathSteps depending on if you touch an area or not. Something like this:
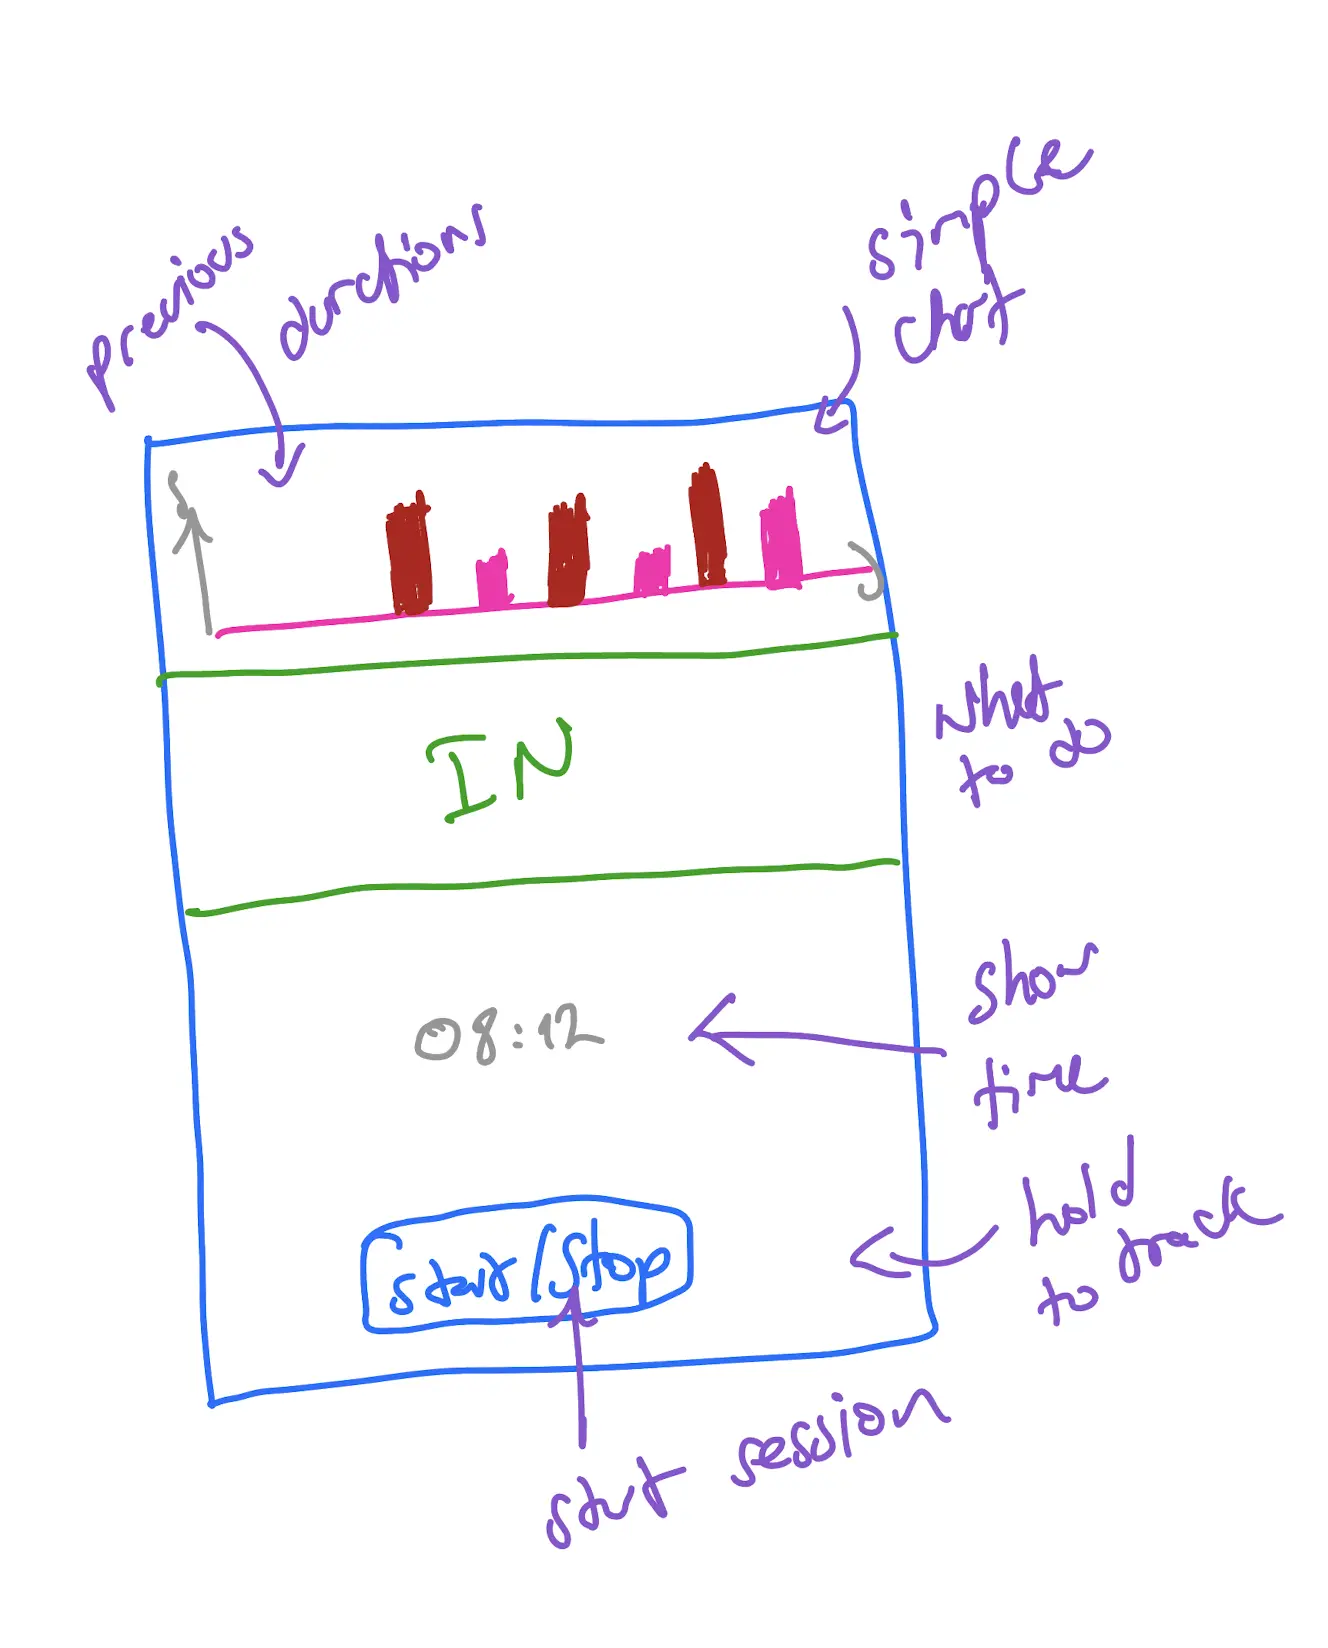
The top part shows a simple chart of how long each breathing step took (in-/exhaling). The bottom part shows the timer and a button. My idea for the button is that you keep pressing it while exhaling or inhaling.
Day 4: Proof Of Concept
To be honest, PoC (Proof of Concept) is not the correct term here. I already know it is possible. Let’s call it proof of the core feature instead. The core feature being to be able to track breathing sessions and store it in SwiftData.
After a few hours of hacking, this is what I came up with:
The idea is as following: You touch the bottom area while exhaling, then pull off your finger, and inhale, and then retouch again. The timer runs while you keep touching. I experimented the other way around as well (e.g touch for inhaling), but that didn’t feel natural to me. In the future, I could offer a setting to configure that.
There are a few issues I haven’t managed to solve yet. For example, the “progress bar” behind the timer is not smooth. I went with the easiest implementation: By showing a color canvas in the background which changes its height proportional to the time left. I will look into improving this part later on to make it really smooth.
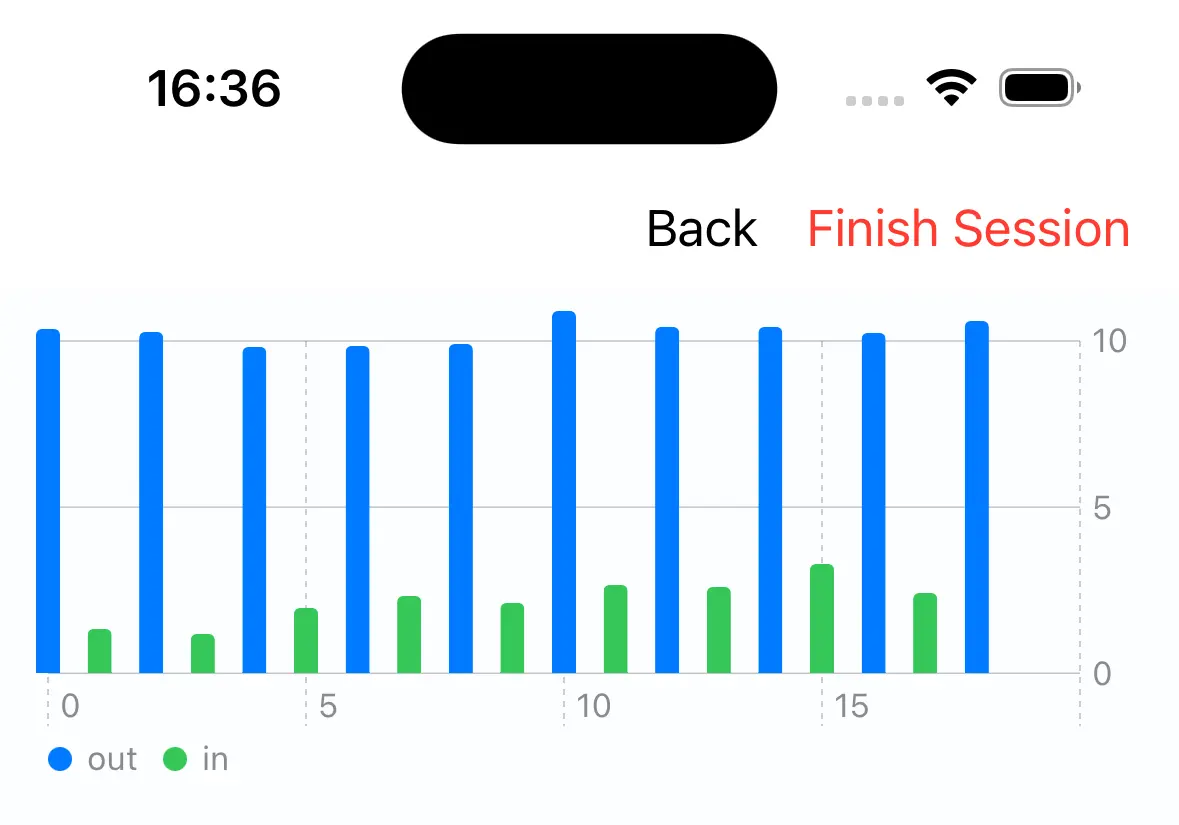
Another imperfection is the top chart. I want the bars to be wider, but they keep getting narrower the more data there is. After a few exhaling/inhaling steps logged in, it looks more like what I want:
Day 5: Fixing Chart
I wasted a lot of my time today trying to fix the charts. Initially I wanted to get rid of the spaces between the bar charts. That was not possible within an hour, so I decided to try working on an alternative chart.
Here are a few screenshots I took while working on the chart:
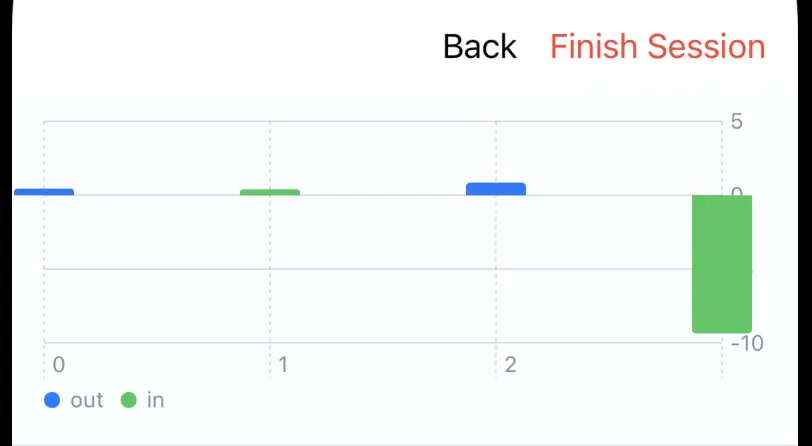
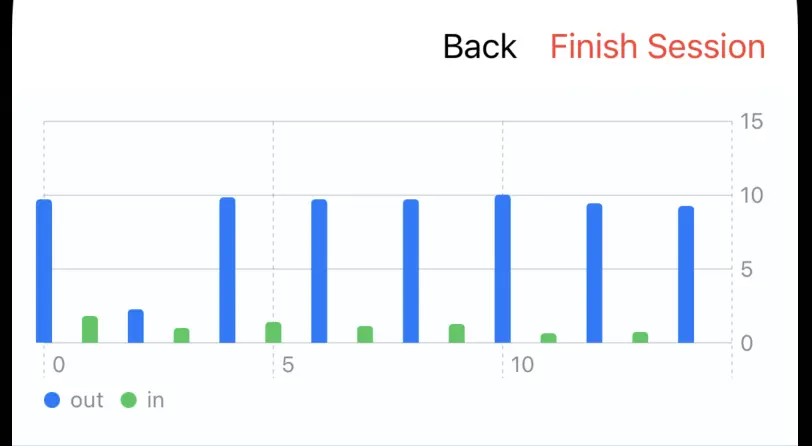
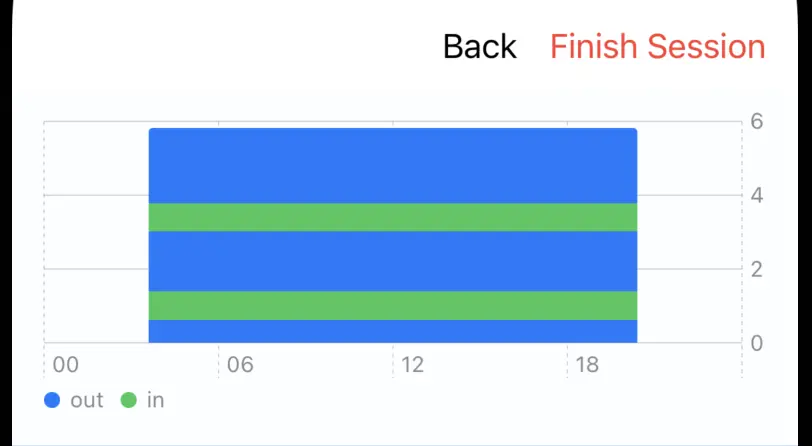
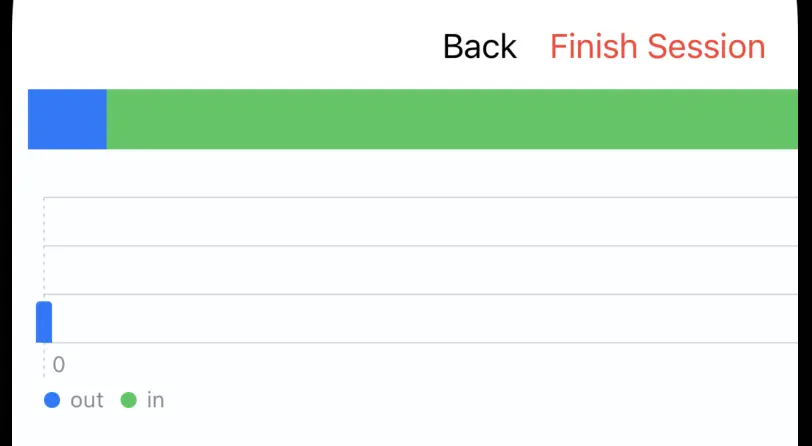
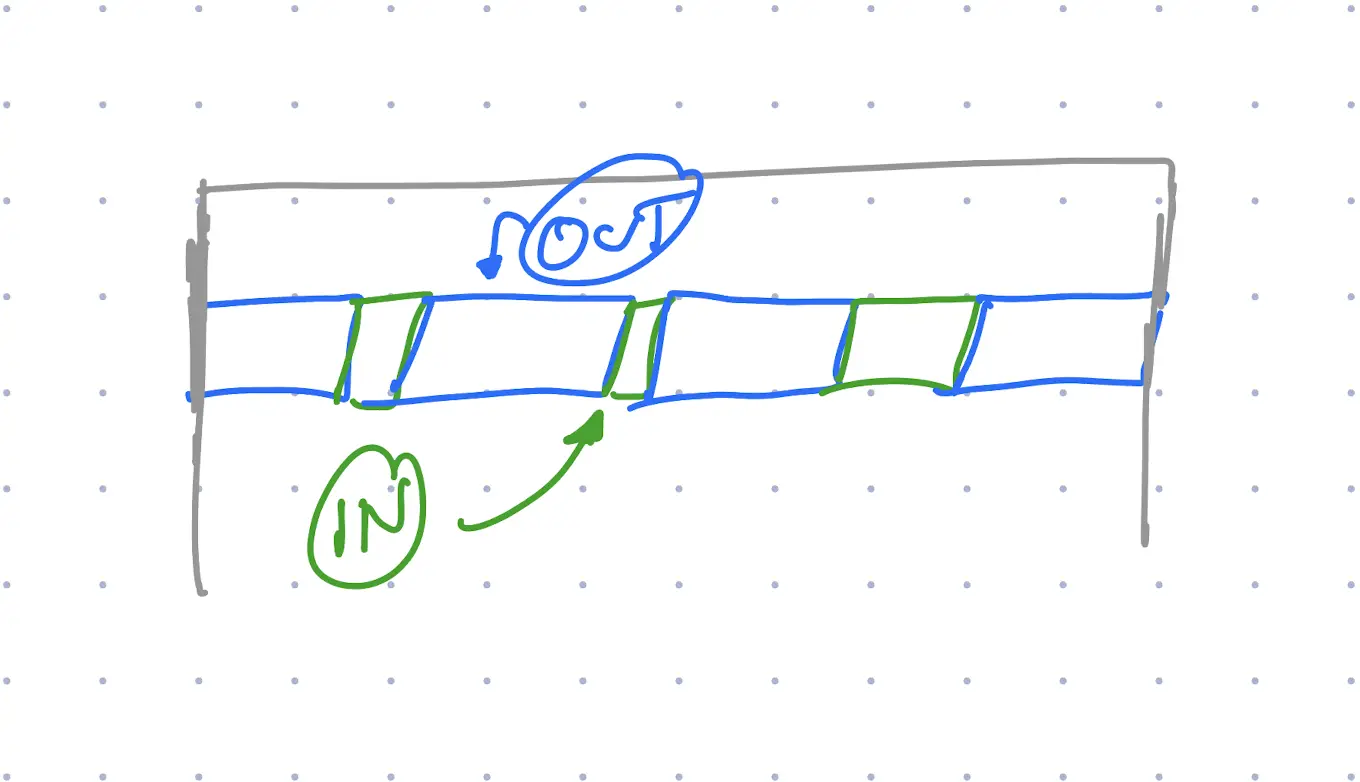
The last version is based on the following sketch. I want to show a running-bar, where the width of each bar represent the duration and the colors are used to indicate inhaling and exhaling.
Day 6: First TestFlight Link
TestFlight
Before I continue, I will explain what TestFlight is: To publish an App for iPhone, you are required to go through a review process by Apple. Depending on the position of the moon and other random factors, that process can take from a few hours to a few months.
Alternative, you can publish a version for testing via another App by Apple called TestFlight. From what I know, that also has to go through a review process, but usually takes a few hours.
Today’s goal is to publish the first version to TestFlight, so anyone interested in the app can download and test it.
Fix The Chart
I started adapting the chart yesterday, but did not finish it yet. So today I tried to complete the change. Below is what I managed to implement so far (video 8x speedup):
To be honest, it does not look very pretty yet. The idea is that a full-width should be 60s and the length of the bar represents the refraction. When I tested the app with a short breathing session, it made sense for me. I have to add some explanation later to explain how to read “the chart”.
App Icon
Publishing to TestFlight means I need a nicer icon. Here are a few app icons I generated with MidJourney. (self-less plugin: I write a monthly newsletter on prompt inspiration called PromptMonthly.com).
My favorites are the first and third one, the rest look fine, but don’t reflect anything about breathing. I went with the first version for now. This might change in the future.
TestFlight version
Looking back a few days ago, I said to publish a TestFlight link with the version I have so far. Here we go: https://testflight.apple.com/join/p4YTTKZY
Before you download and test your app, here are a few notes:
- This is the first version (so early alpha)
- If the doesn’t crash while using, then something is not working correctly
- I will keep publishing new version as I go
- Feel free to give me any feedback
- Thank you very much for testing!
Day 7: Fixing Bugs
More Testers
Yesterday I published the first public TestFlight link, but forgot to increase the Tester count. It was set to 10, and I can already see 10 downloads. Increased the limit to 200 testers.

Make it usable
In order to make it more usable, I have to show the breathing sessions. In some cases, saving with SwiftData was broken, so I tried to fix that as well.
After tinkering with the code, I added a simple navigation and a “Dashboard” view. For now, it’s rather a list of all the sessions you saved, but in the future I want to add a chart to show the progress as well. The following video shows the current version:
Plan for tomorrow
Thinking aloud here. By day 10, I want to have an MVP ready, so what is missing from the current version?
- □ Make the session logging screen a bit prettier
- □ Show a simple chart with progress
- □ Change color-palette to be something nicer
- □ Ability to remove a session (useful for testing!)
- □ Ability to change the duration (e.g. 10s exhaling and 3s inhaling)
- □ Add settings page
- ⤷ □ Configure if touching is required for timer to run
- ⤷ □ Configure if touching is inhaling or exhaling
- ⤷ □ Link to Kiru.io
The above list is a good starting point to focus on for the next few days.
Day 8: Focus Dashboard
Today’s plan is to continue on working on the above list. The main focus goes to the following tasks:
- □ Make the session logging screen a bit prettier
- □ Show a simple chart with progress
List of the sessions
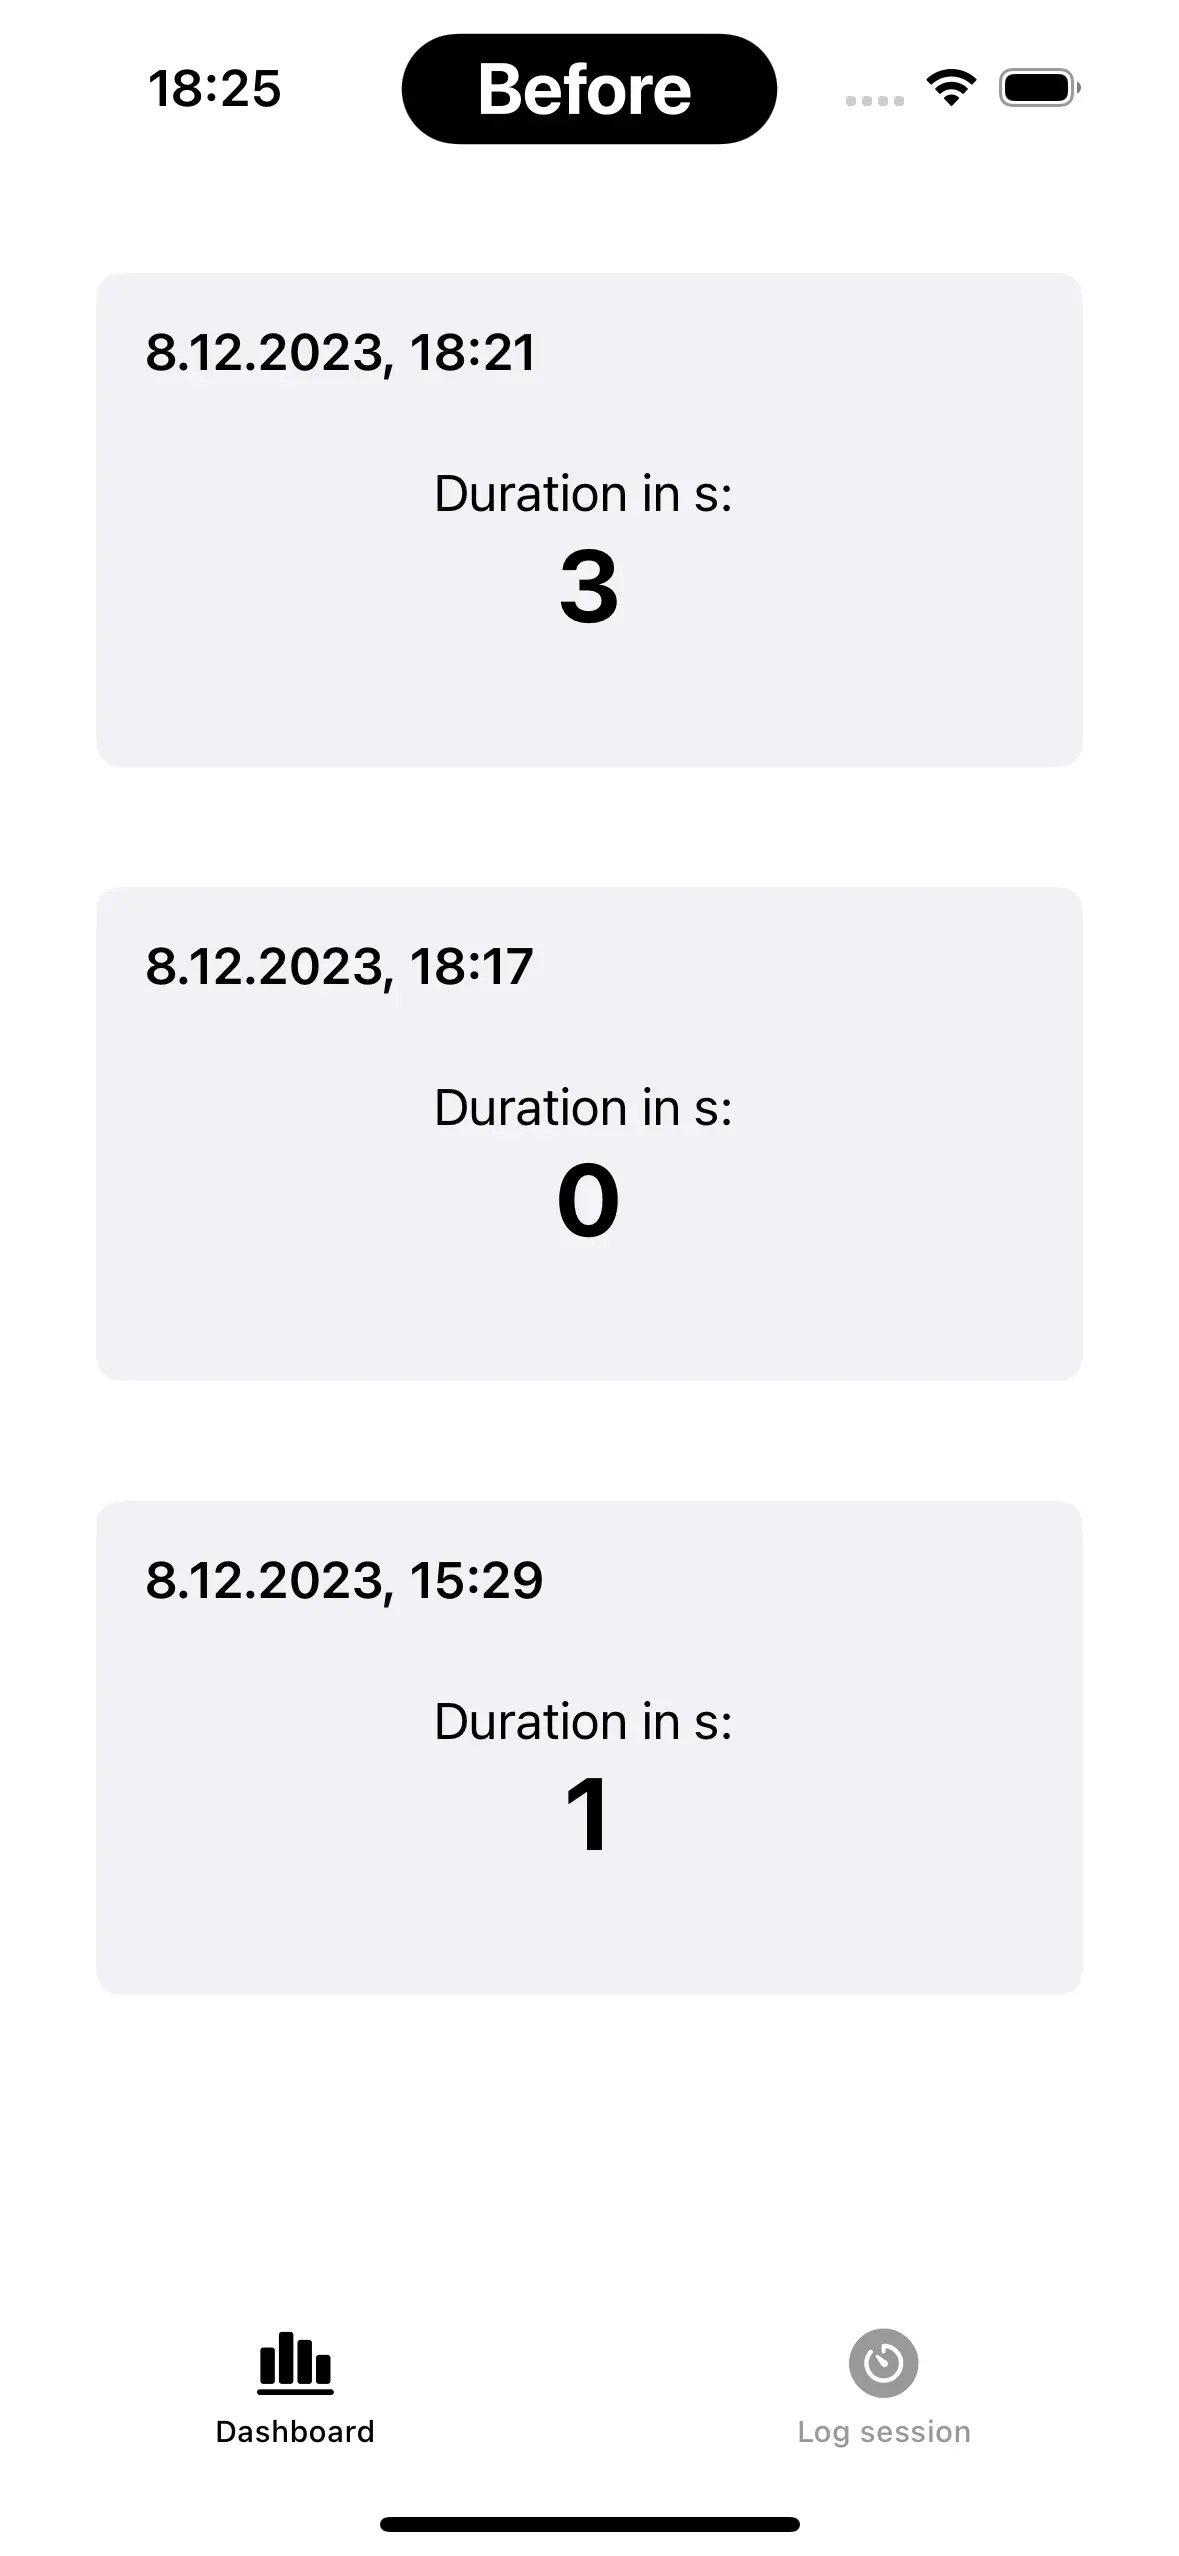
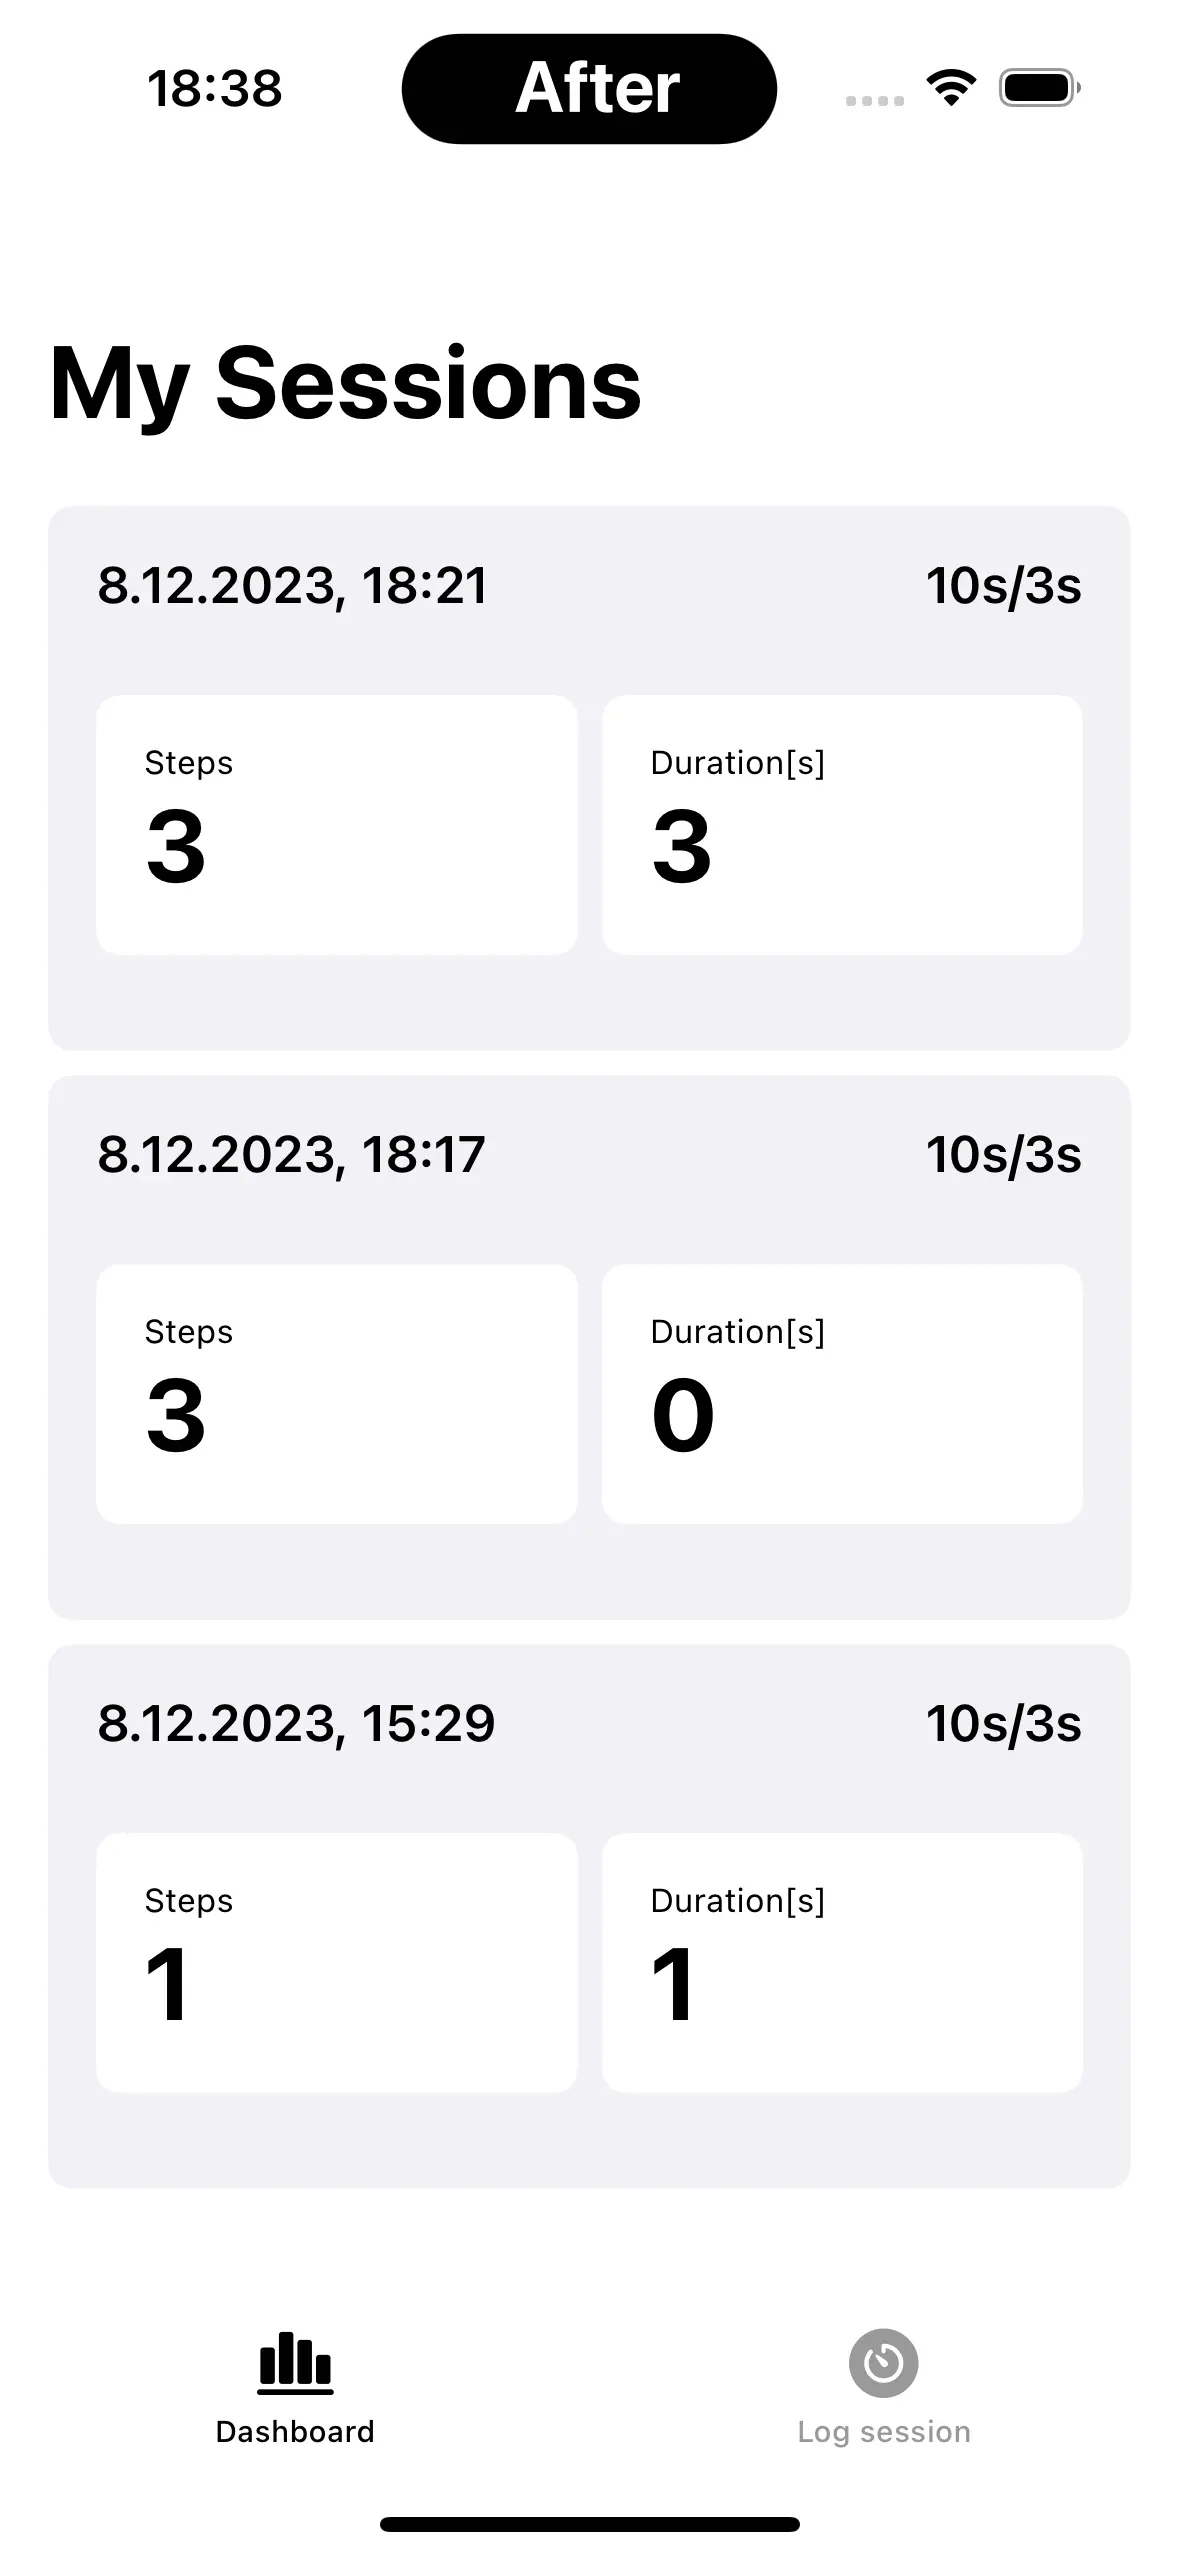
After spending some time, I made the session list slightly better. I thought it would be useful to show the number of steps stored and also the configuration of how long you inhale and exhale (top right).
For each session, I added a simplified progress-chart (you know the one I have sketched a few days ago, but was not totally convinced yet). The following screenshot shows the progress.
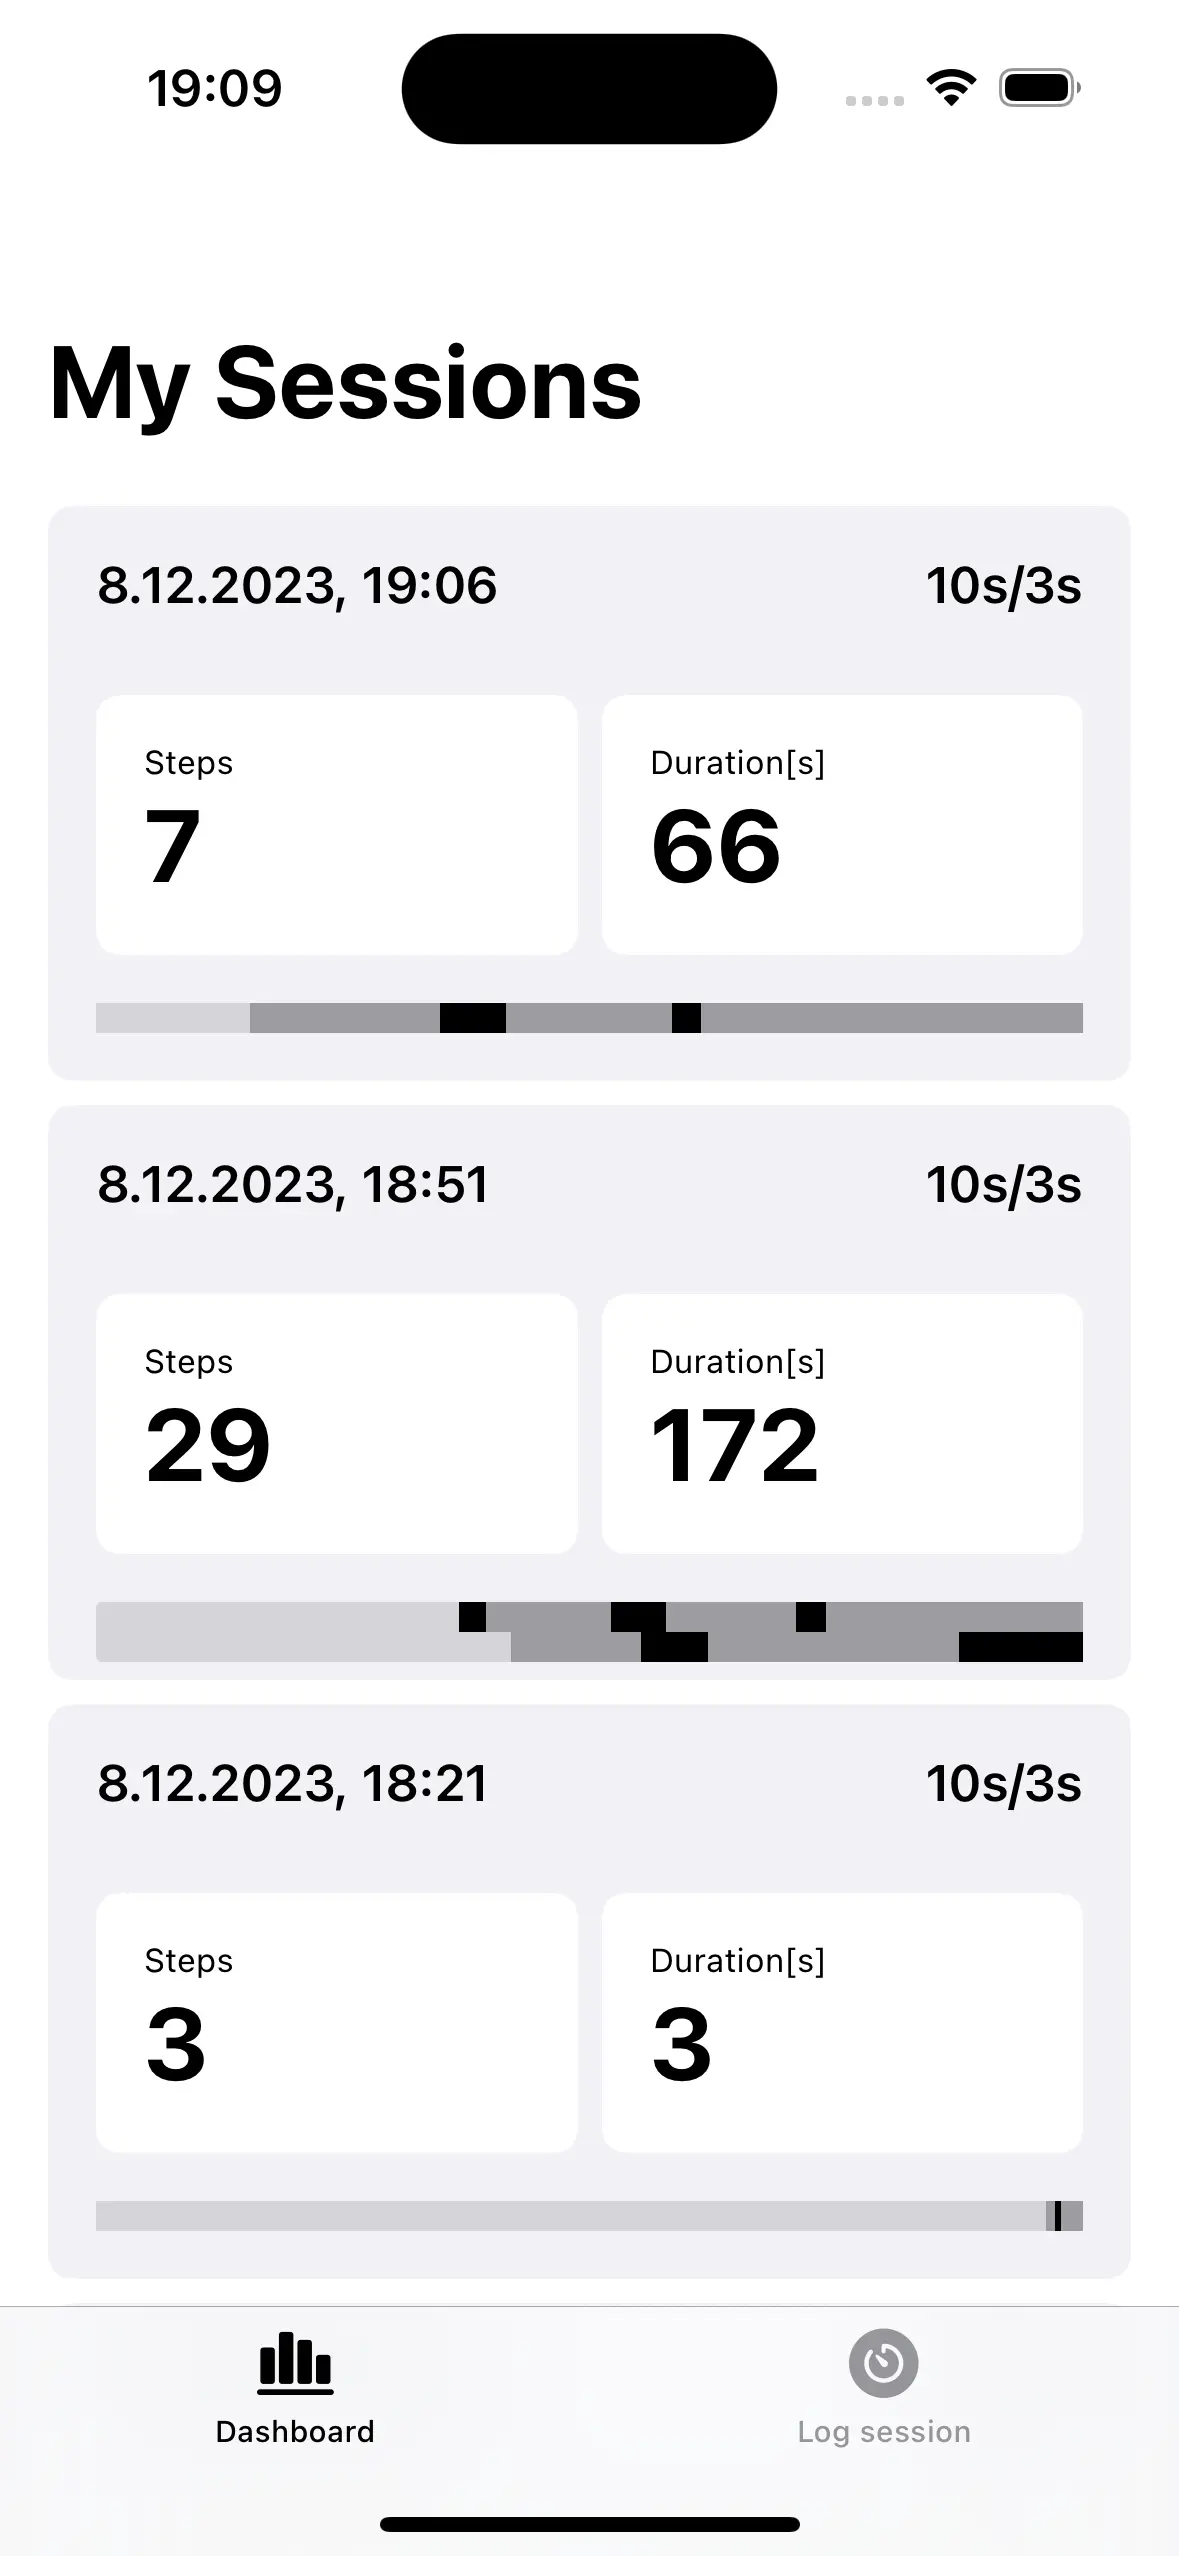
It’s not convincing to me, but I kept it anyway, so I can ask for an external opinion. The reason why I want such a bar there is to quickly spot how long I trained and how it looked like, without studying the numbers.
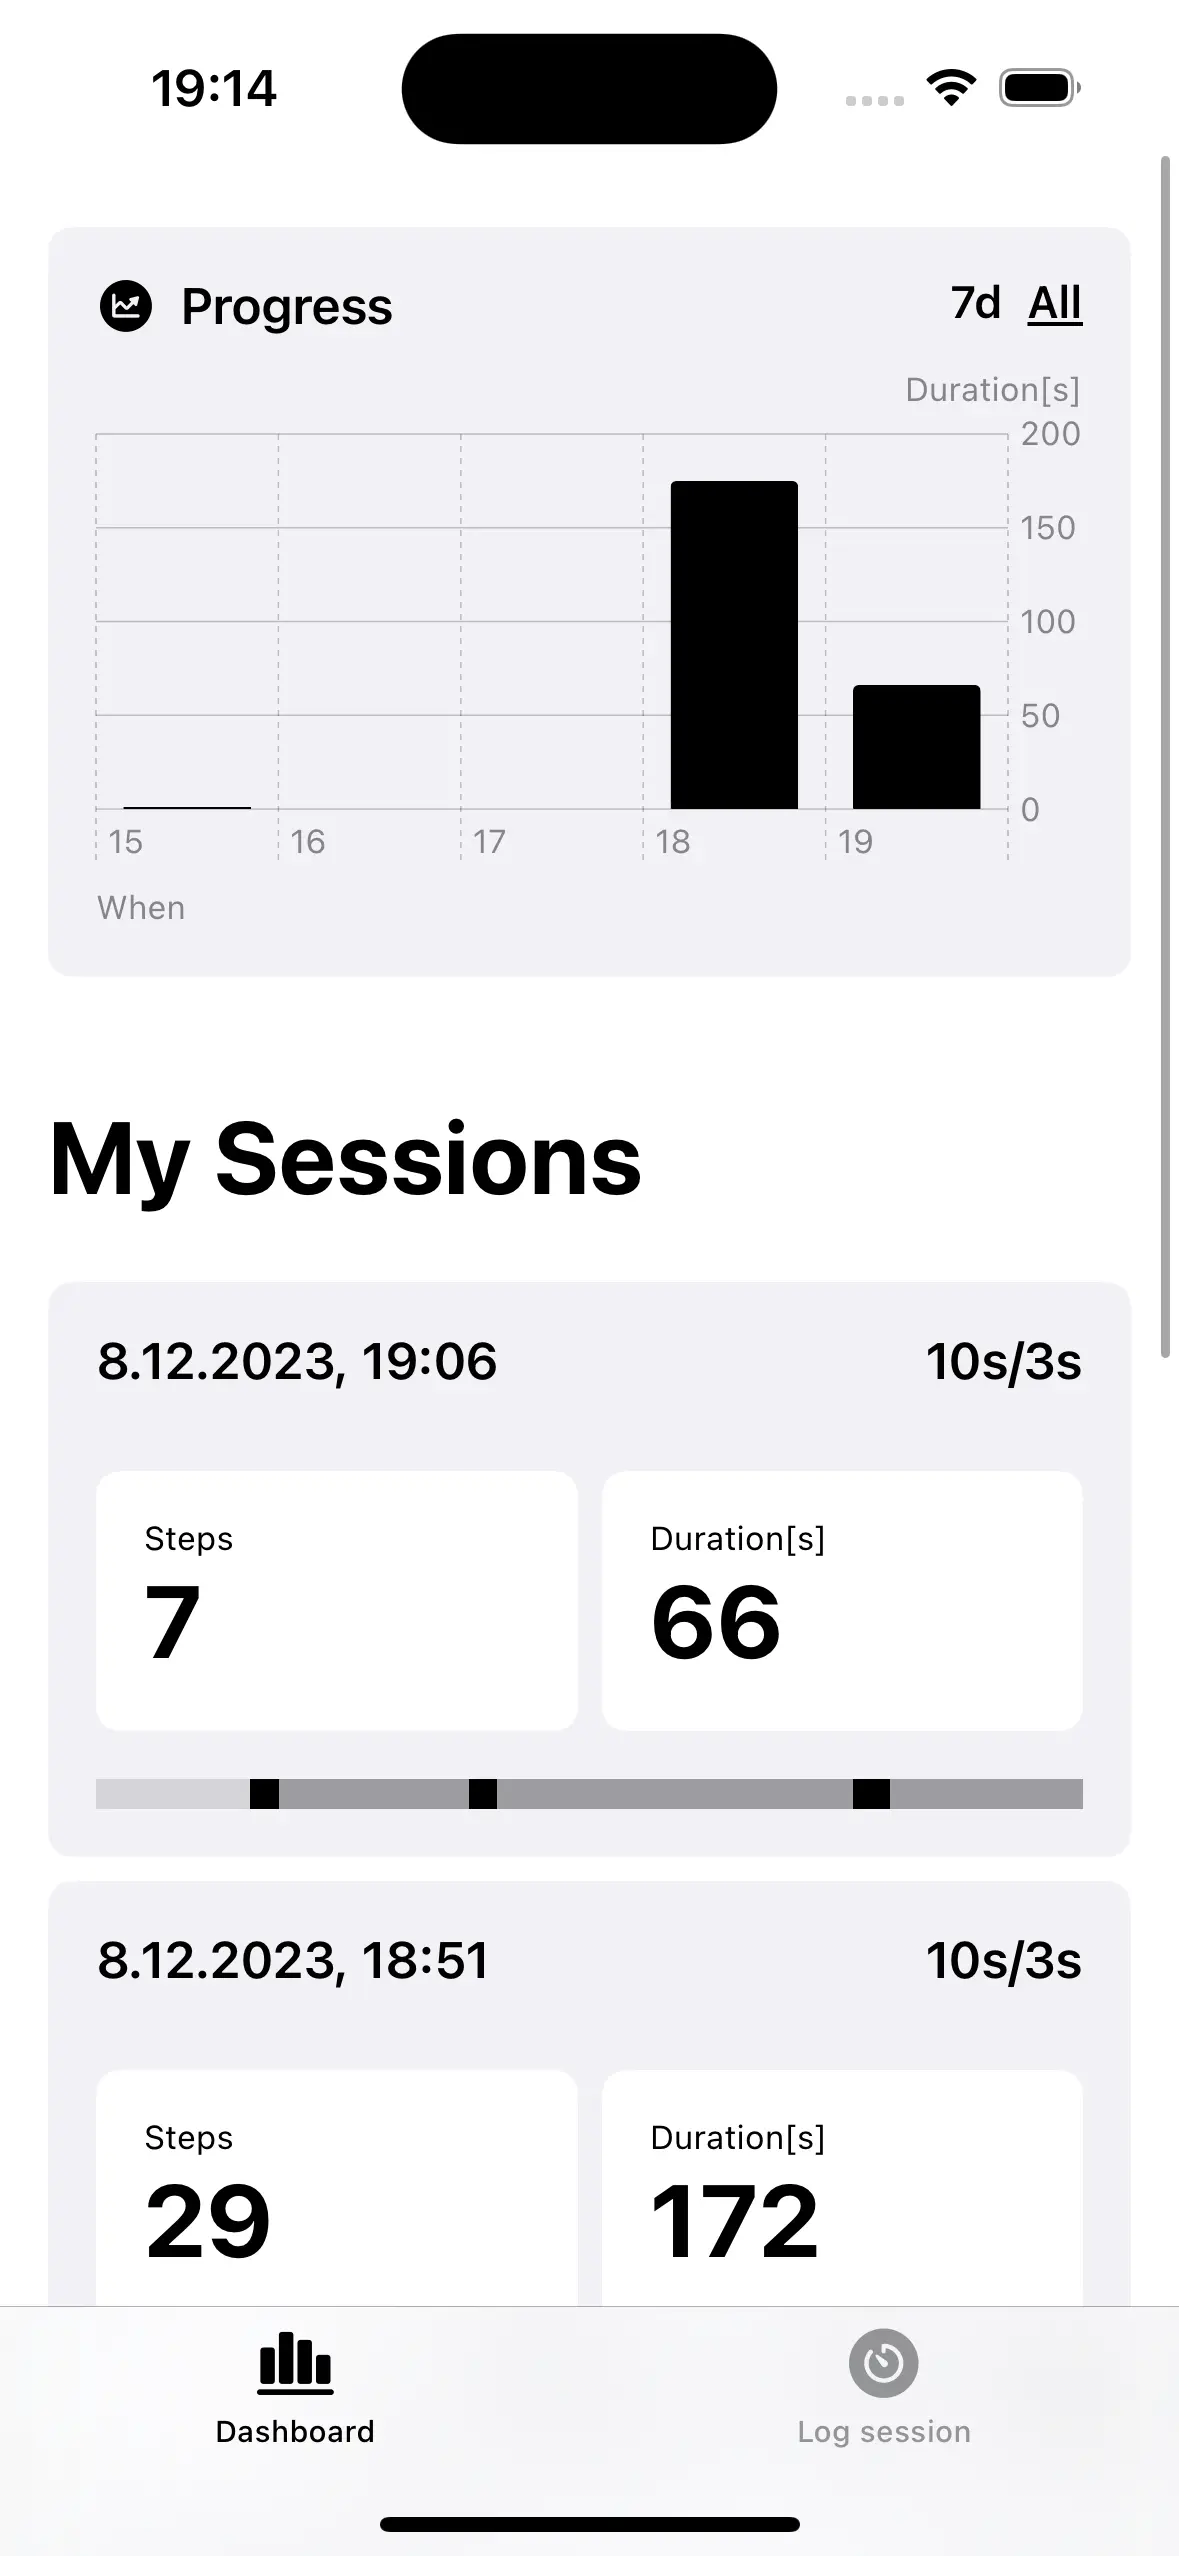
Adding a chart
This was easier than I thought. The Chart component from SwiftUI was simple to work with. Most of the effort went
into adding the 7d and All switcher in the corner:
Day 9: Miscellaneous changes
Today’s plan is to continue on the open tasks and finish some unrelated tasks.
■ Change color-palette to be something nicer
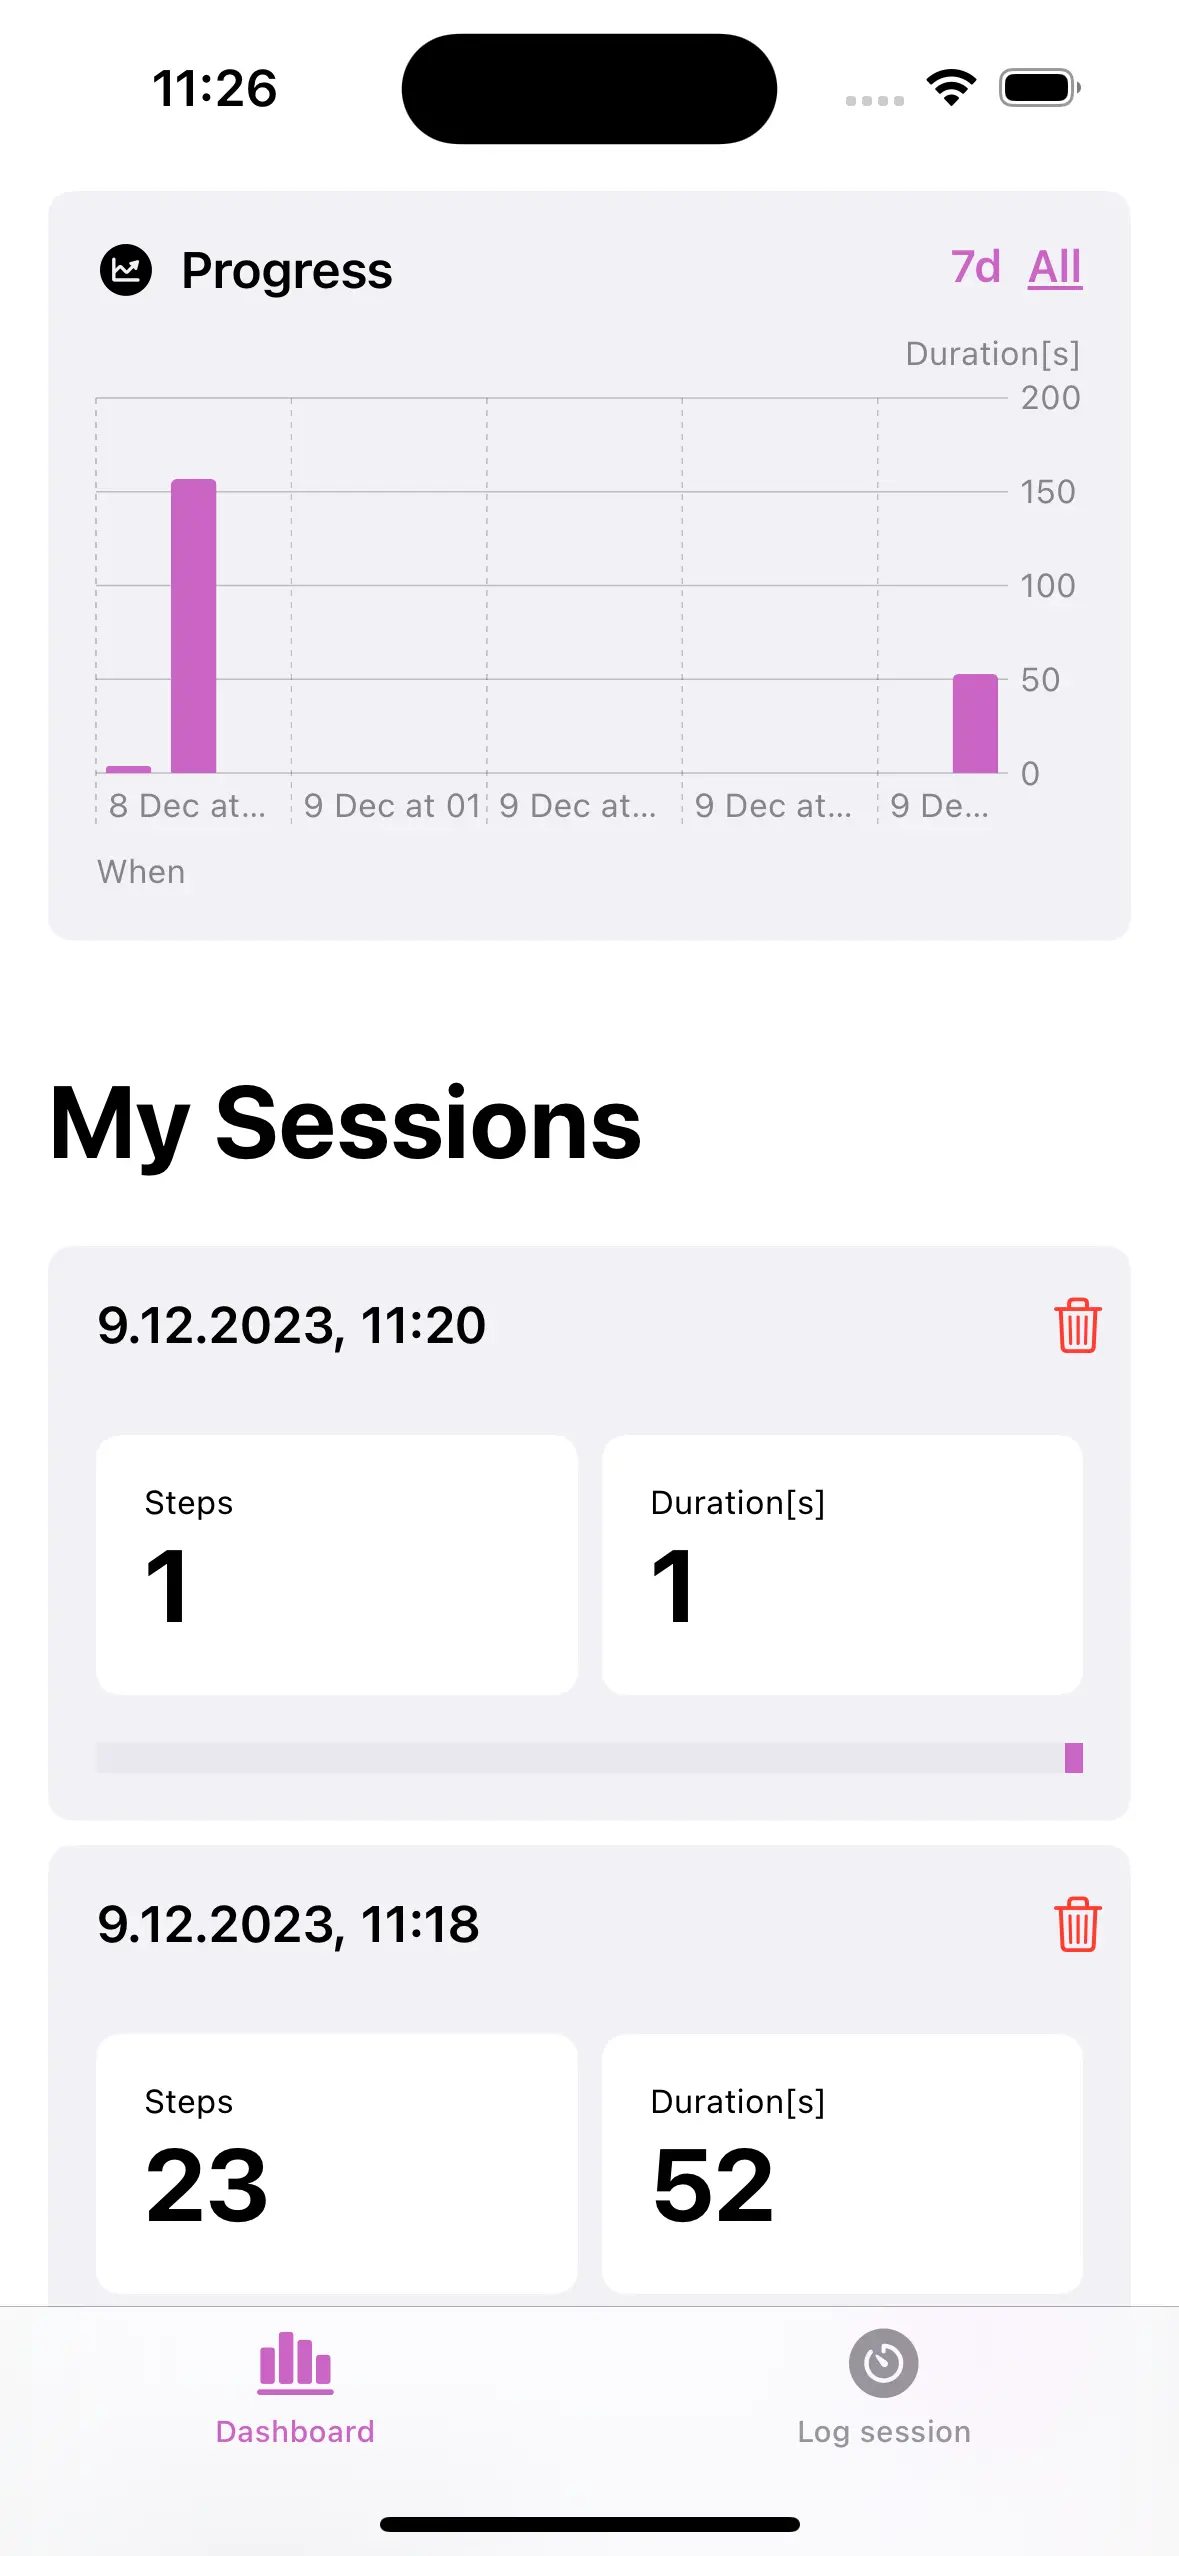
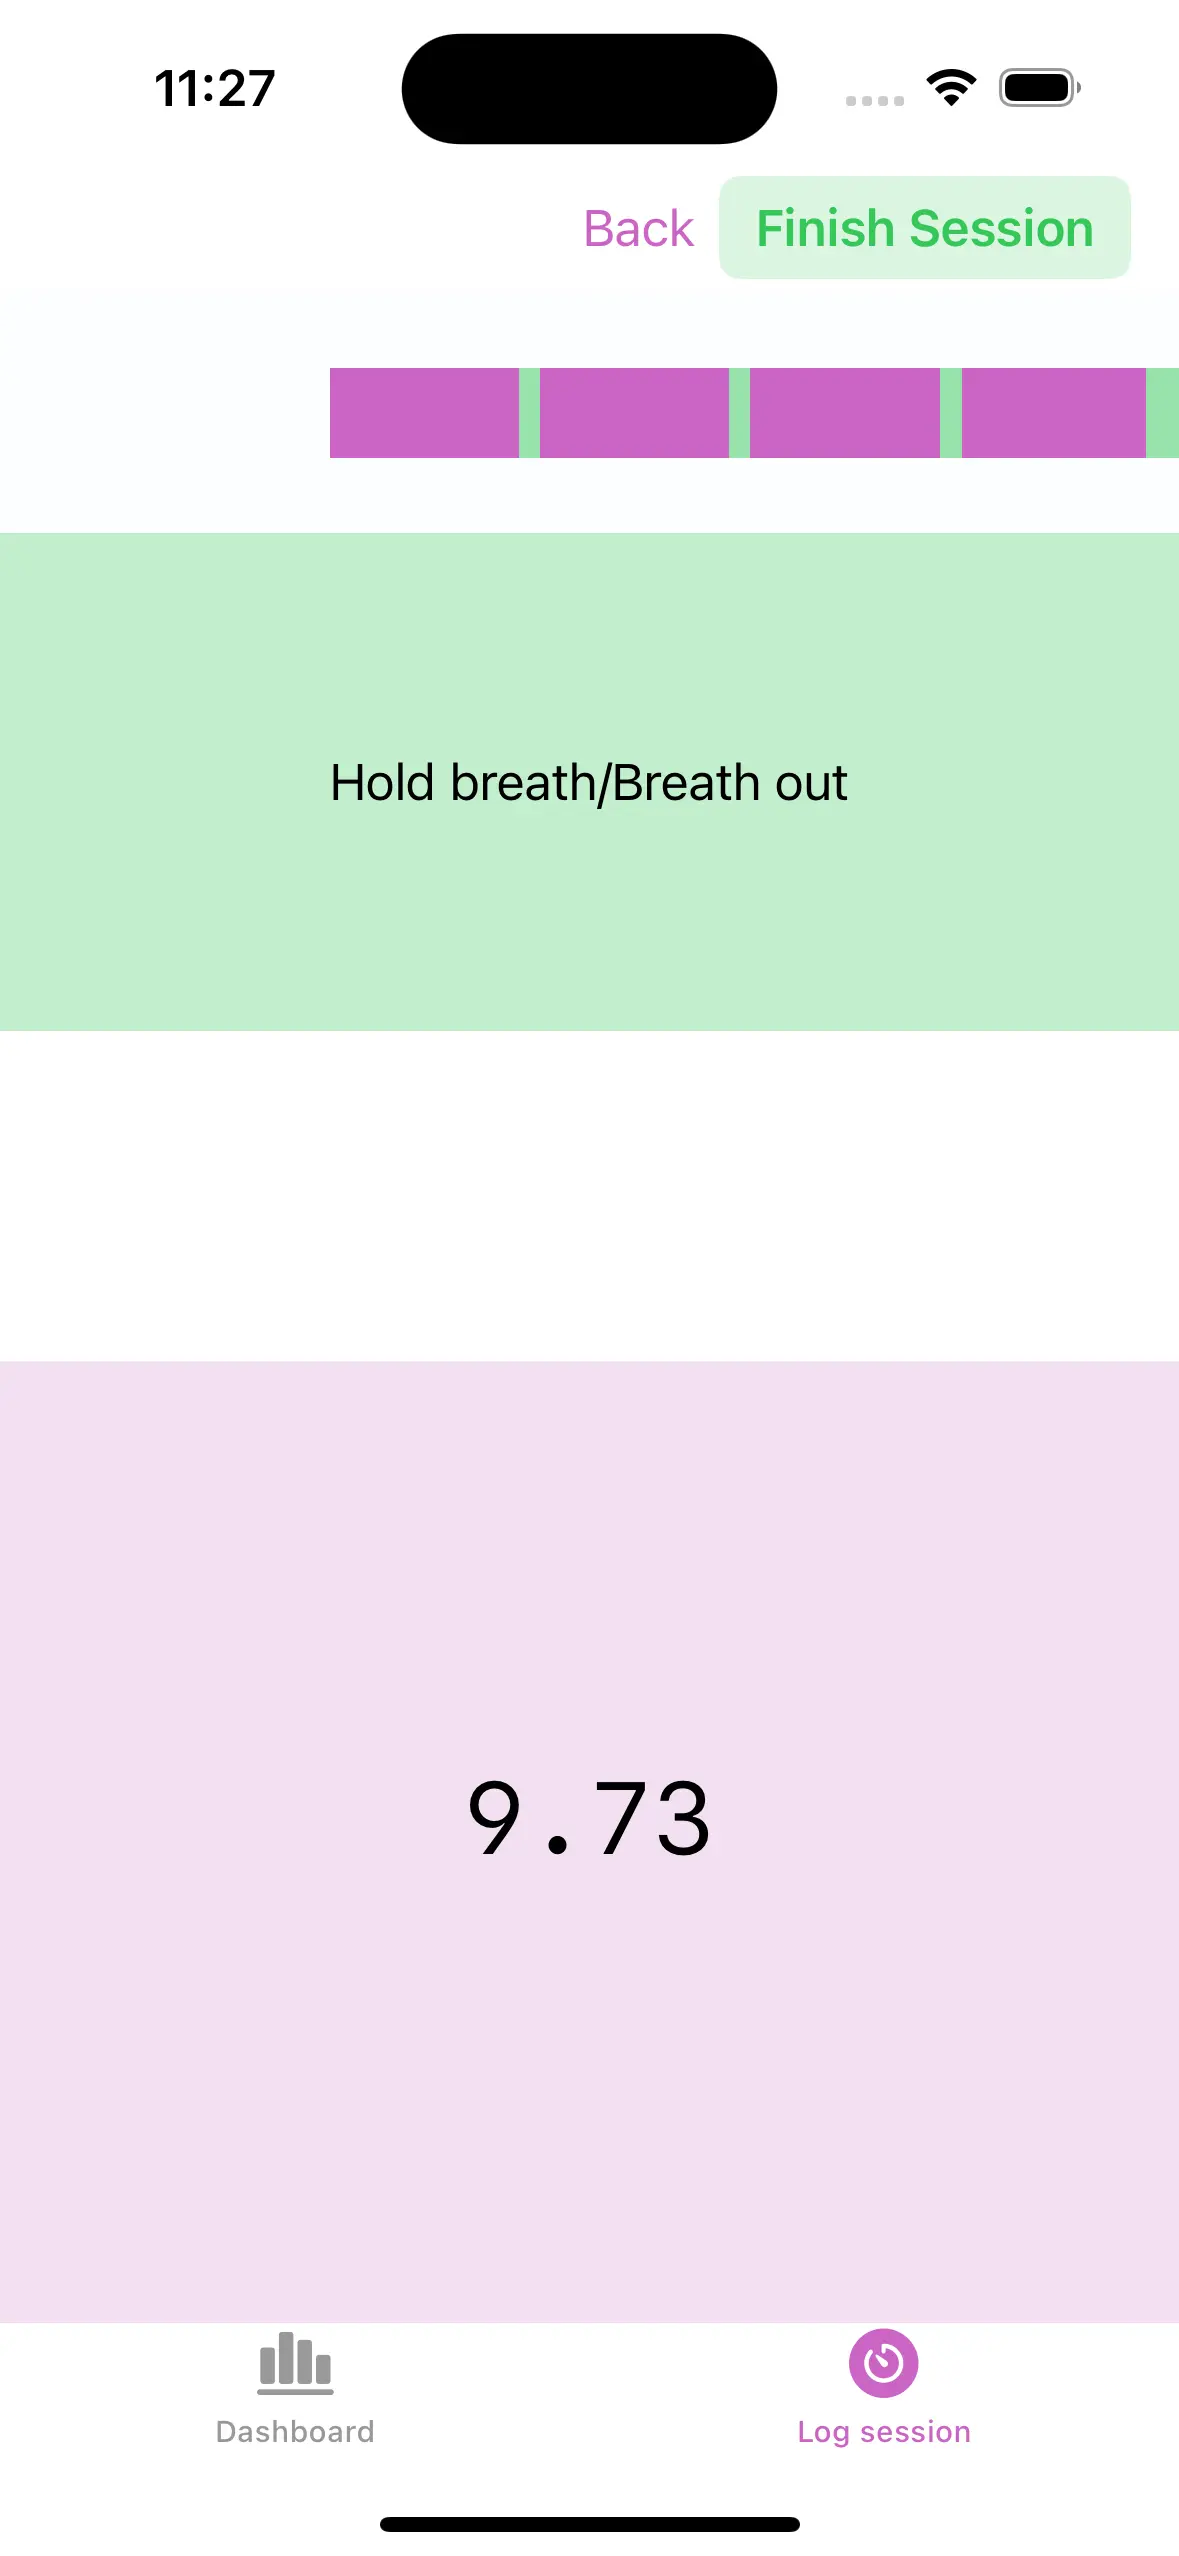
I used the logo to come up with a few color choices and went with a lighter purple and a light green.

The result is a more alive dashboard:
■ Ability to remove a session (useful for testing!)
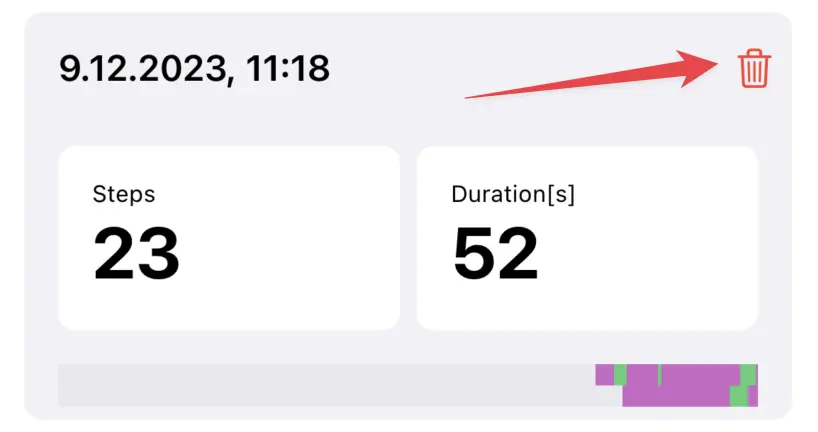
Just for testing-purposes it is the most useful one for me. For now, I hid the 10s/3s info and replaced it with a delete button:
■ Ability to change the timing (e.g. 10s exhaling and 3s inhaling)
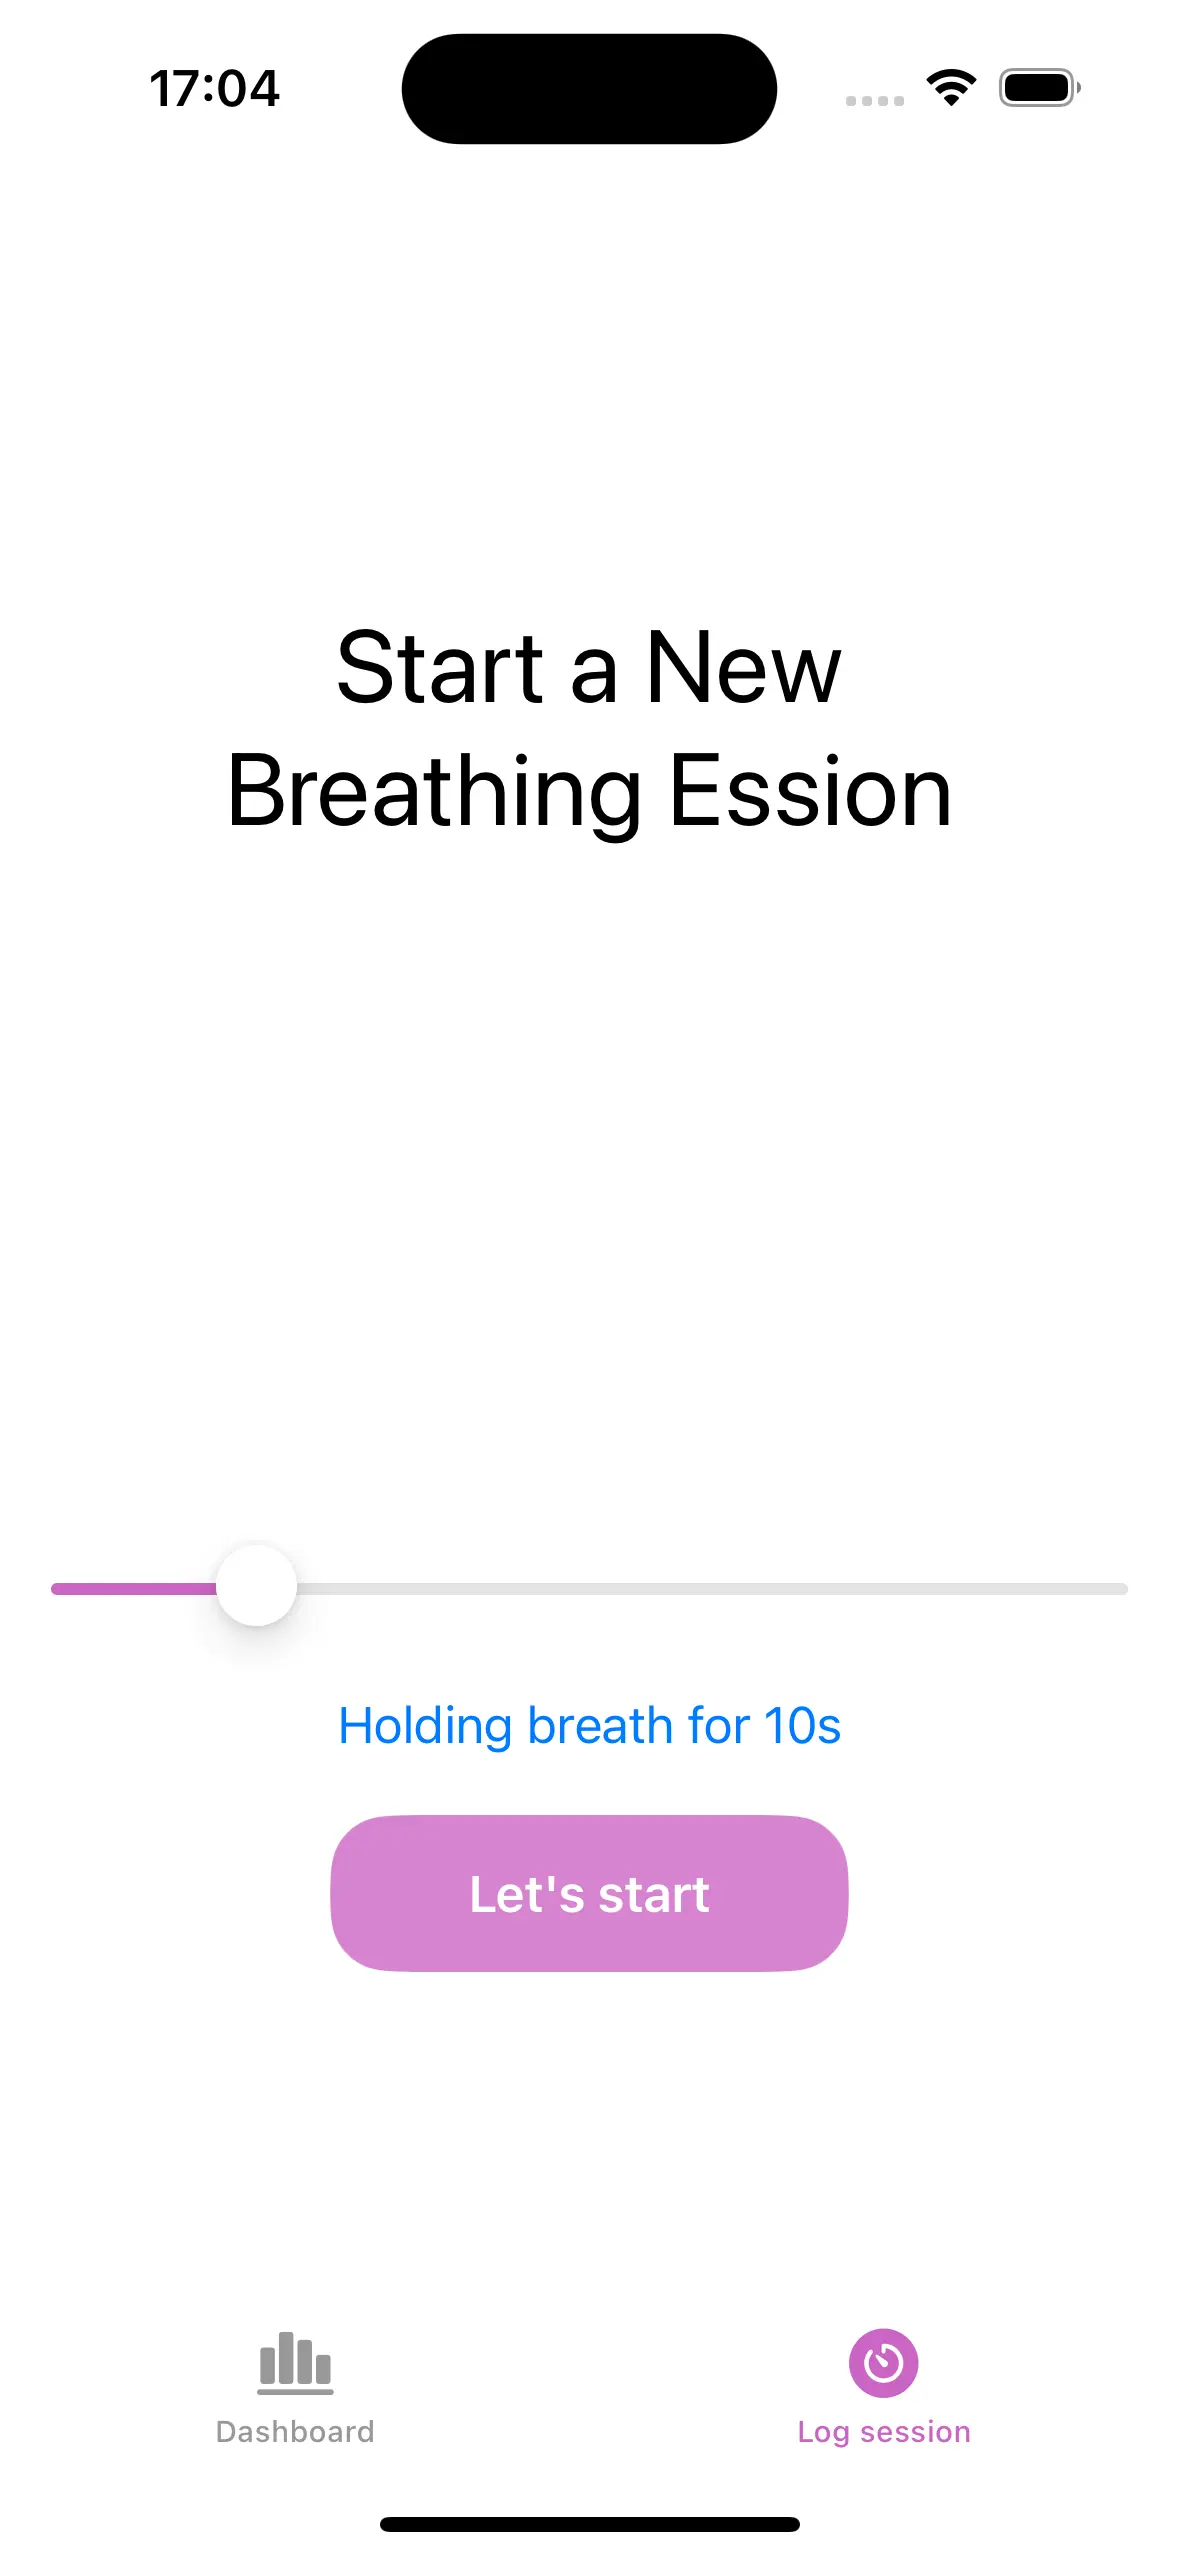
My initial idea was to make the inhaling and exhaling duration configurable. Then, while using it, I realized that I care only for the exhaling (or holding breath) duration. The inhaling is short enough and adding a timer would make it more stressful. So for now, I decided to make the exhaling part configurable:
Recap on what is missing
I made a small list of tasks with the idea to complete all of them by today. Here is an updated version, so I can focus on the missing items tomorrow:
- ■ Make the session logging screen a bit prettier
- ■ Show a simple chart with progress
- ■ Change color-palette to be something nicer
- ■ Ability to remove a session (useful for testing!)
- ■ Ability to change the timing (e.g. 10s exhaling and 3s inhaling)
- □ Add settings page
- ⤷ □ Configure if touching is required for timer to run
- ⤷ □ Configure if touching is inhaling or exhaling
- ⤷ □ Link to Kiru.io
- □ Add onboarding screen to explain the purpose of the app (new)
- ⤷ □ Ask general warning about Apnea exercise
- □ Add some explanation on the Time-Tracking page (new)
Day 10: Not Ready for App Store
Settings
Today’s goal was to make the settings page and finish the rest of the open tasks. I didn’t manage to close all tasks as planed. So far I got a settings page with two properties you can configure. They don’t do anything, actually. I haven’t had the time to finish implementing them.
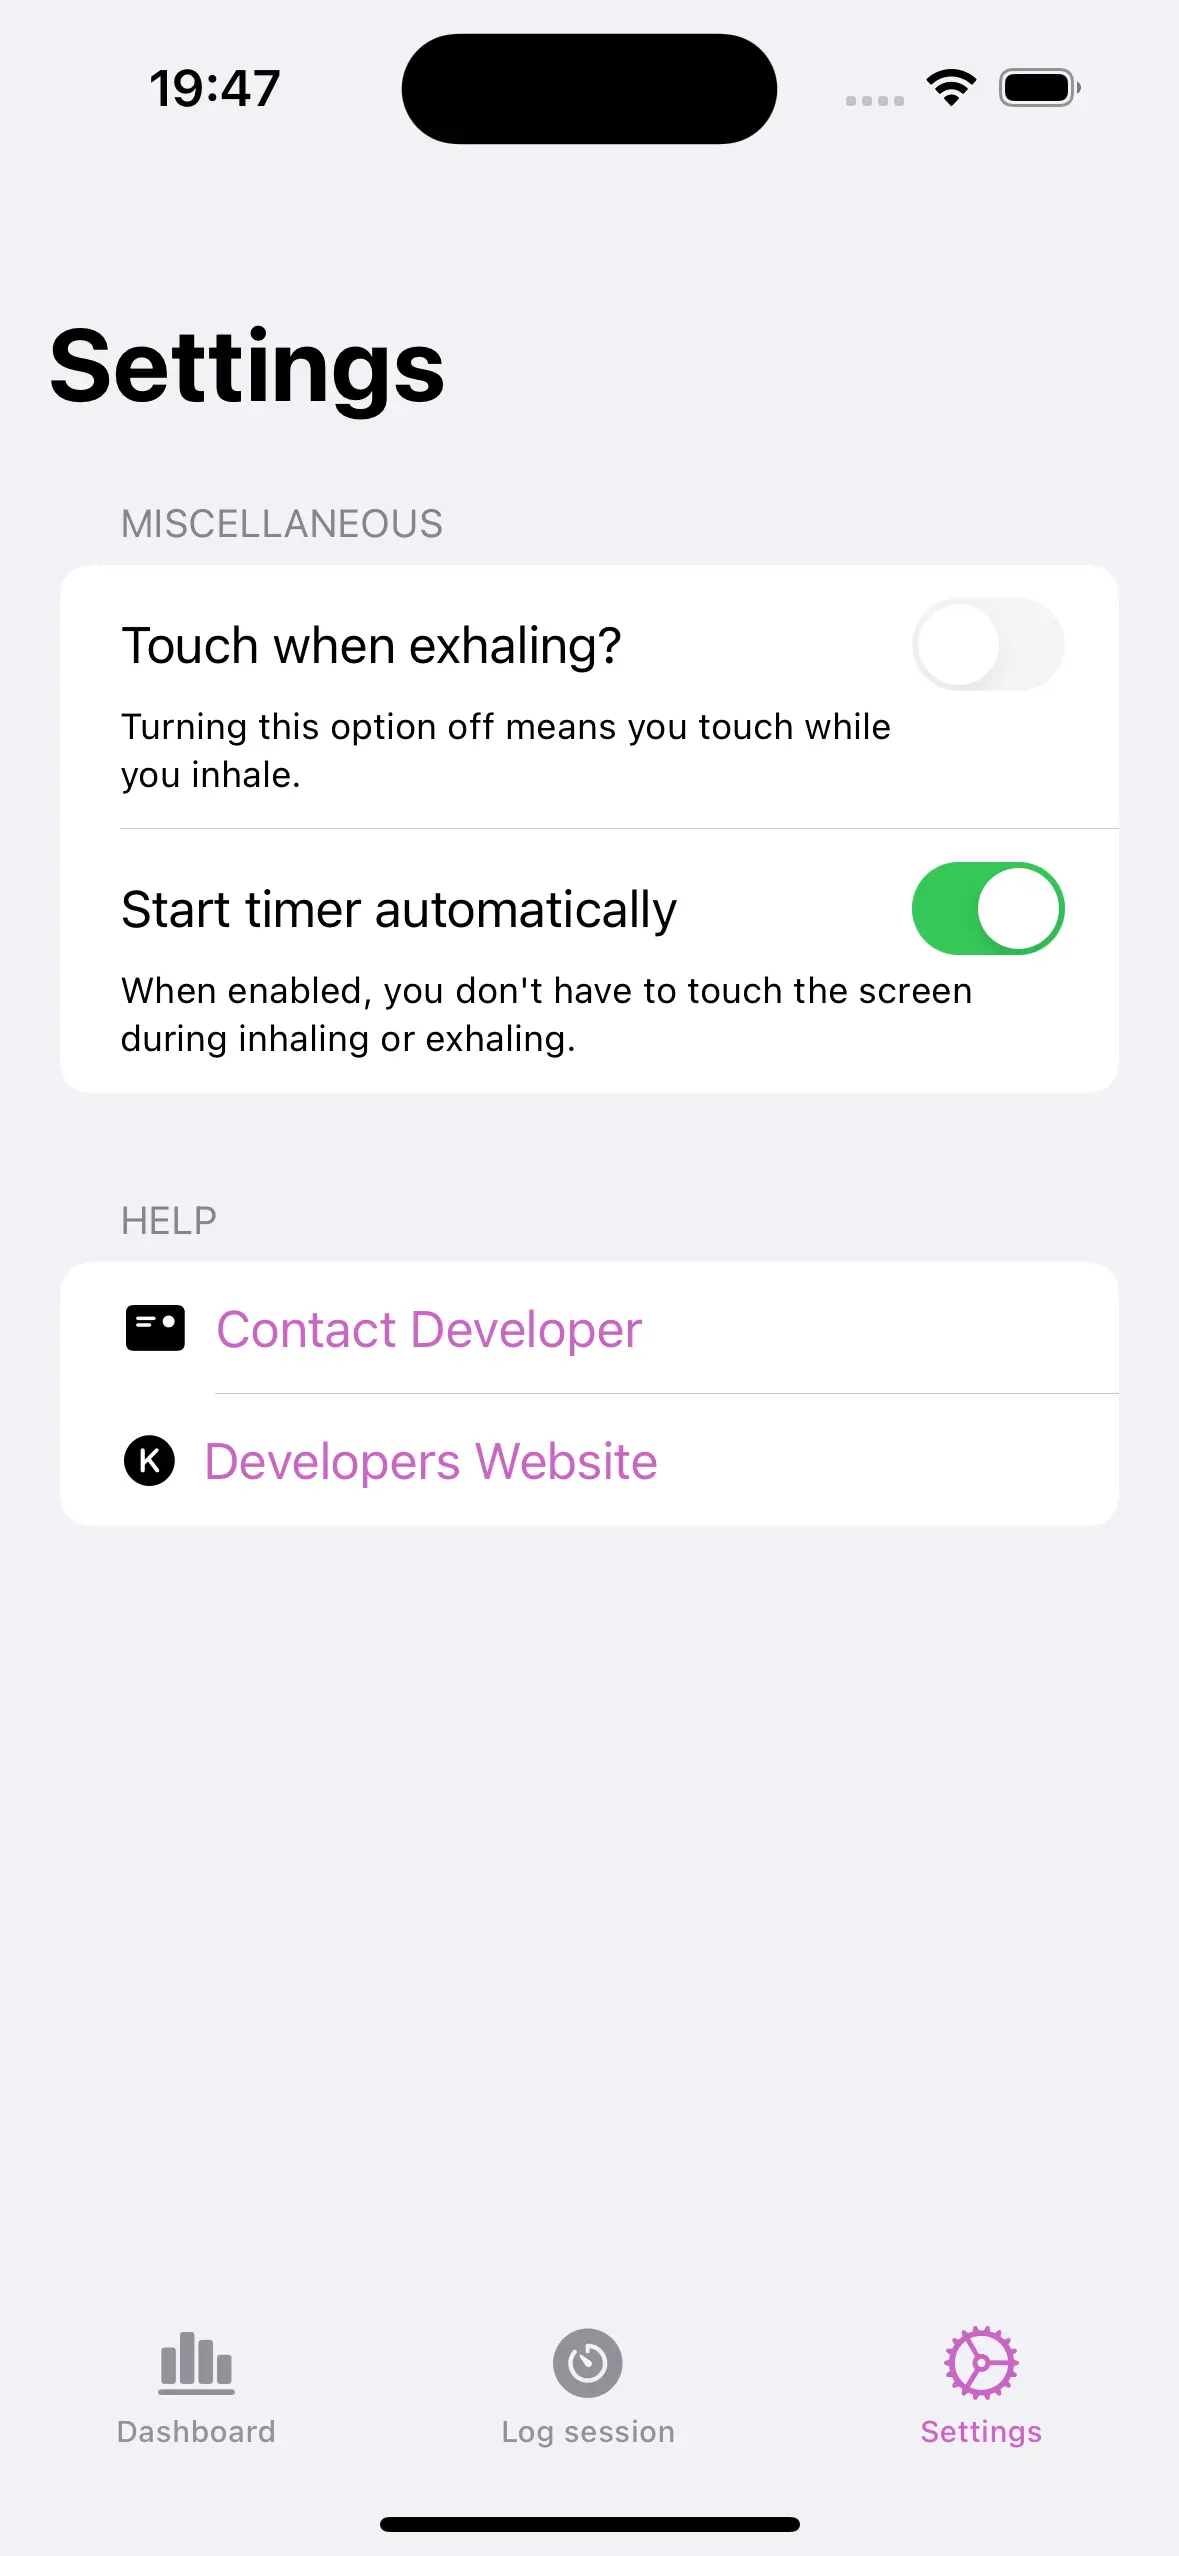
It’s Sunday after all. So I decided not to work too much. Let’s try to finish the rest tomorrow.
Day 11: Almost Ready for App Store
I made the settings page screen yesterday, but no interaction was implemented. Basically you could change the settings, but nothing would happen.
Today, I changed the Time-Tracking page to respect the settings, but then spent my time-budget to refactor everything. This was already on my list (not above, but something I wanted to do in the future. )
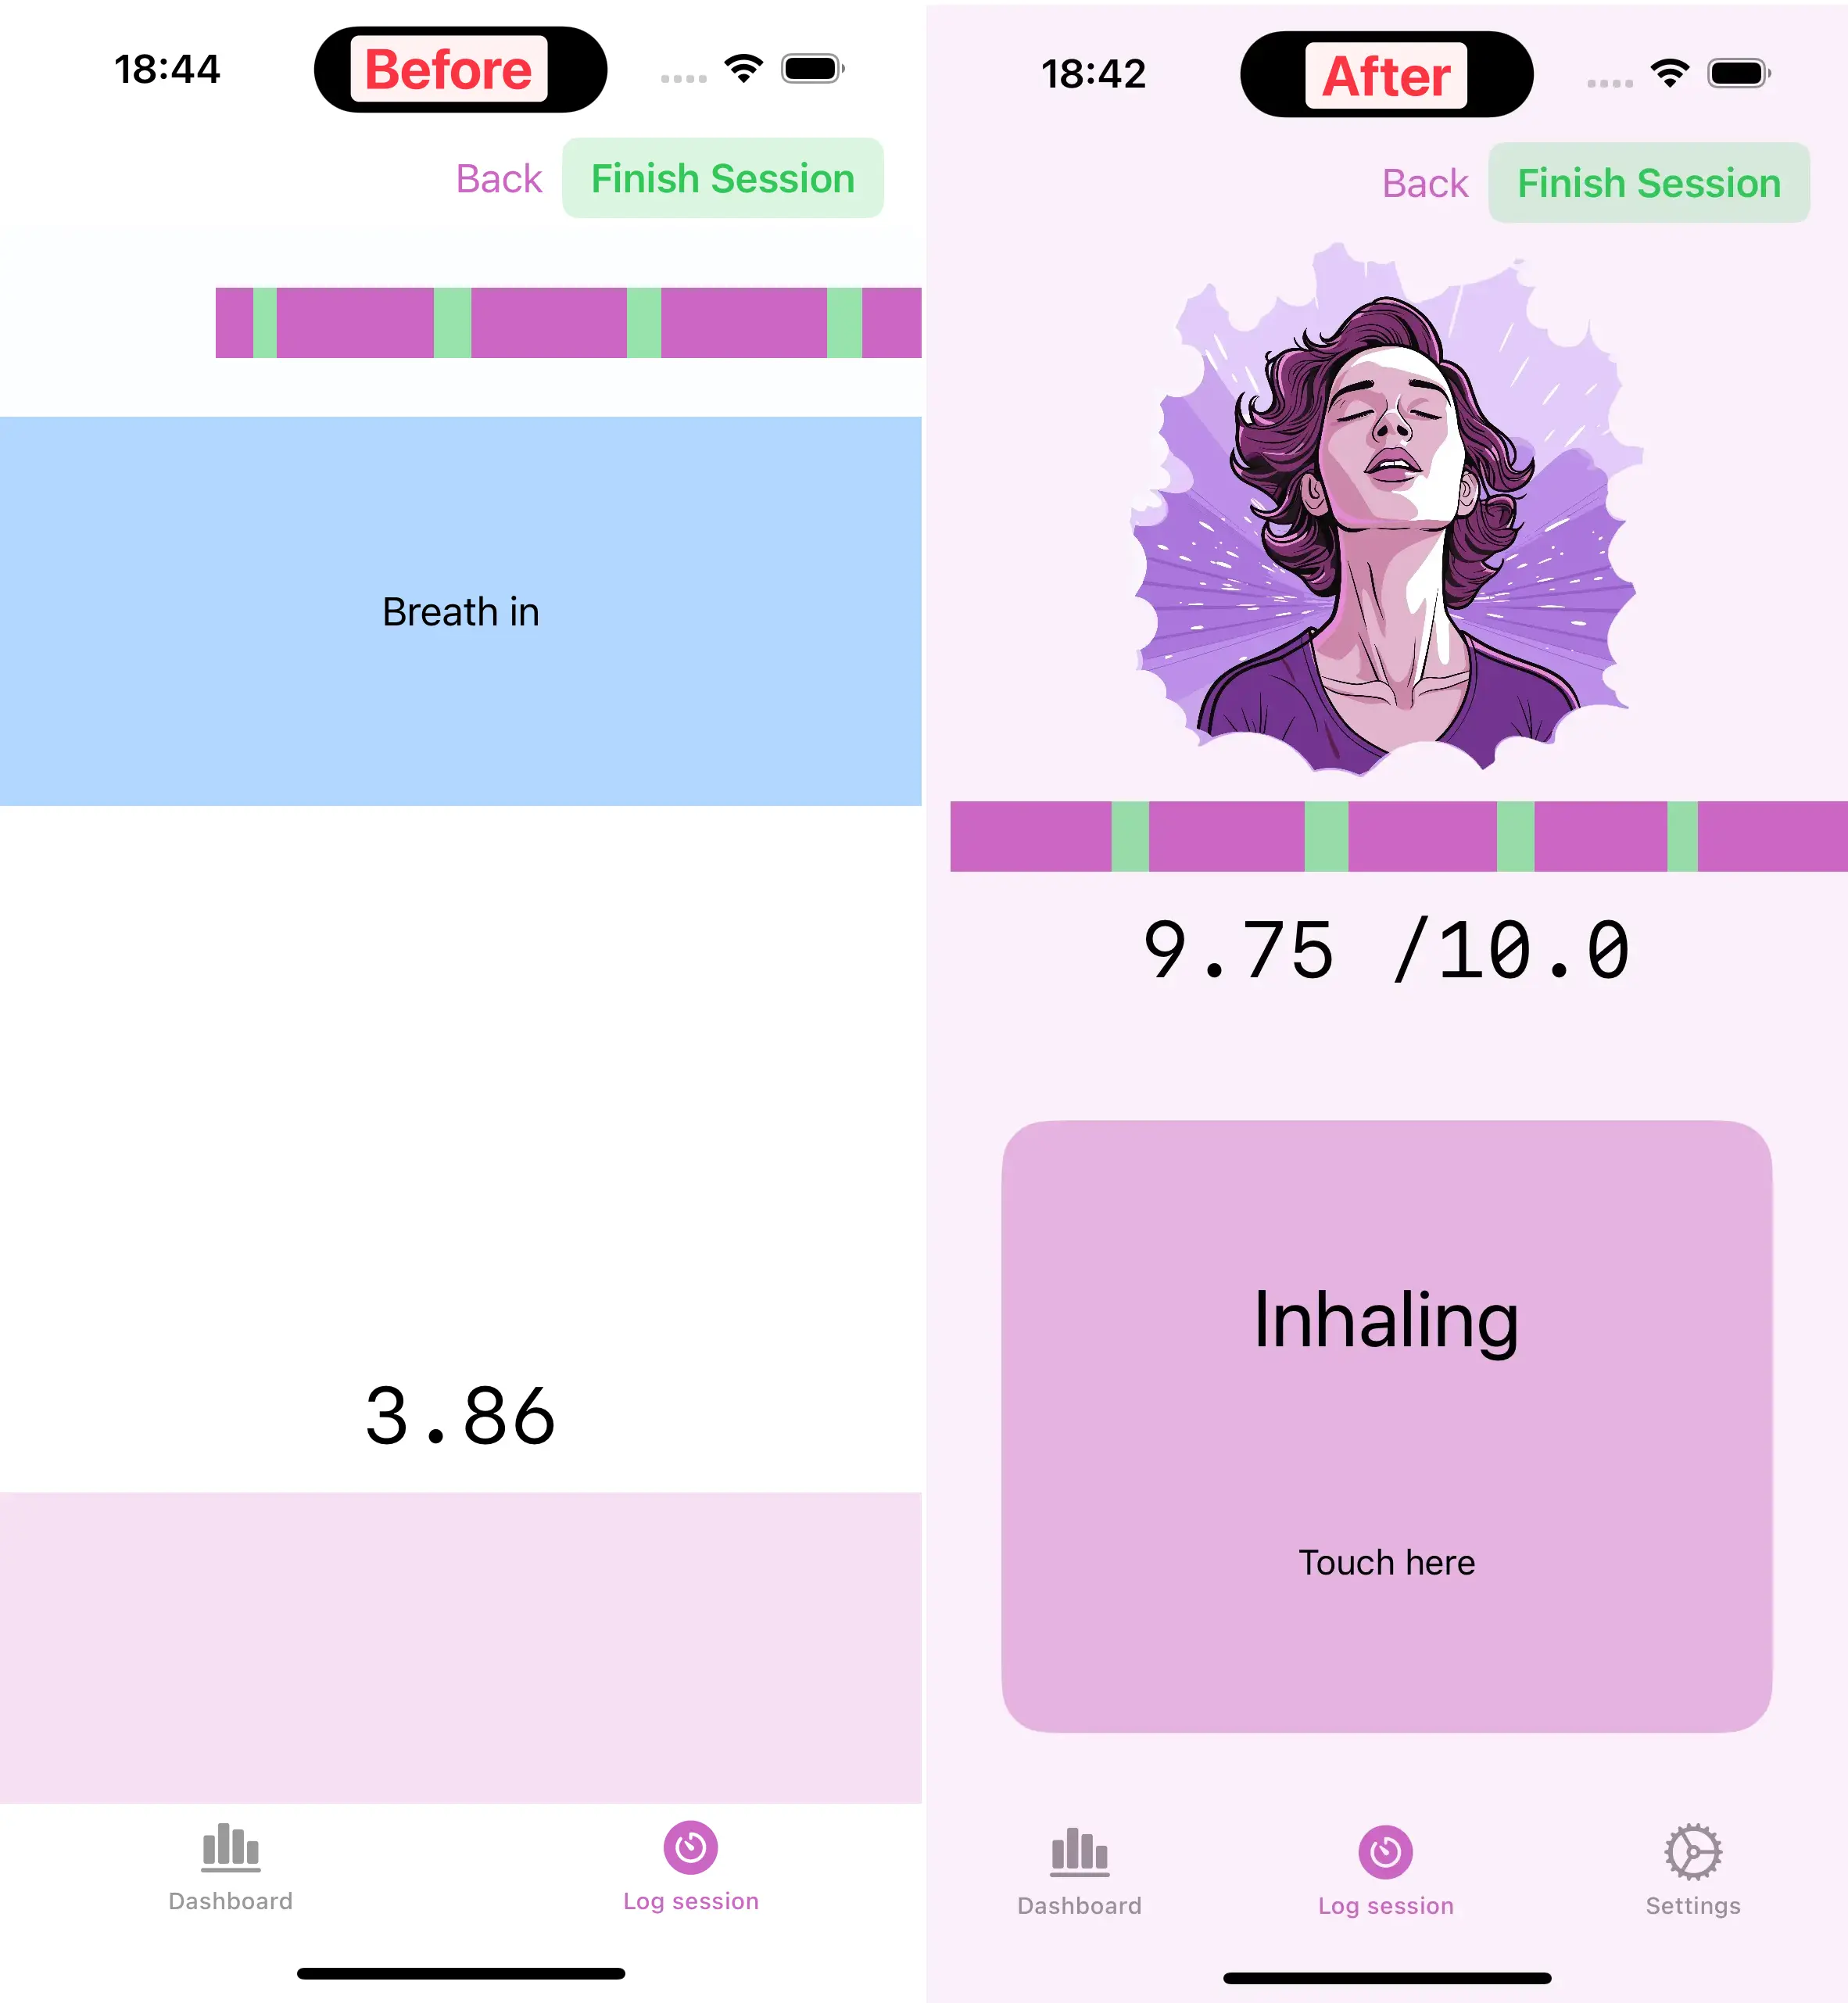
In any case, I will continue with the above list tomorrow.
Day 12: Still not Ready for App Store
I am still not close with the MVP. There are still some important items missing. Today, I focused on the small bugs and annoyances. The settings page is finally done. Well not really, I decided to drop one option, because implementing it was harder than I thought.
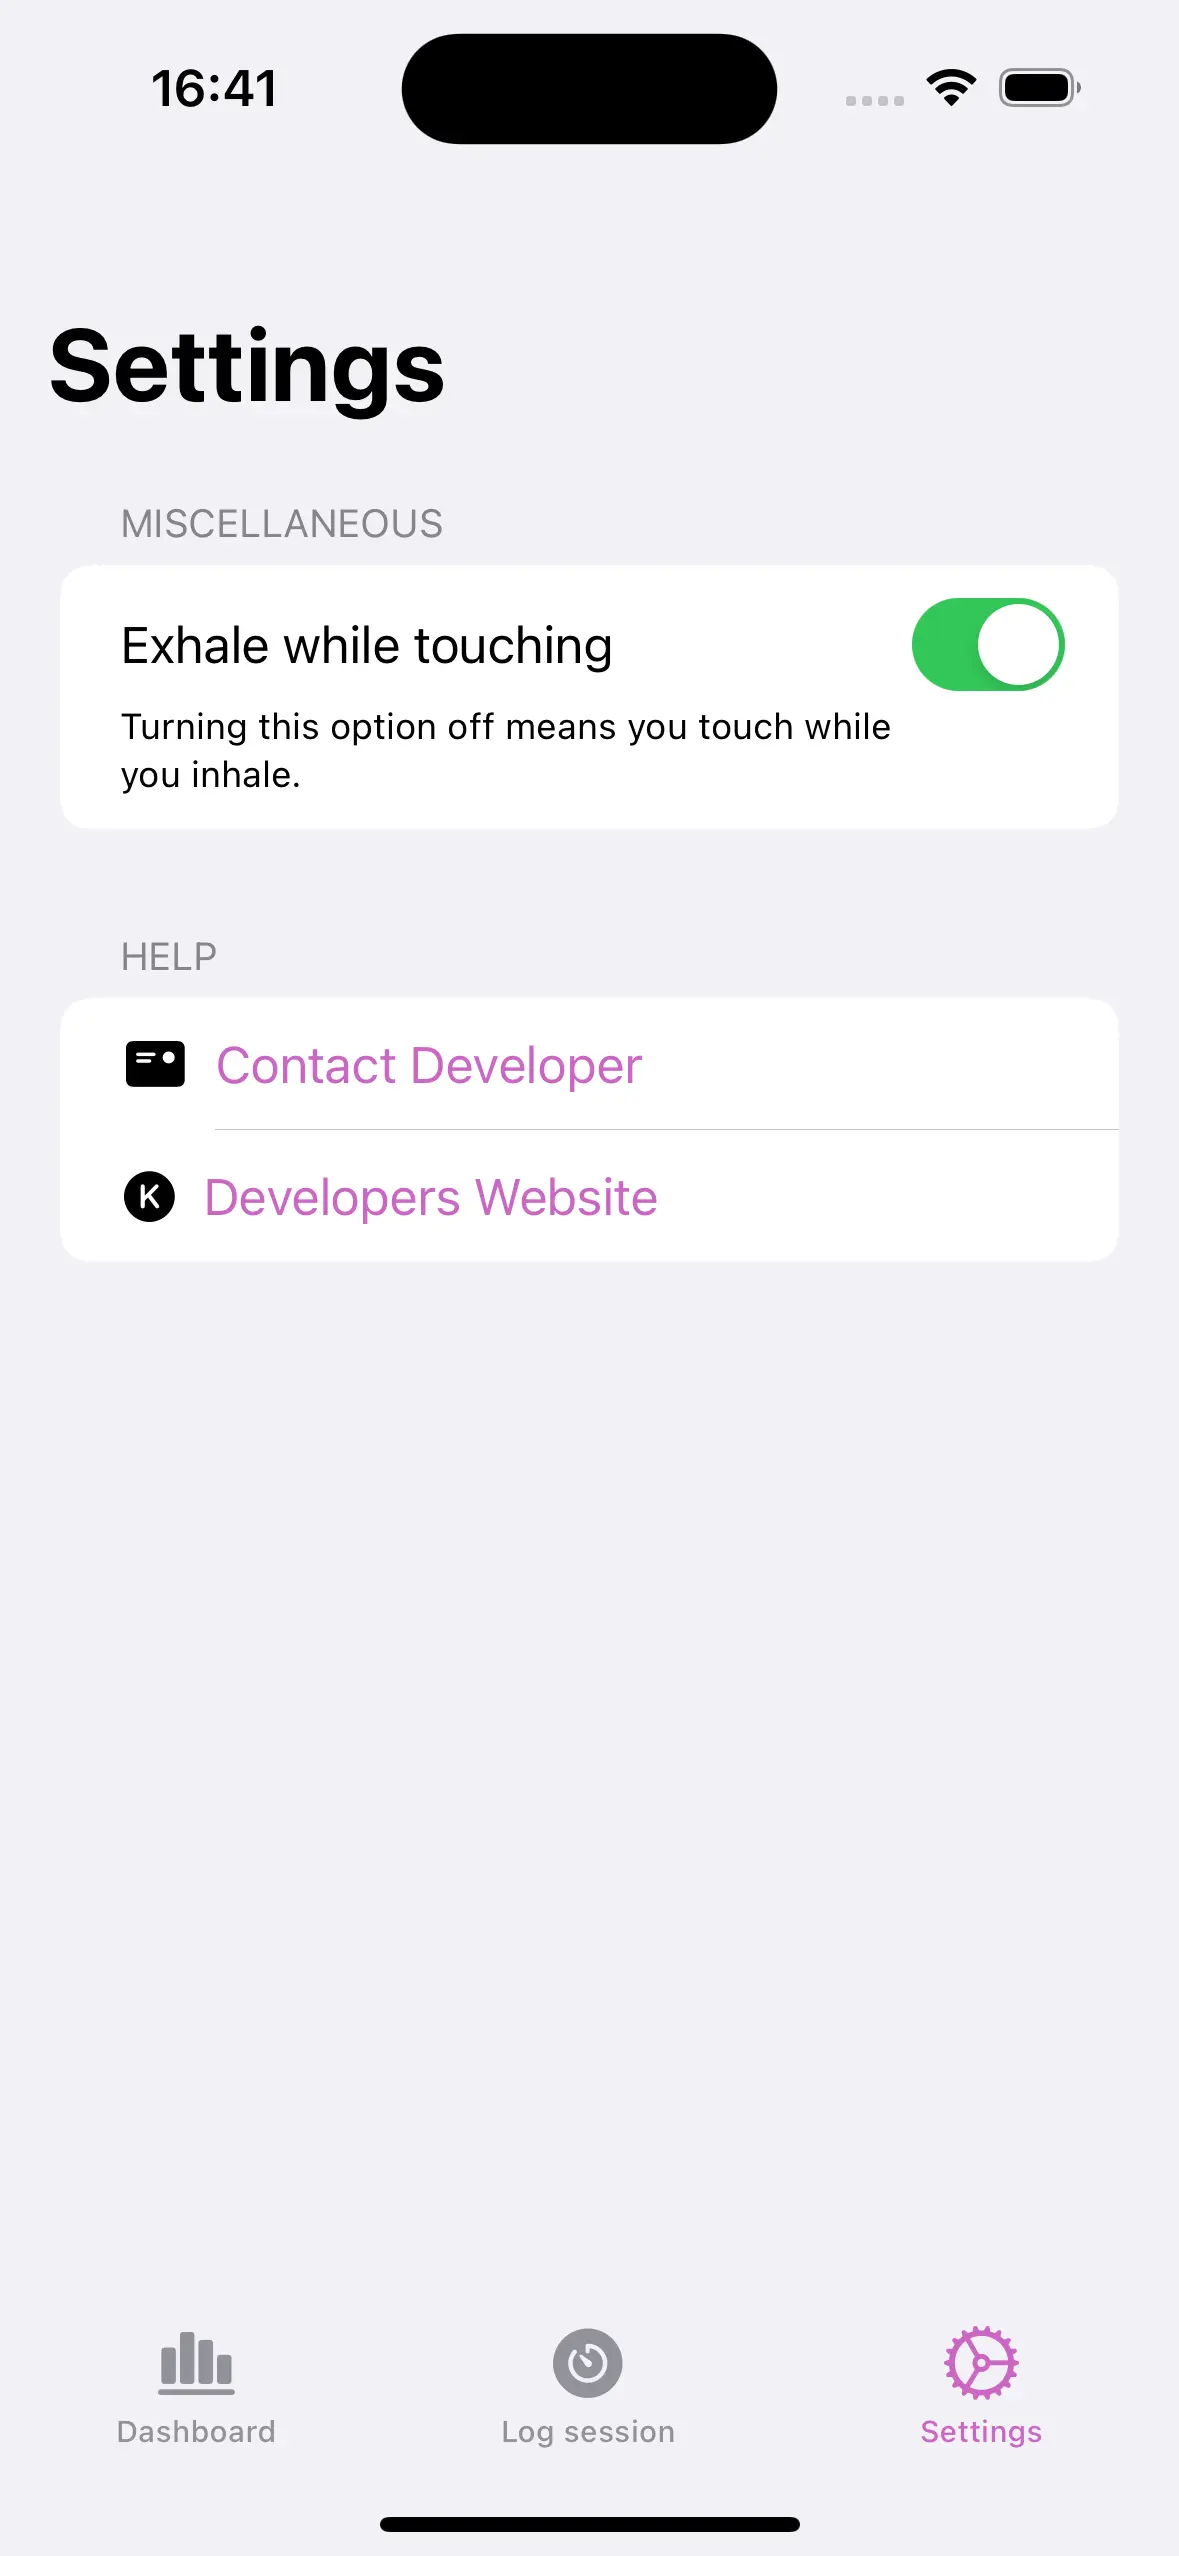
Then I changed the main page slightly and fixed some small bugs (e.g. show toast message when saved.)
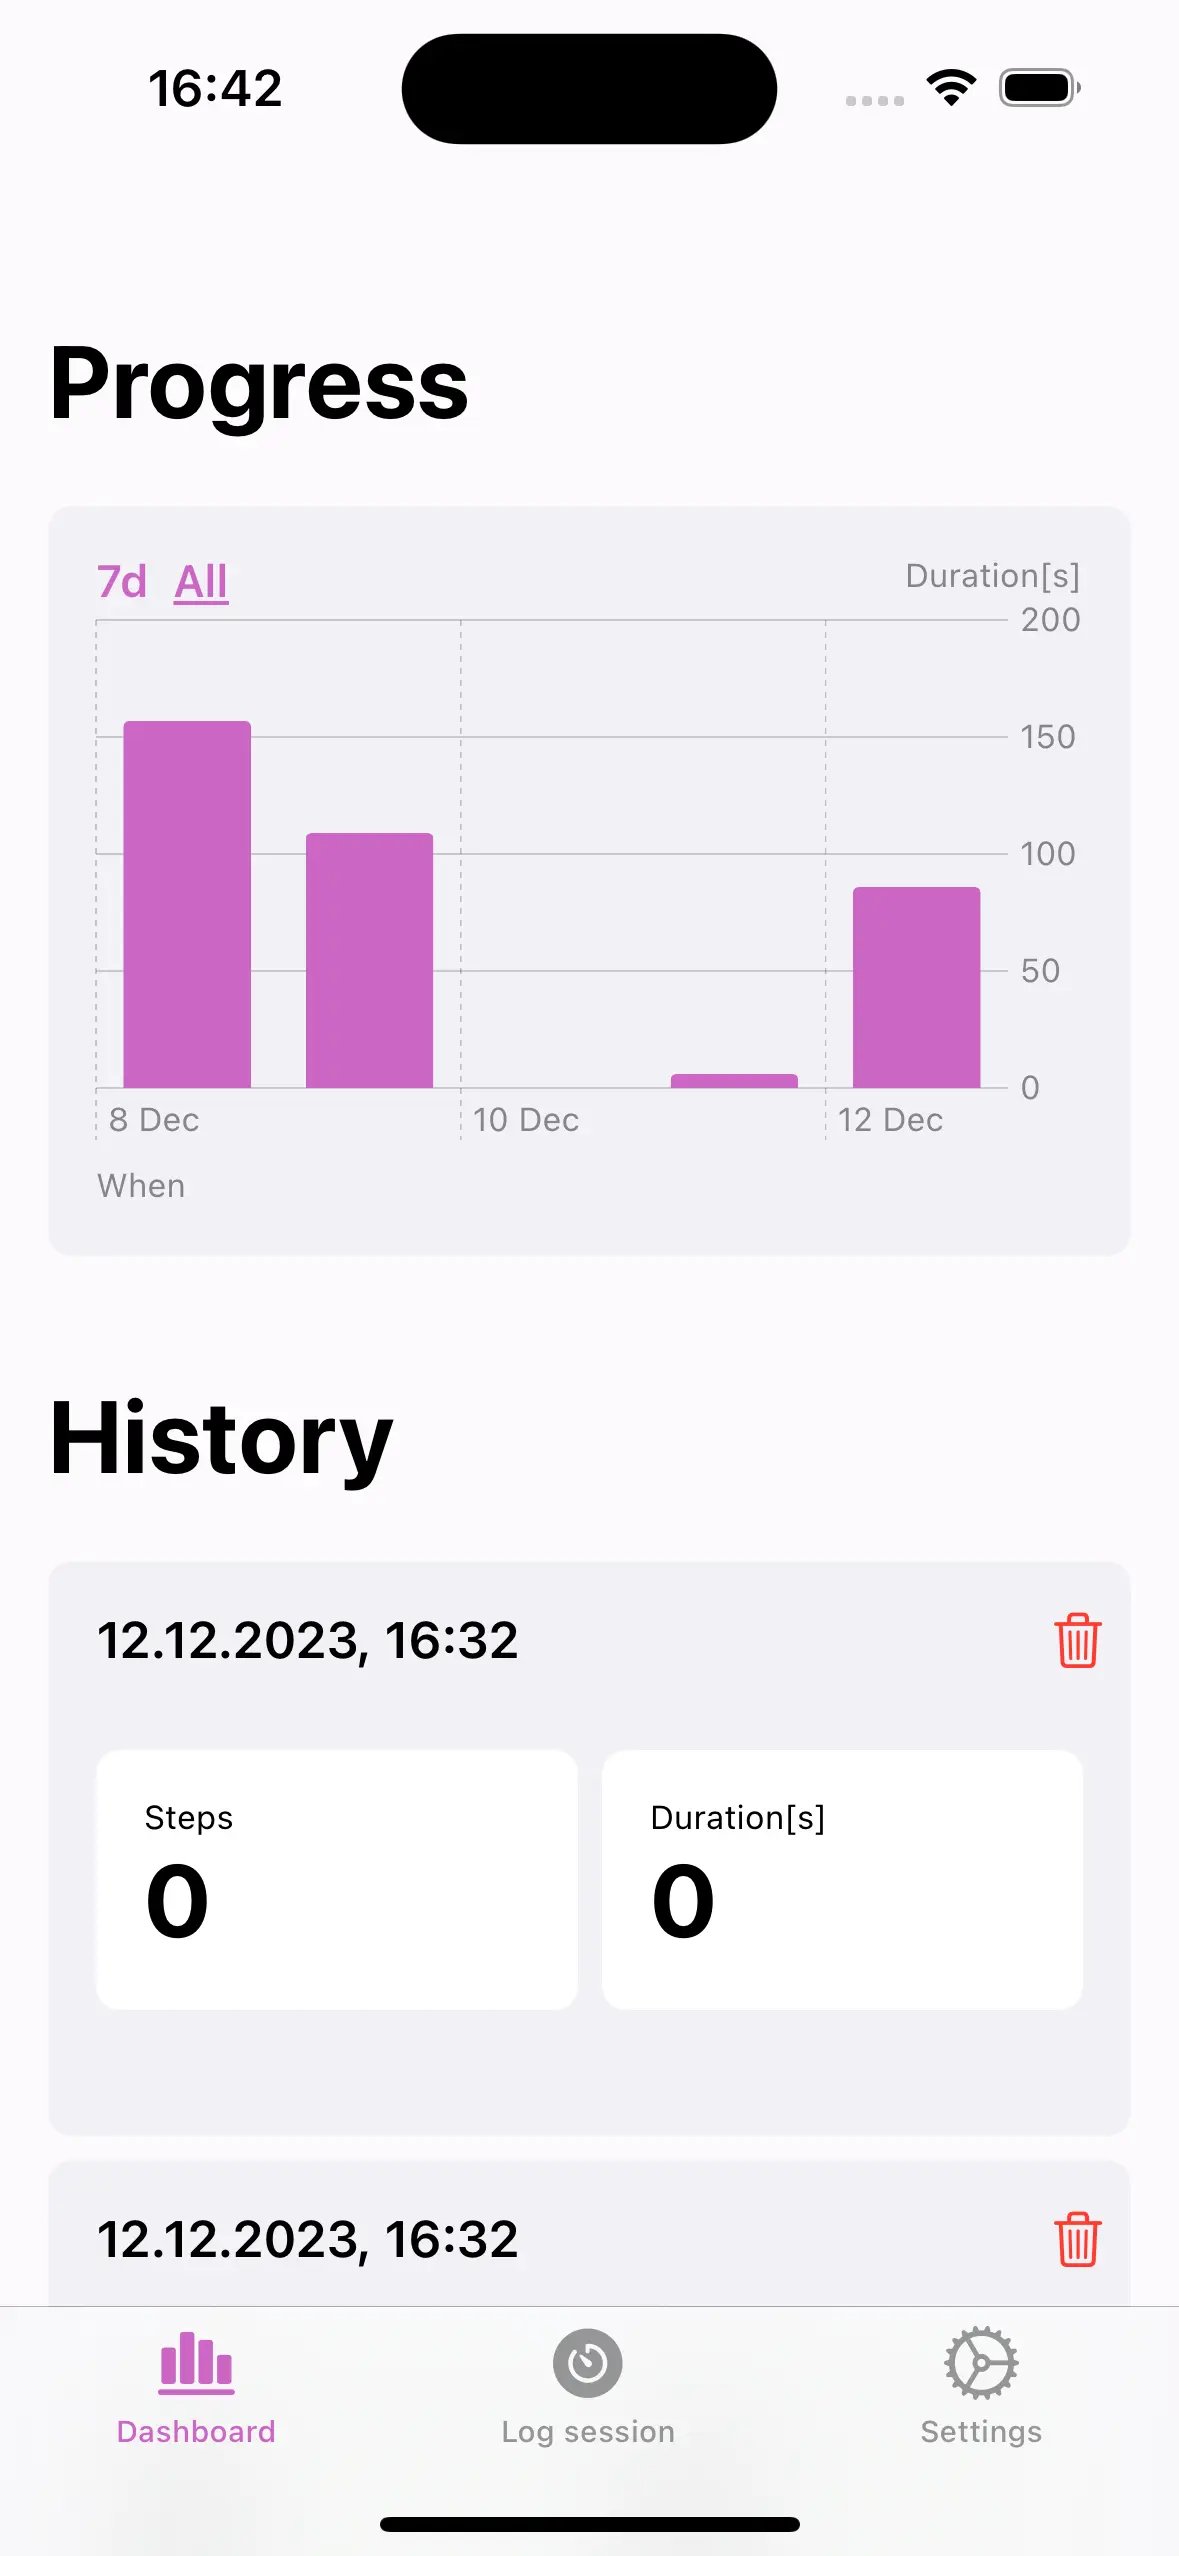
Day 13: New Name and Onboarding
New Name
The main focus today is to add a simple onboarding screen, which explains the purpose of the app. Before I start with the onboarding, I wanted to rename the app. For now the project is called “BreathSwim”, but that’s just a technical name. I asked ChatGPT for some suggestions:
- SwimZen
- AquaBreath
- SwimFlow
- HydroBreath
- AquaPulse
- SwimEase
- SplashBreathe
- AquaLung
- SwimAir
- HydroSync
- SwimAura
- AquaSoothe
- HydroInhale
- SwimVital
- AquaExhale
- HydroRhythm
- SwimBreath
- AquaEase
- HydroZen
- SwimRespire
None of them are really convincing for me, so I used my brain. Here is the output from KiruGPT:
- SwimBreath
- InExhale
- BreathInOut
- BreathOut
- Breathy
I went with InExhale, but that can easily change in the future.
Onboarding
To be honest, I did not work much on the onboarding screen today. For now, I have a single page.
Day 14: Onboarding brainstorming
I tried to continue with the onboarding views, but then got stuck on the second page:
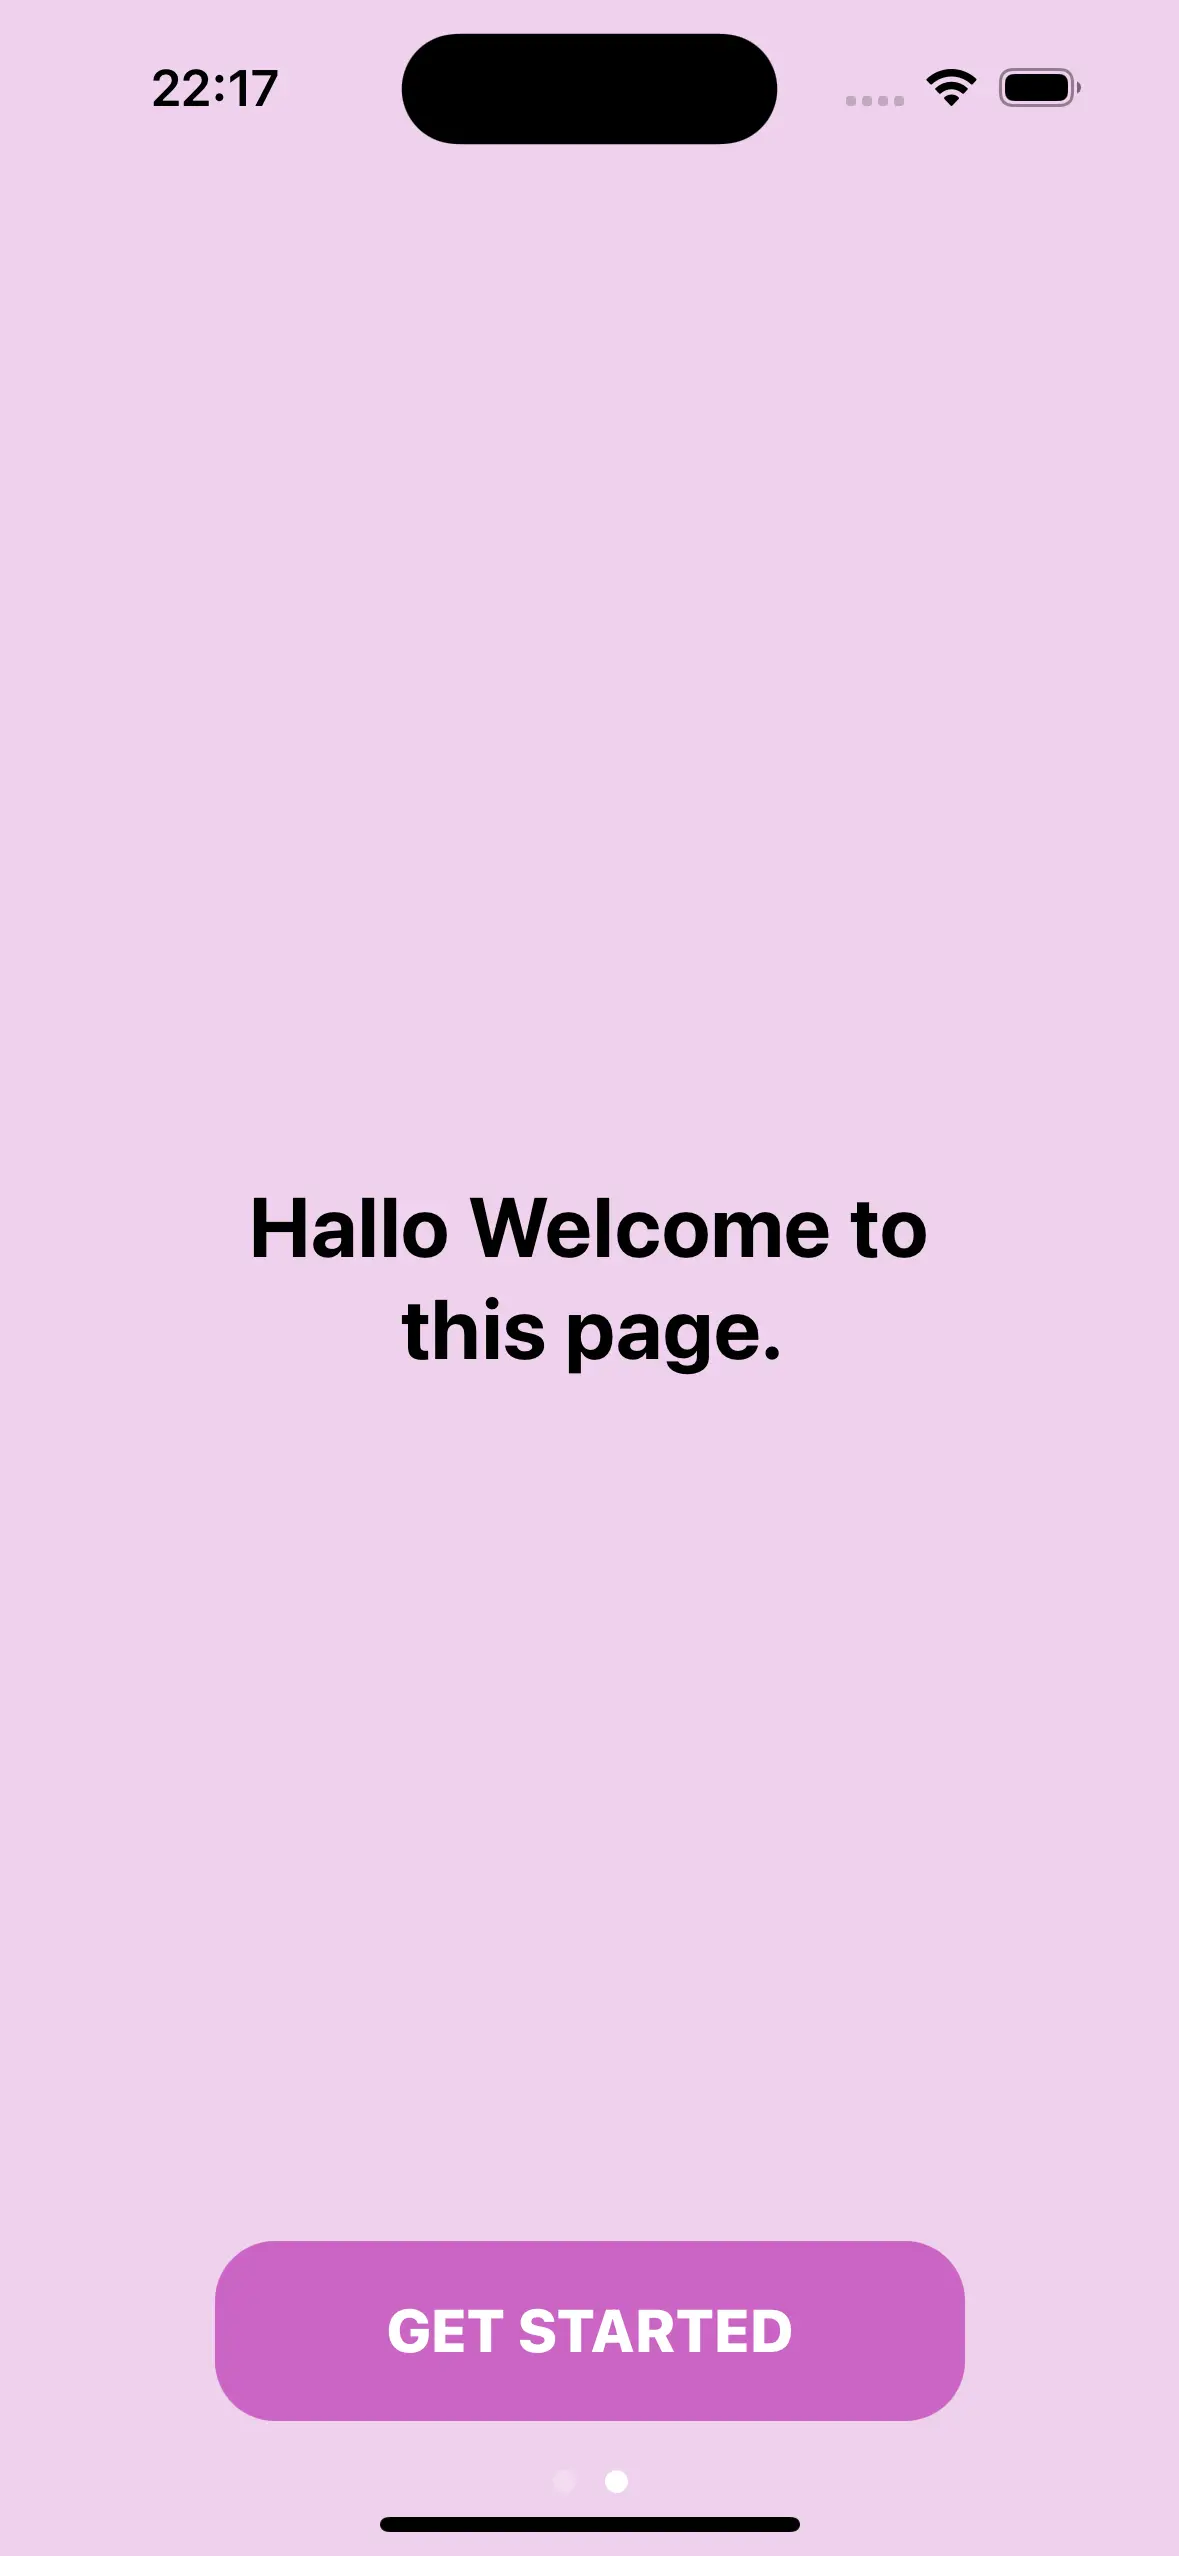
So, let’s use todays session to brainstorm about what I want to put on the onboarding page:
Welcome Page What I did yesterday.
Warning Page After all it’s a breath-holding-exercise app. Not really a meditation app, so I want to be sure and just display a quick warning.
Who made the App Page Why? To lower the expectation, and to tell the user how to contact me.
Explain how to use? Initially I wanted to add a page to explain how to use the app, but then, it’s intuitive. Let’s skip that for now. I can still add it later if people get confused about the app.
Day 15: Just Onboarding
I have been slacking about the onboarding screen, mainly because I don’t know what to put on it. Yesterday I did some brainstorming, but then when I tried to implement it today, I was like: Do I really need that?
Mostly not, so I went with the simplest/most-MVP like onboarding page:
Day 16: What is left?
On Day 7 I made a small list of remaining tasks which helped me a lot to keep track of my progress. Today’s plan is (as I don’t have much time either) to update that list. Here are the missing items from my perspective.
- □ Prepare App Store screenshots for submission
- □ Write the explanation text for App Store Submission
- □ Generate privacy link for the app
- □ Find proper name and subtitle
- □ Submit to App Store
- □ Ask on Reddit (or other forum related to swimmers) with a TestFlight Link
- □ Add link to mathlegame.com
- □ Add link to reversle.net
- □ Add link to Twitter
- □ Add a link to Kiru.io with a separate short explanation
- □ BUG: The line-chart is not correct and breaks up at the end (this I can fix after submission)
- □ LOW: Add some explanation on the Time-Tracking page (new)
- □ Low: add automatic time counter -> Decided not to implement
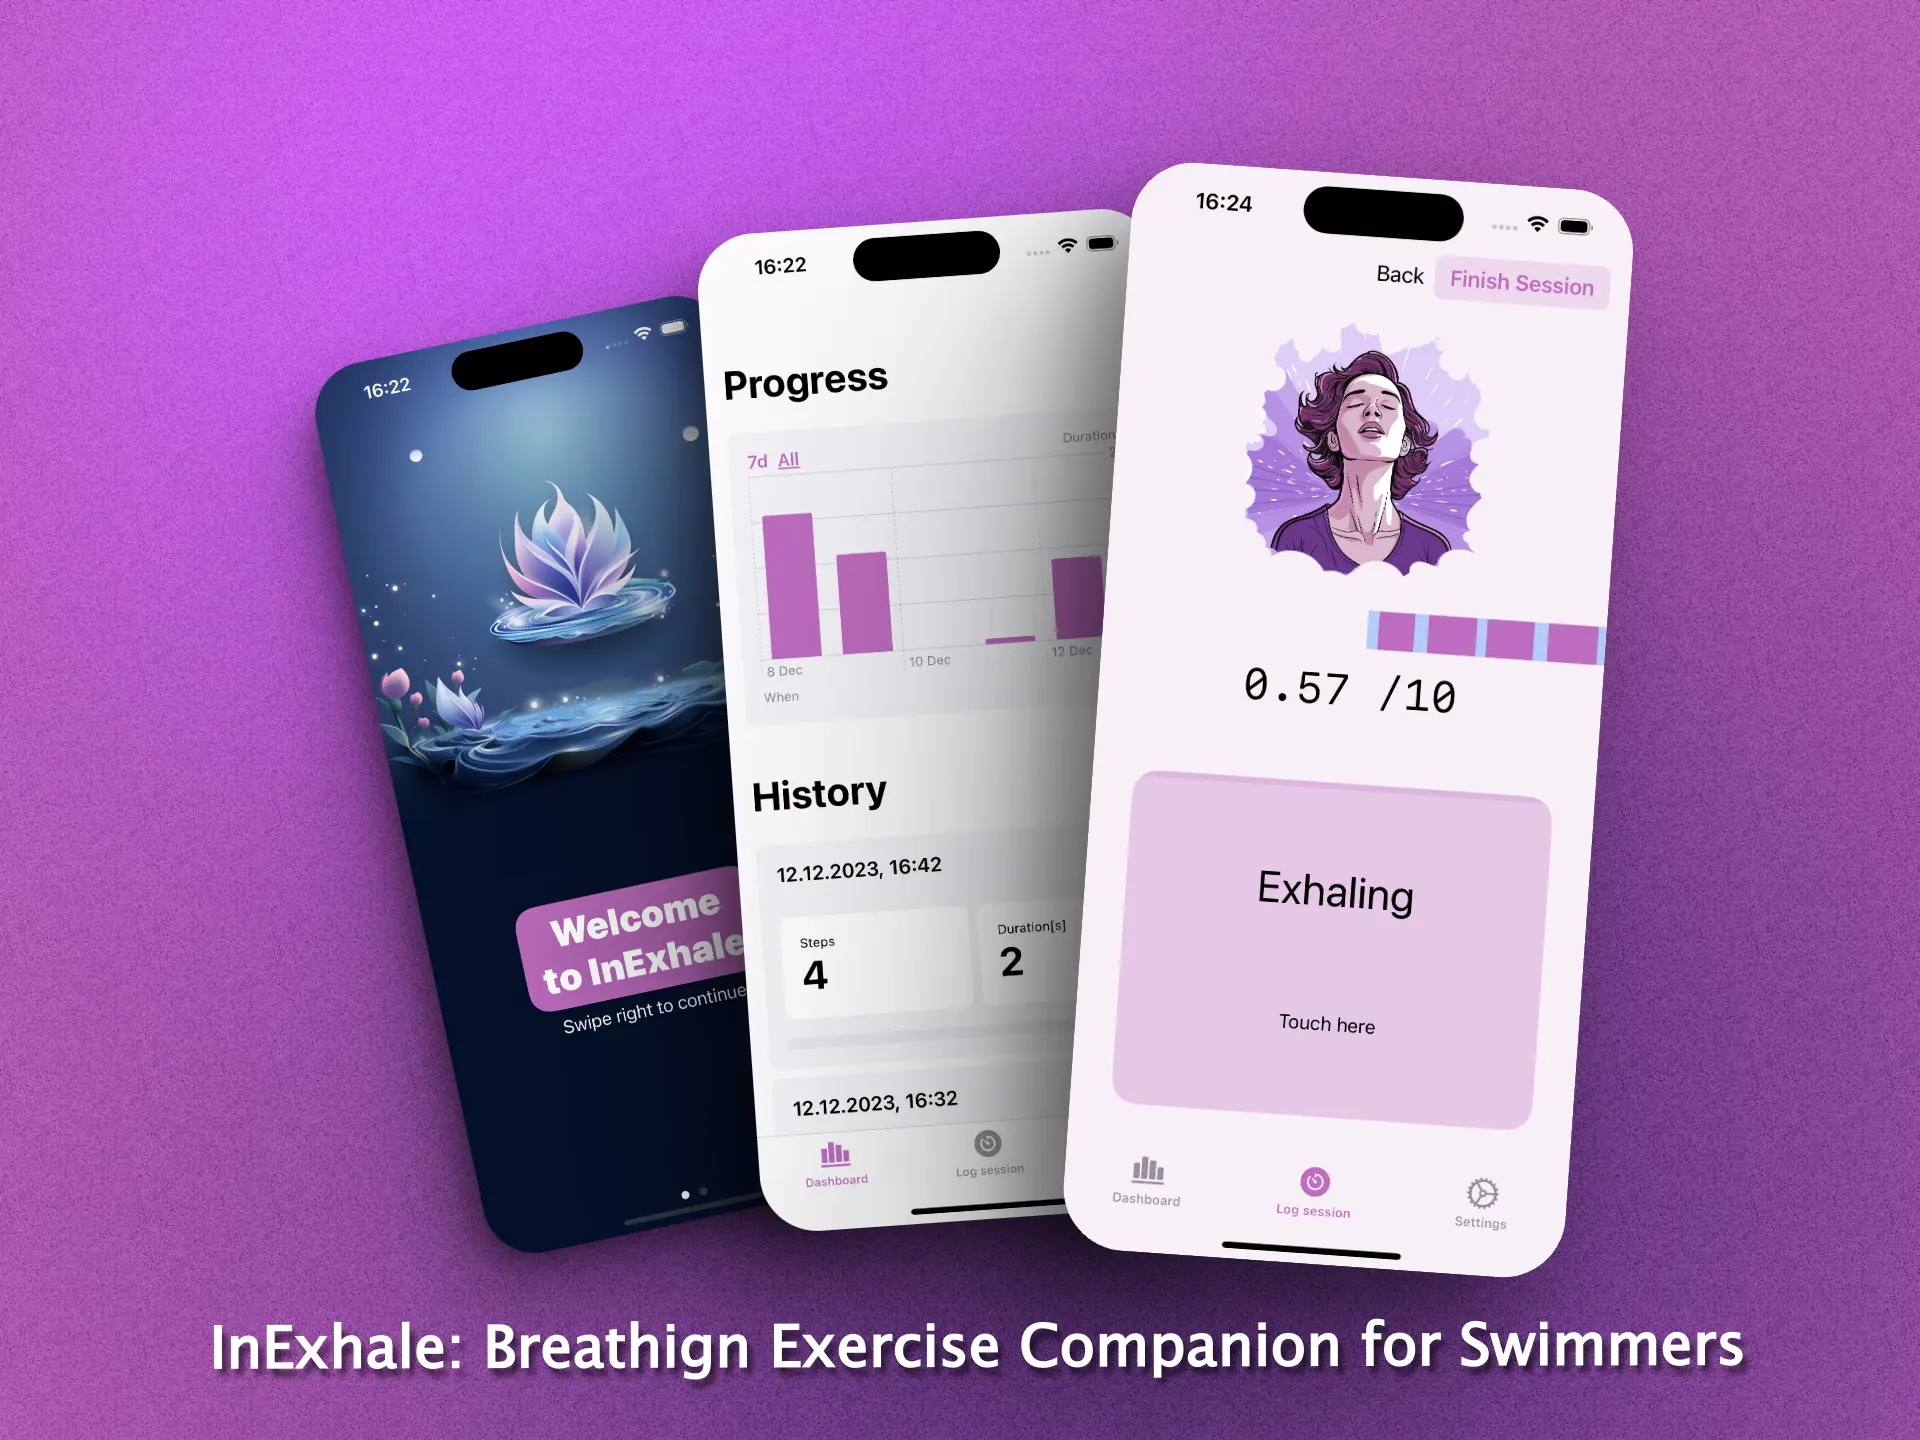
I added some new tasks, which I forgot initially. Apart from the above list, I started creating a bunch of screenshots from all the screens I have (not that many) and spent some time to create this overview image:
Day 17: Screenshots
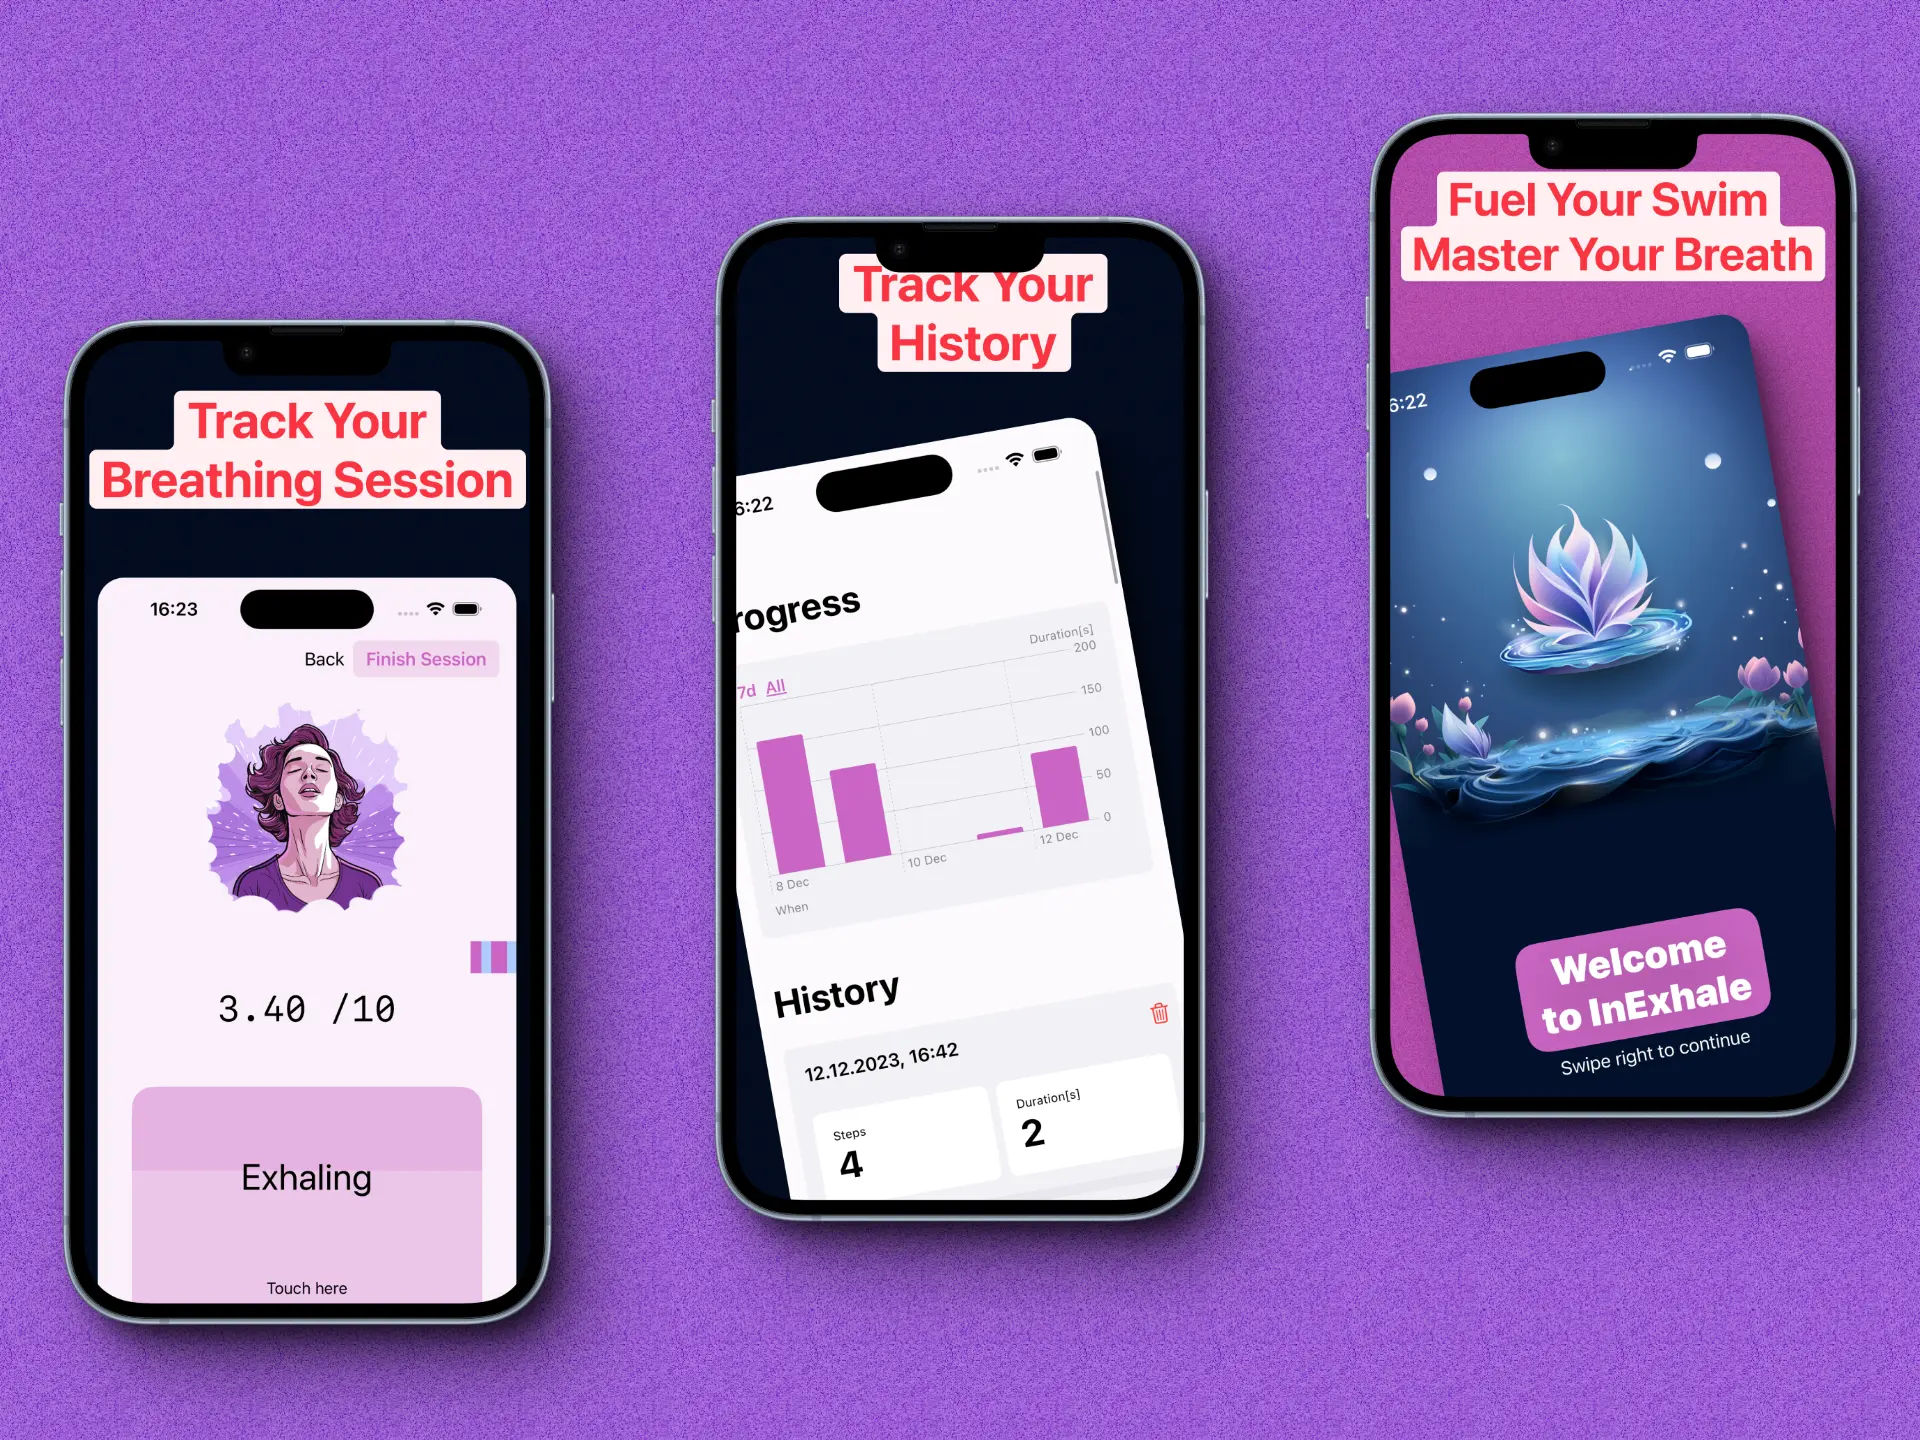
One of the most time-consuming aspect with the app store submission is creating the screenshots. They have to be in a specific format - and you want them to look decent as well. Today’s focus was exactly that.
The tools I mainly used was Shots.co, CleaShotX (It is primarily a screenshot tool, but I can add text very fast) and Photoshop to get the dimension correct.
After fiddling around with different screenshots and text, this is what have in mind now.
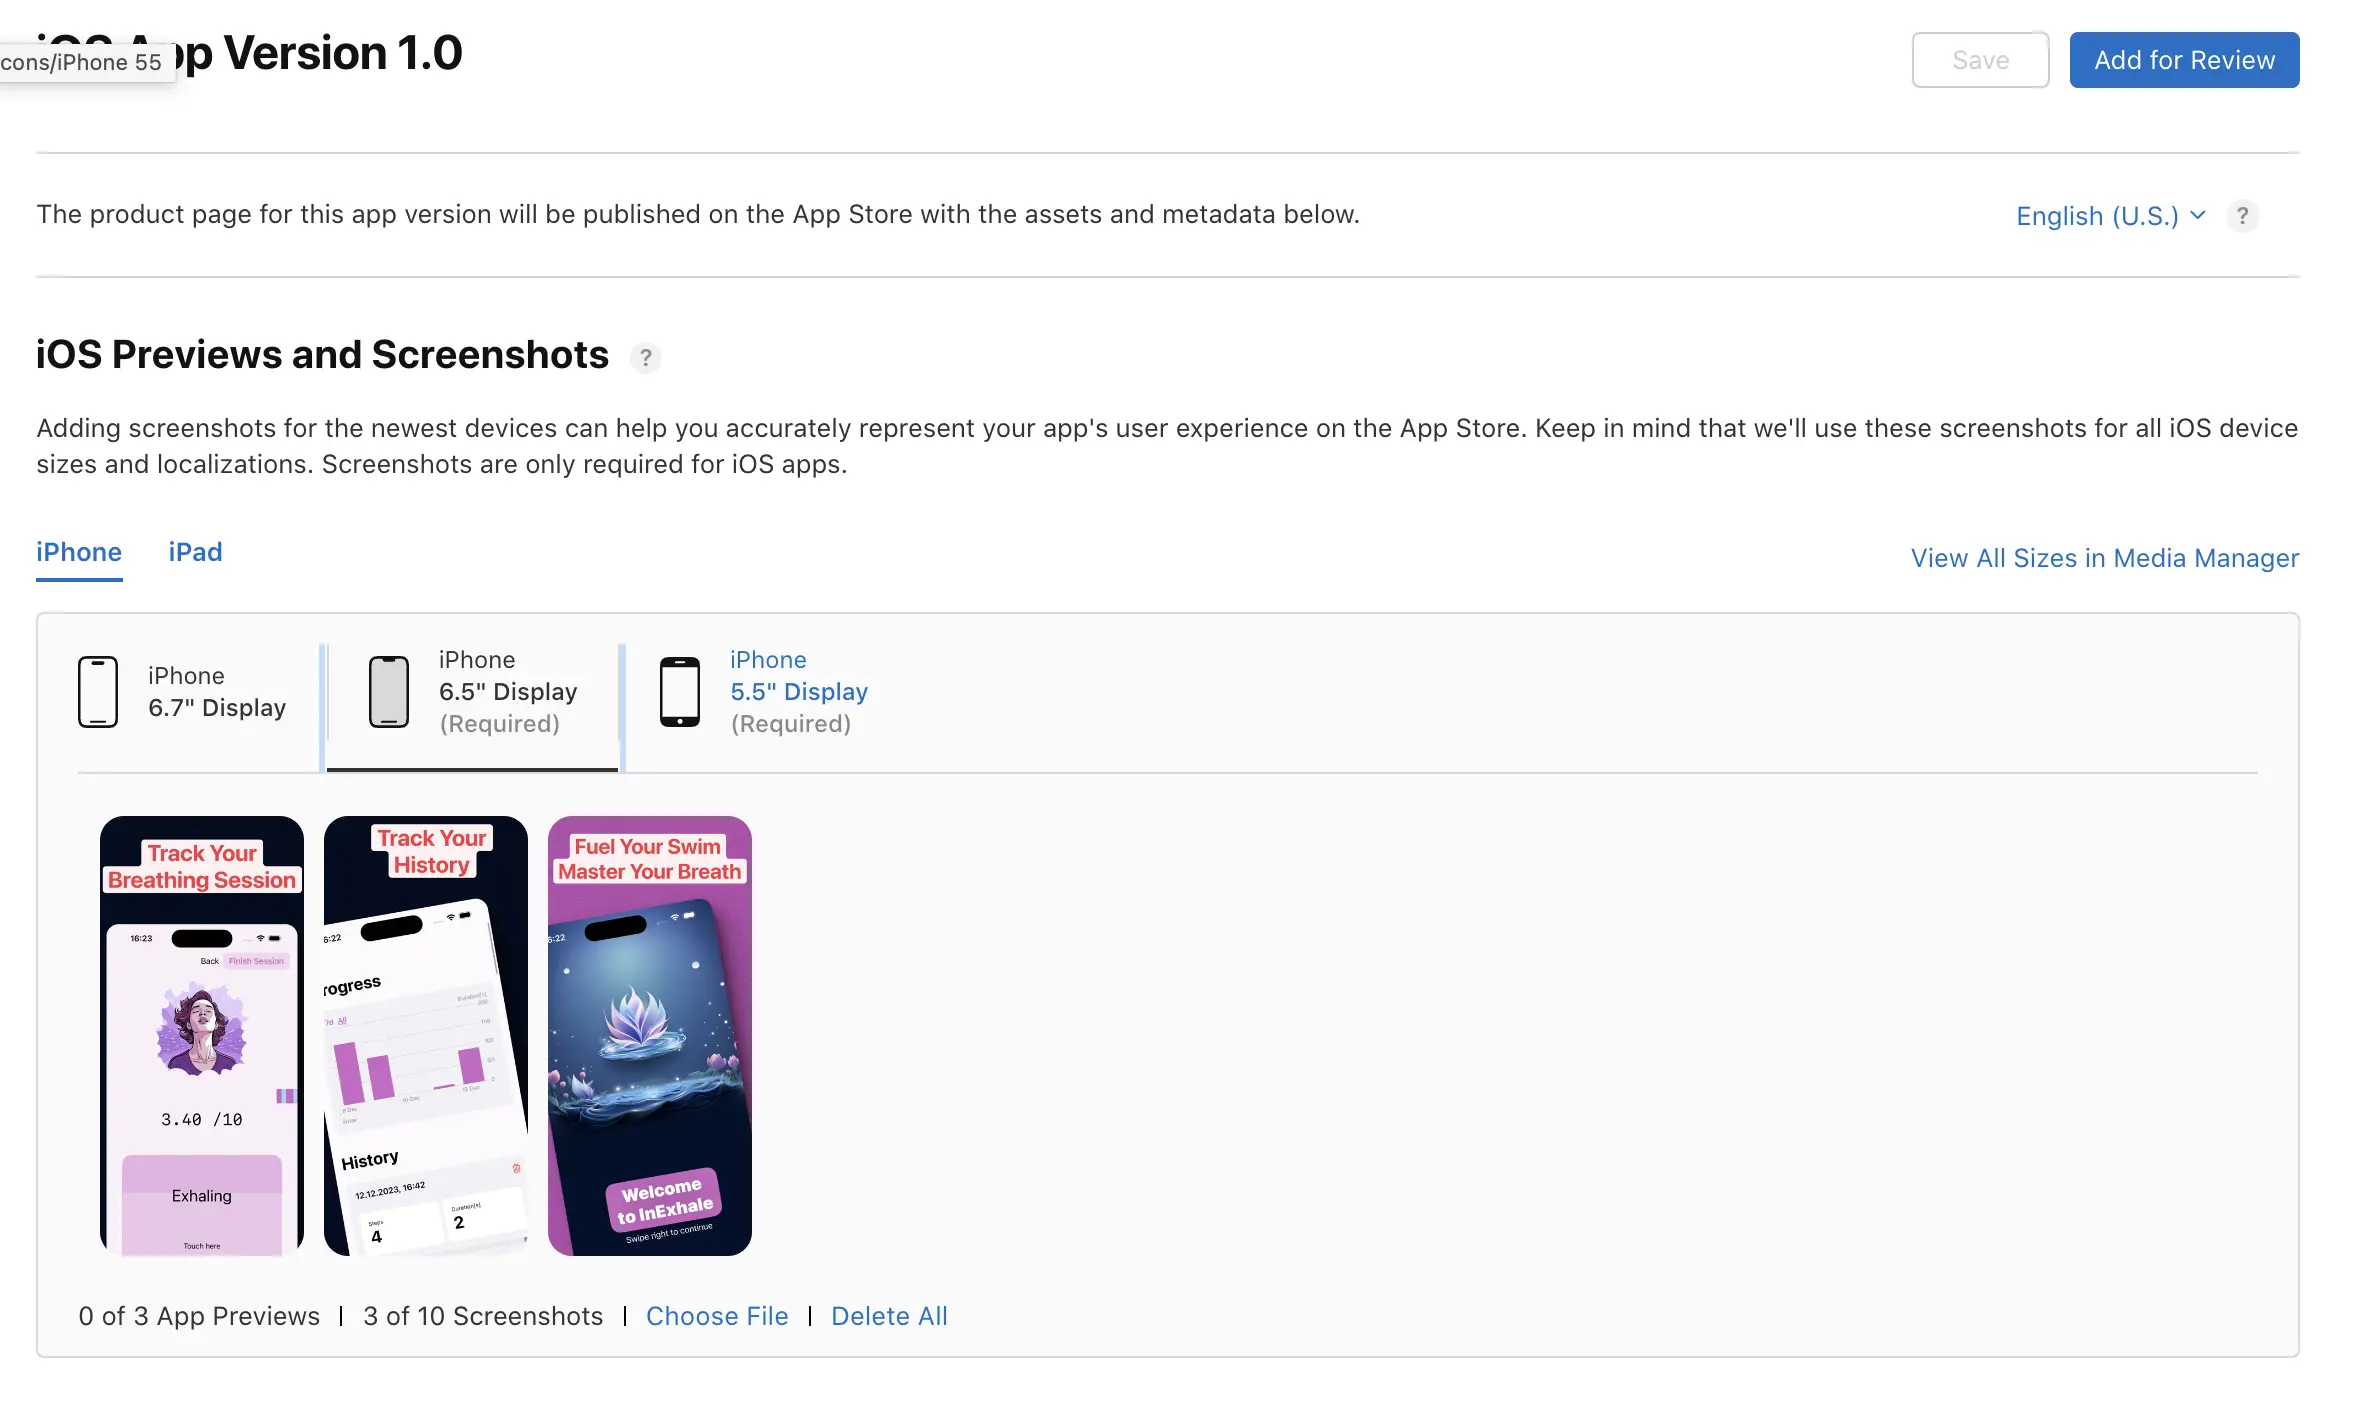
These are the pictures I added to App Store Connect:
Day 18: App Store Submission
The main focus today is to submit a version to the app store or at least have something which I can give to review. After some keyword research, I came up with a name, keyword list and a description. The description was not complete yet, but I could still edit it once the app got approved.
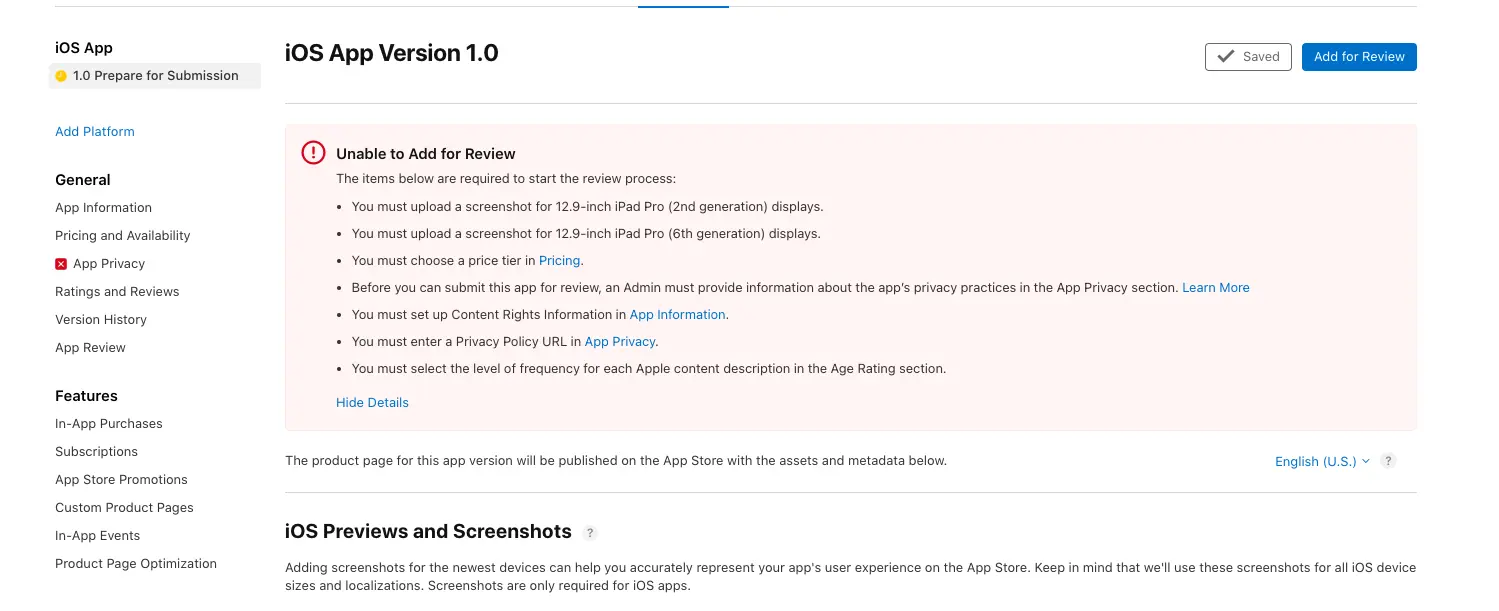
So apparently my App is also for iPad which I didn’t intend, so let’s disable that in Xcode. Once I removed and the iPad and MacOS Target, I published a new version. The pricing and privacy policy items are straight forward, since I want it to be free for now and I don’t collect any data. For the privacy policy URL I had to add a new link (this one).
What else is missing? Second try:
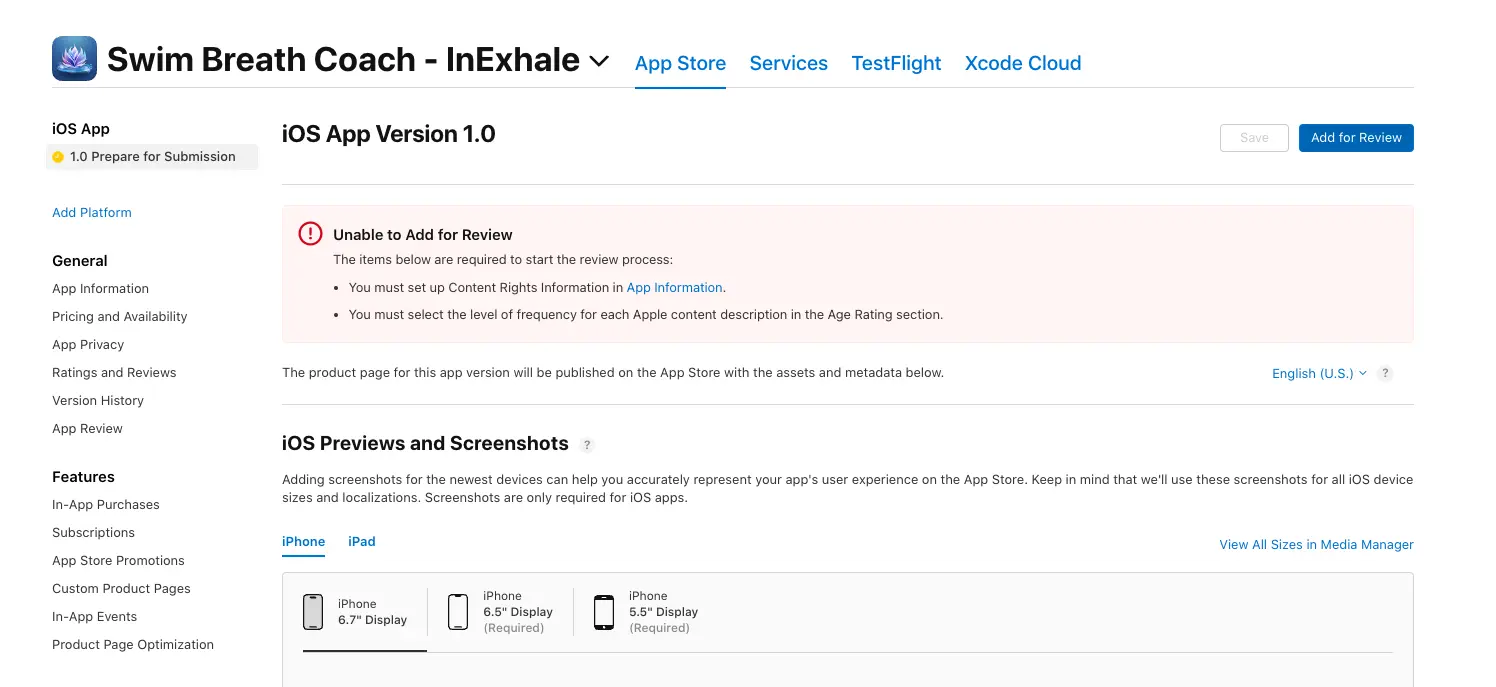
Those items were easy to fix. Let’s try again:
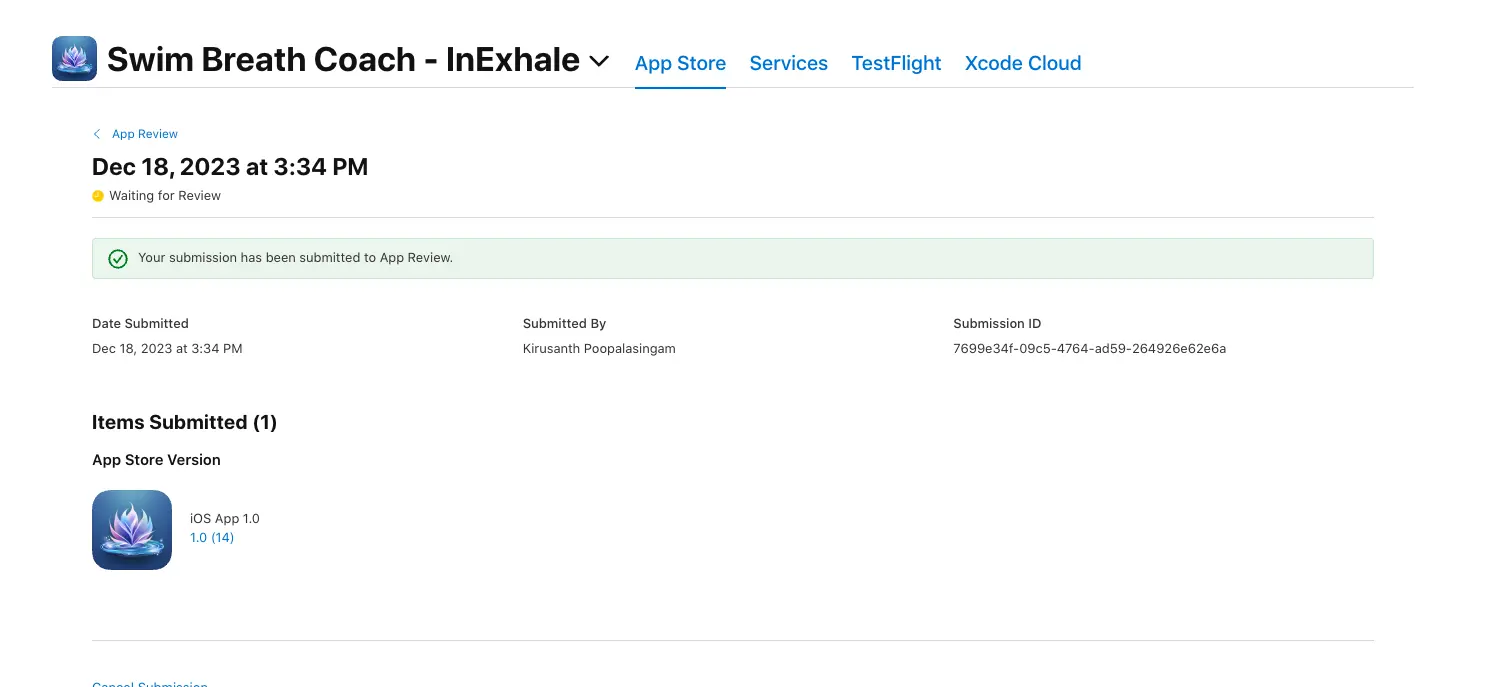
Yaay! 🎉 First step done. Now I can focus on adding it to my website and improving the app.
Day 19: InExhale in the App Store!
App Store
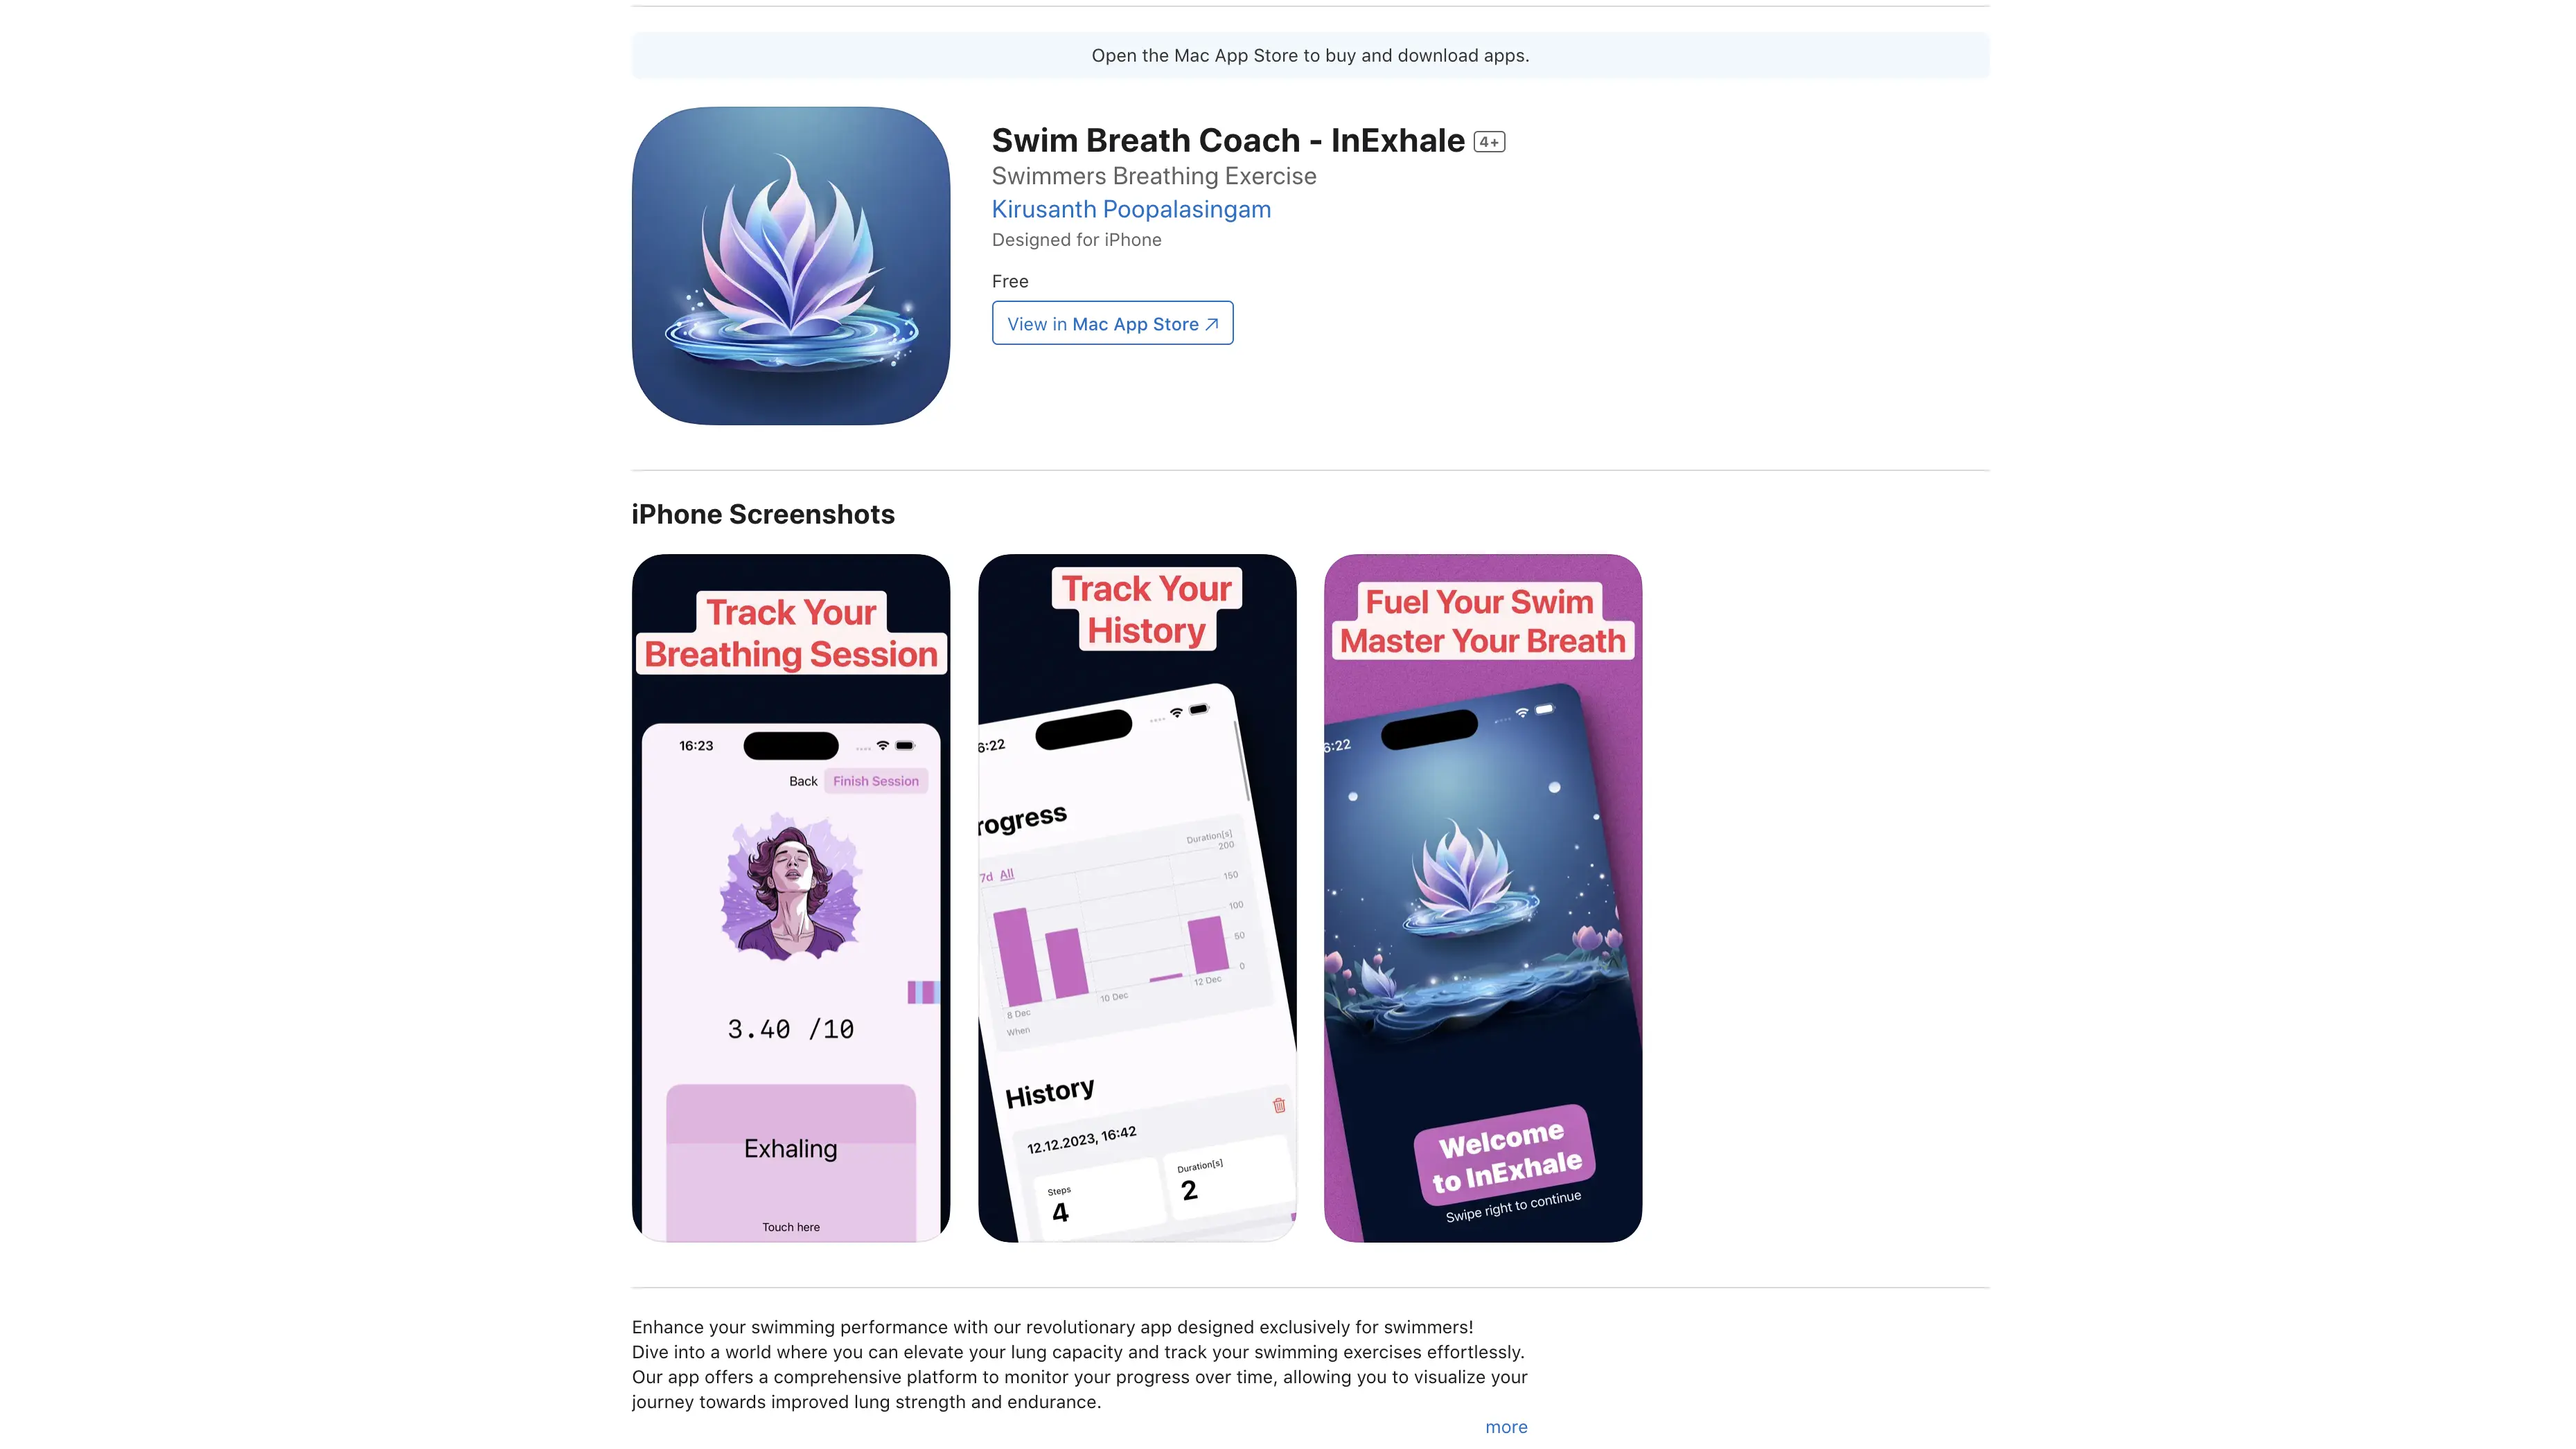
My plan was to add the app with the TestFlight link to my website, but then my submission from yesterday got accepted today, and it’s available now in the App Store!
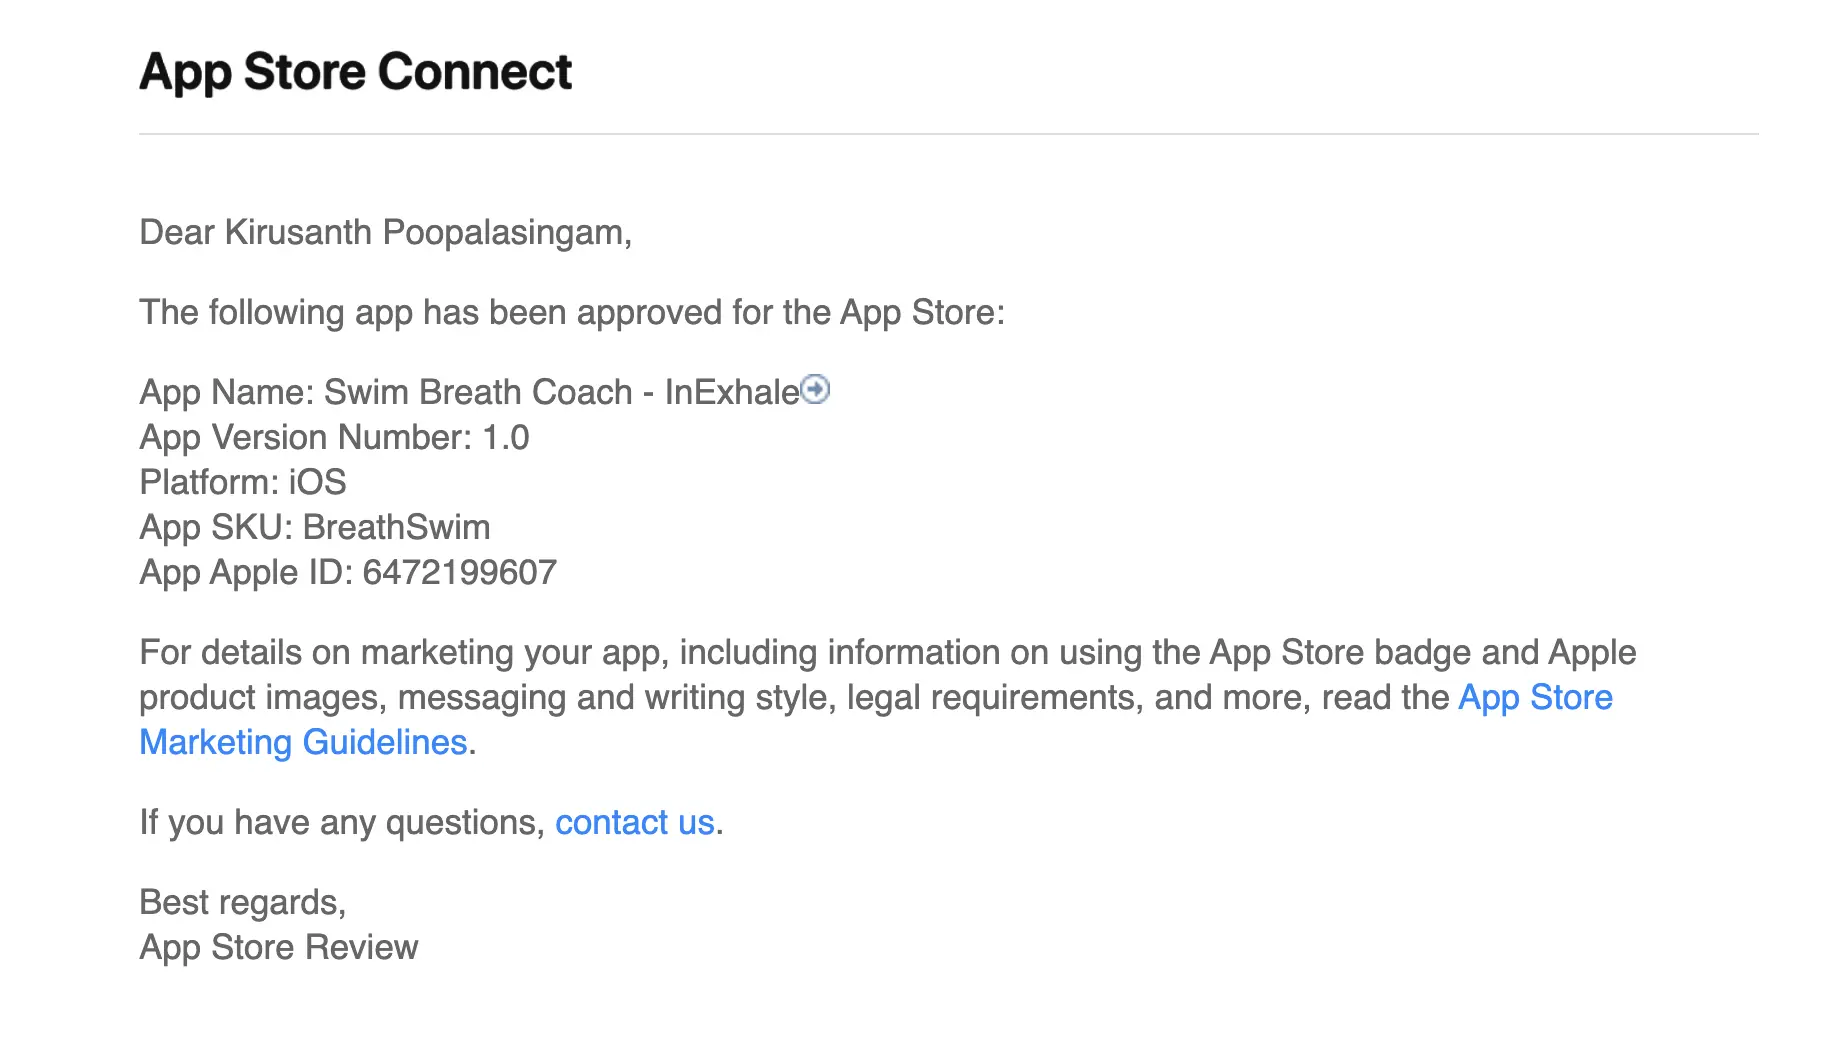
Within an hour, I could access it in the app store.
Kiru.io
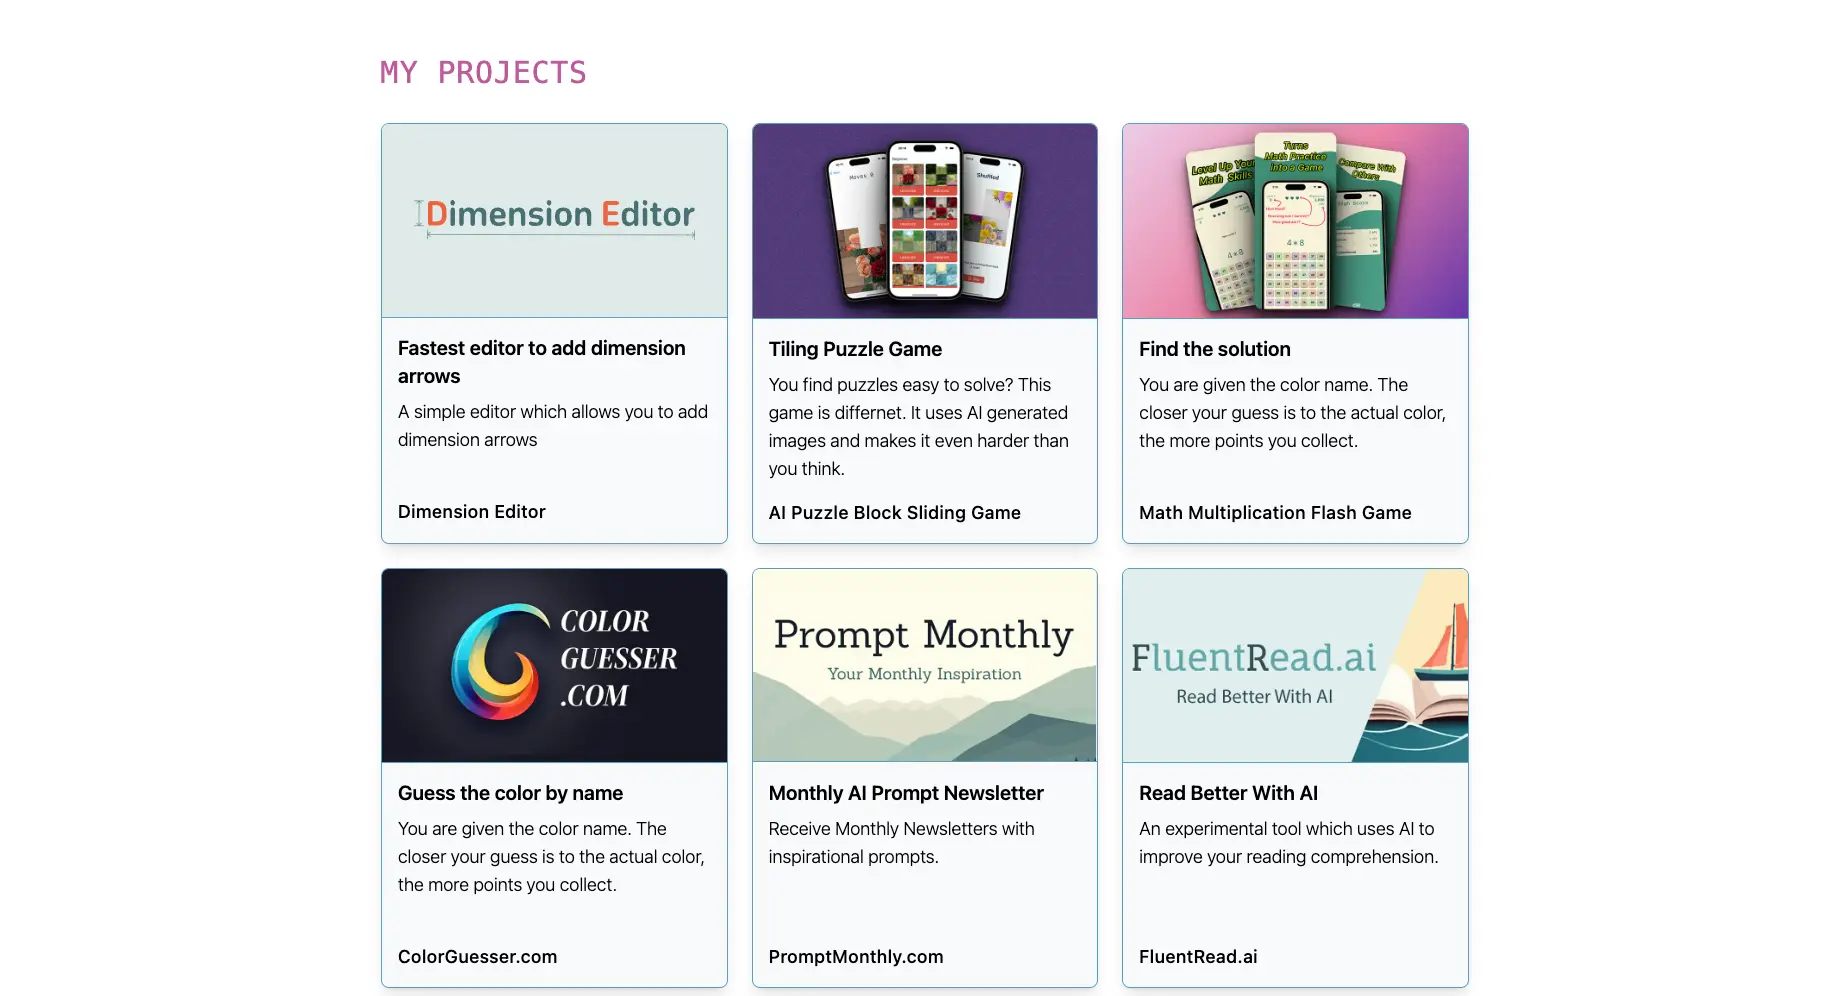
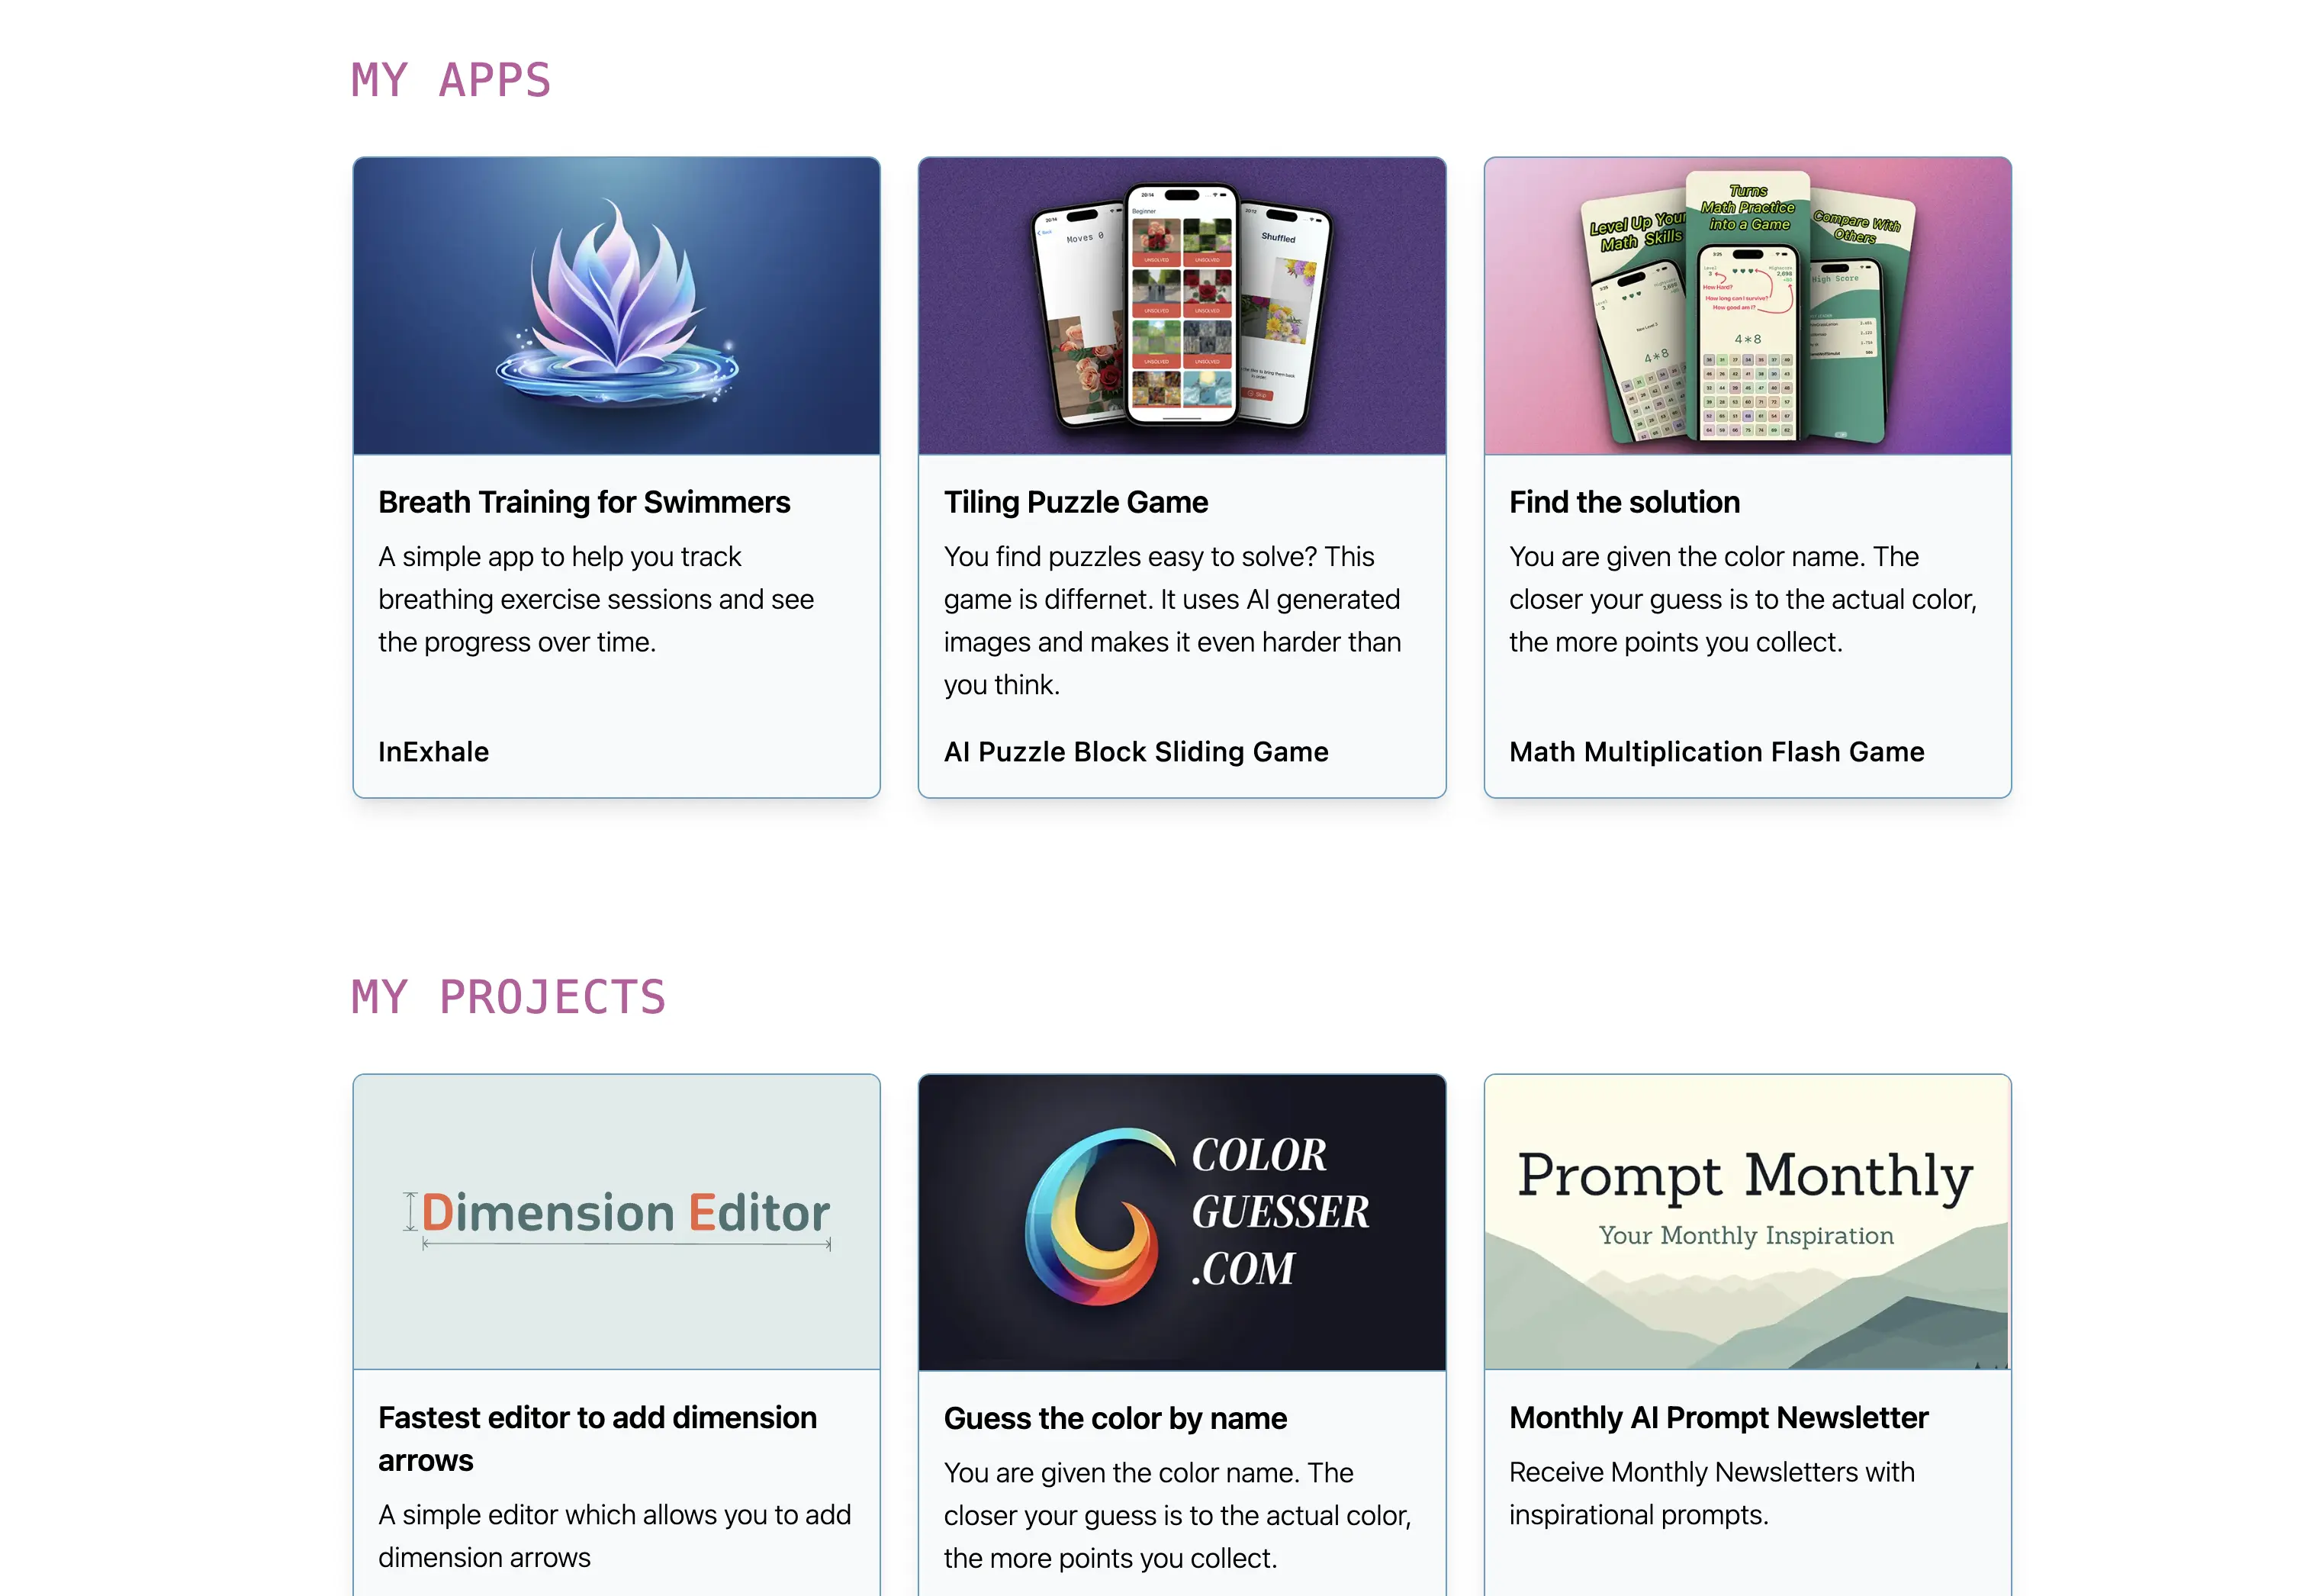
With the given link to the app, I can now add it to my main page. I managed to list all my projects (Apps and web projects) among My Projects. It got a bit messy, so I decided to split all the apps to a separate category:
Rest of the Todos
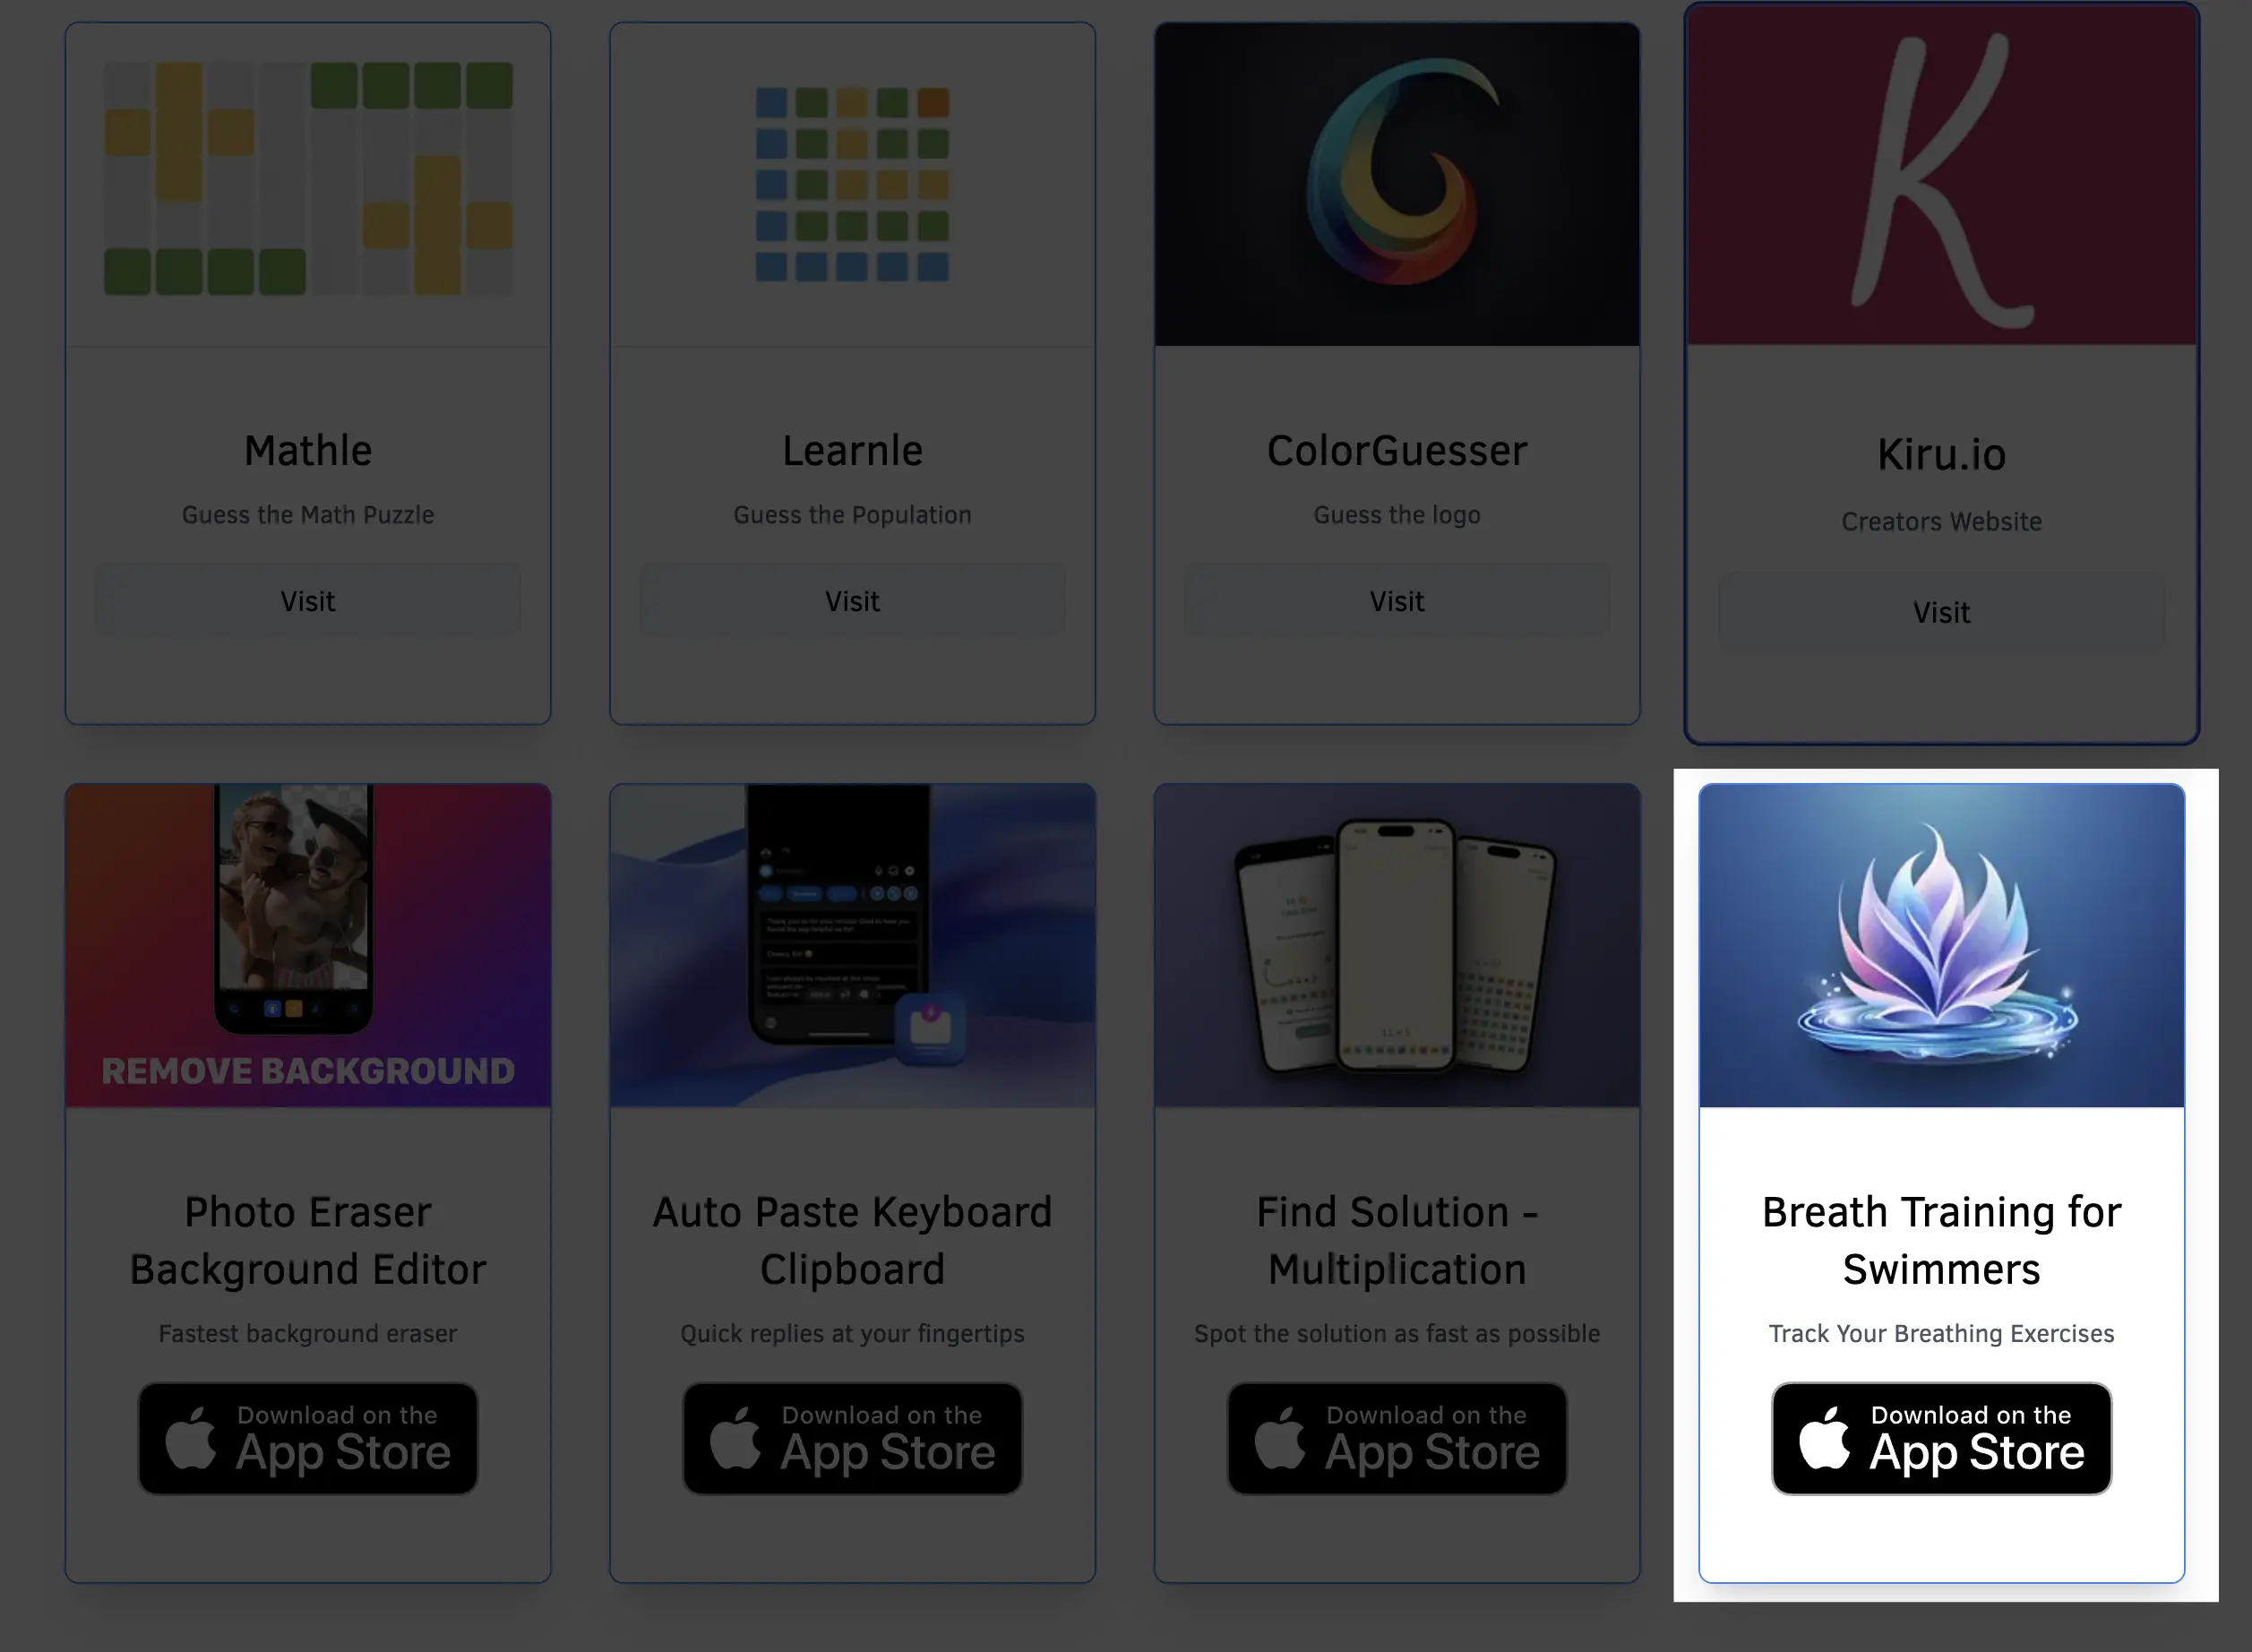
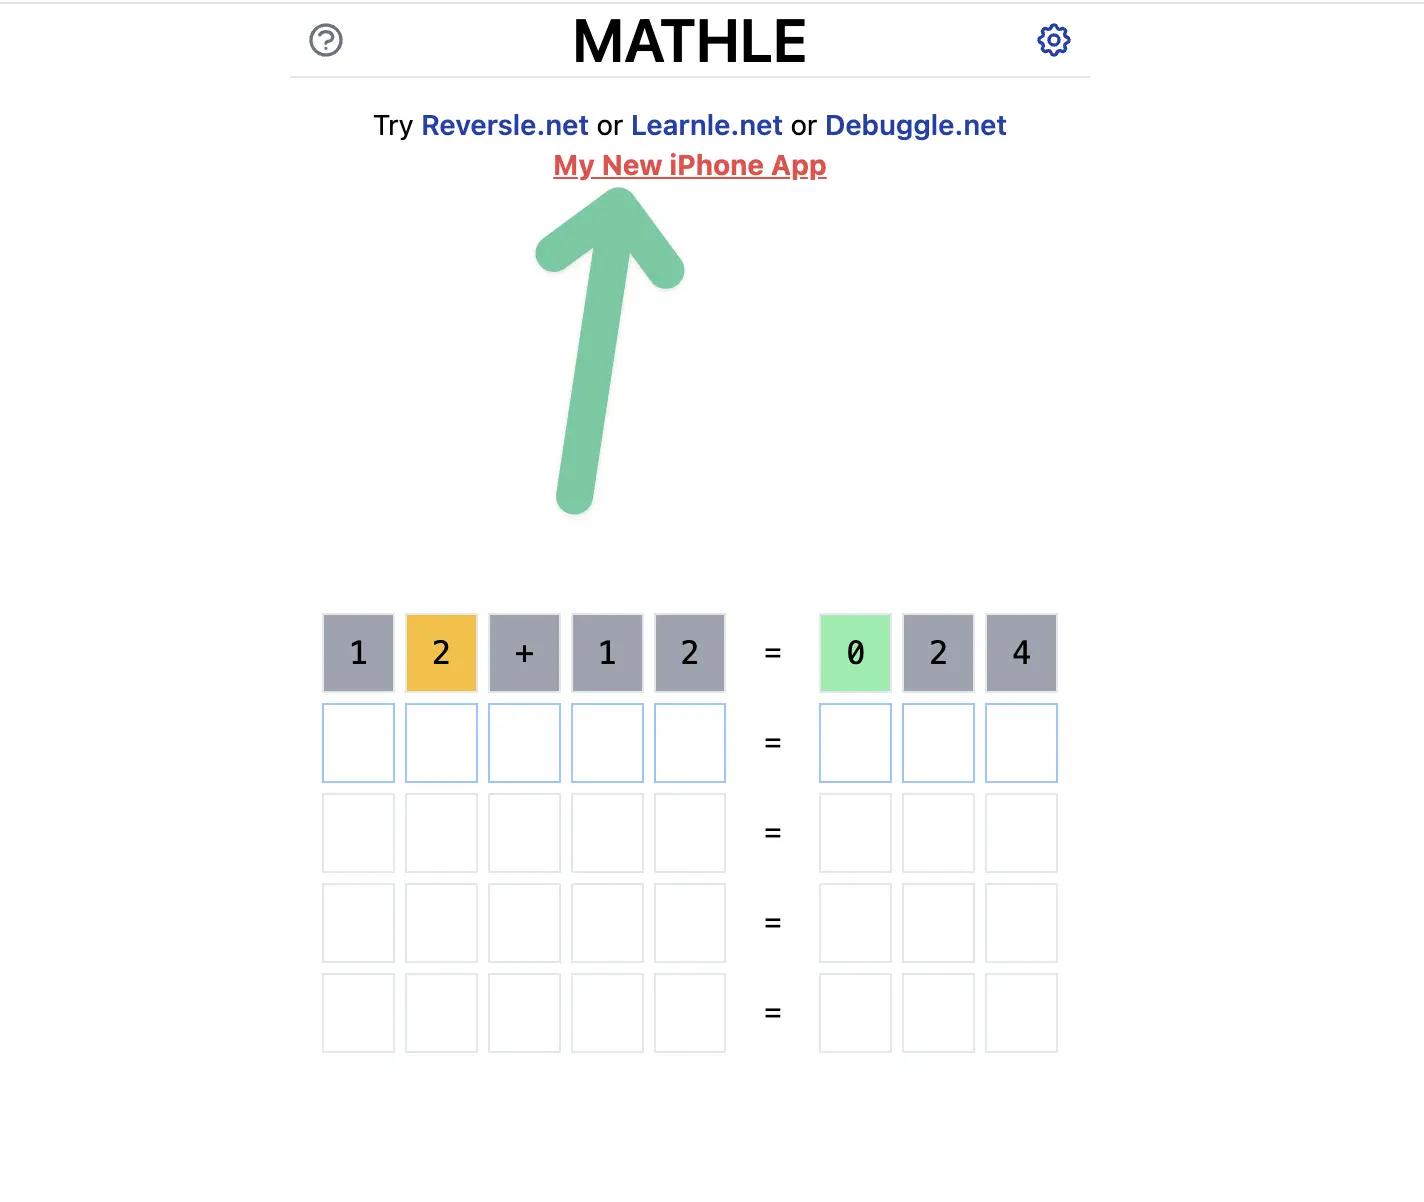
Added the App Store link to Reversle.net and MathleGame. To be honest, I am not sure if that is a great idea or how many people will click, but it doesn’t cost me anything to do advertisement via the pages I run.
That is it for today. I will try to take the next days off and occasionally post on Twitter.
Day 20+: Thank You
Written in January
After the submission in the app store I did not work much. I reviewed the article and fixed many error (mostly writing). Thank you for reading this article so far.